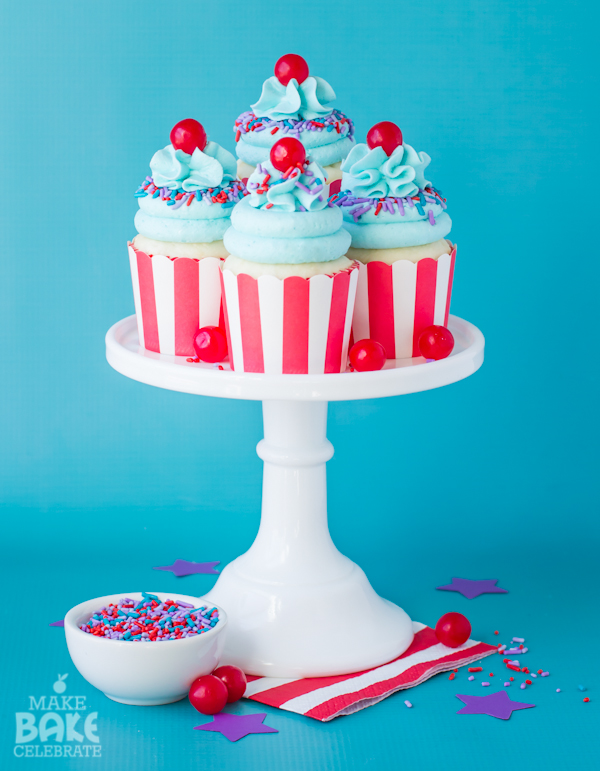
Today is the day – I’m finally bringing the Ruffle-Topped Cupcake Tutorial to the blog. HOORAY! This ruffle technique is something I created while working on my book Cupcakery and it has quickly become my favorite new cupcake “look”. Turns out you guys love this look as much as I do – YAY! I was hoping to have this tutorial out like a month ago, sorry! But today is the day!
Of course you can switch this technique up in many different ways using different tips, adding sprinkles, separate frosting colors, different frosting flavors…but today I’m going to show you my favorite type. This one has a smooth round frosting on bottom and a ruffle on top. All you will need for this technique is a large open star tip and a medium round tip in two different piping bags. Here I’m using a Wilton 2A and a Wilton 1M.
Let’s get frosting! (PS…if my frosting seems a little lumpy it’s because silly me tried an off brand powdered sugar that I was given – lesson learned!)
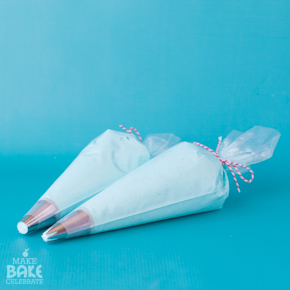
Step 1: Fill two bags with your choice of frosting and tips, I’m using 2A & 1M here.
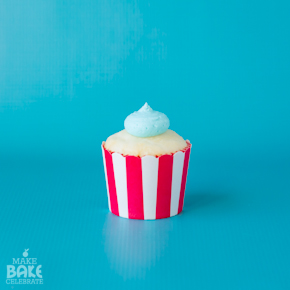
Step 2: Using your round tip pipe a little “mound” on your cupcake to give it some extra support.
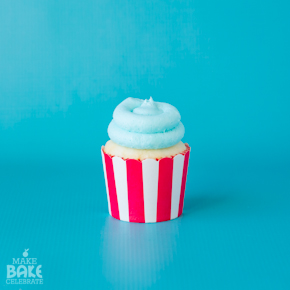
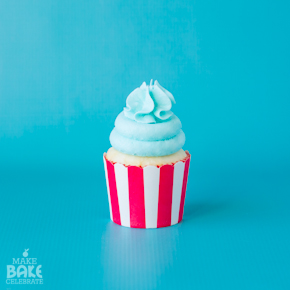
Step 3: Using your round circle tip pipe two rows of frosting, going around the center mound twice. To do this you will start at the 12 o’clock and pass it once stopping the second time.
Step 4: Use the open star tip to pipe a “ruffle” right on top by holding the piping bag straight up and down above the center and apply a little press while pulling up slowly allowing the frosting to fold onto itself just a little bit. To keep my cupcakes uniform I like to count while I do this…1,2,3, up!
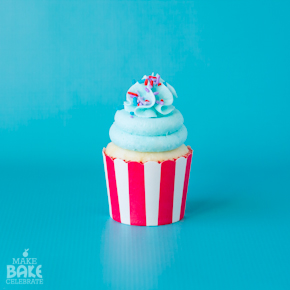
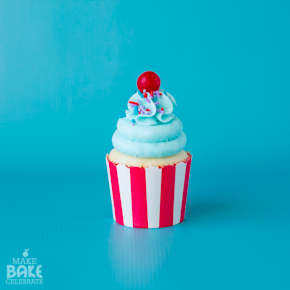
Step 5: Next add a little sprinkles if desired..just kidding add sprinkles.
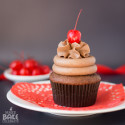
Step 6: If you have a little cuteness to add on top, do it now! Here I added little candy cherries.
Now…remember I said there are lots of ways to mix it up. Let’s look at one small step you can take to really change the look.

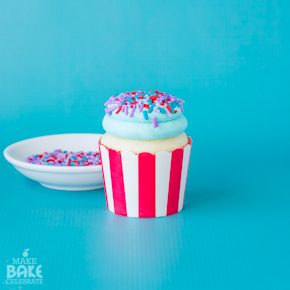
After you’ve frosted the first layer, quickly turn the cupcake upside down and dip it in a plate or shallow bowl of sprinkles…smooth with a clean finger if needed.
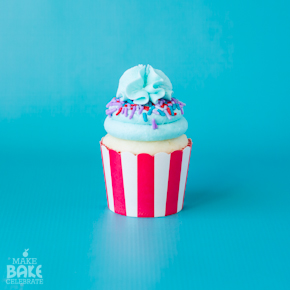
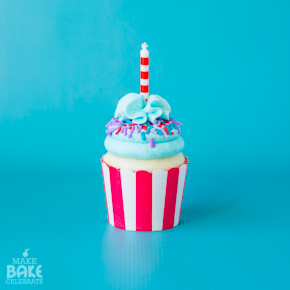
Then add your ruffle on top of the sprinkles. How about a candle this time?

Seriously is this not the cutest way to frost a cupcake ever!? I just. Can’t. Get. Enough. If you guys try it out, please send me a picture or hash tag #MBCtreats I would LOVE to see!
And if you want to see some more Ruffle-Topped creations here are a few more posts to check out:
Chocolate Cherry Amaretto Cupcakes
















Sooo cute! You are so creative! I’ll definitely have to give this one a try, I’ll be sure to tag you!! Thanks a ton for this tutorial Toni, it’s a keeper for sure!!
Thank Nora! Can’t wait to see! I think it’s a keep for sure ;).
These seriously the cutest cupcakes I’ve seen. They look like an instant party! Thank you so much for sharing this.
You’re very welcome, thank you so much for the sweet comment! Instant party – I love that!
I absolutely ADORE how you frosted these, Toni. The ruffle top is simply perfection and I don’t know how I didn’t think to do this with frosting prior! Also: can I live inside of your prop room?! Because duuuuude. You have the best stuff!
Thank you! And Hayley, you are welcome to stay in the prop room whenever you would like! We’ll even put a bed in there for ya. ;)
Hi Toni – What beautiful cupcakes!! So cute, and fun! Where might one find candied cherries? I don’t recall seeing these anywhere? Also, I pre-ordered your book, can’t wait to receive it :)
Hello Jill! So happy to hear you have pre-ordered the book, I can’t wait for you to get it! Yay! For the candied cherries, you can find them in the candy aisle in the hanging bag candies, they are normally only a dollar. Hope that helps!
Oh, ok…thank you so much! I’m looking forward to making these this weekend! :)
Could you share what type of cupcake you made and buttercream?
Sure! You can find the buttercream recipe here: