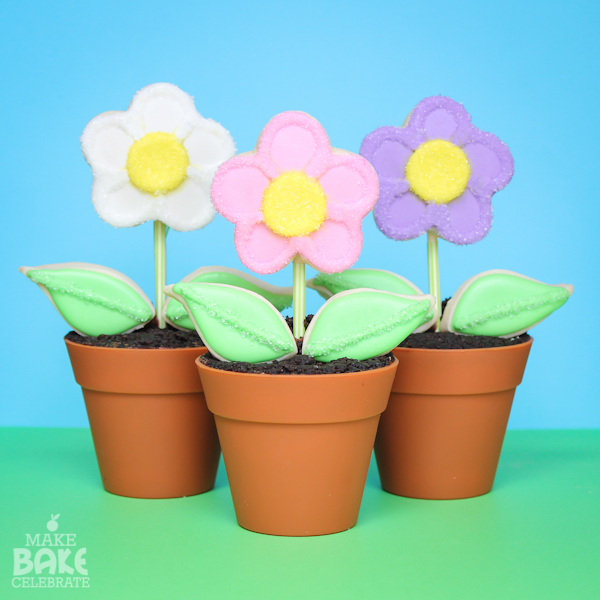
I have another pretty little flower treat to share today! But first a little Thursday morning confession for you. These sweet little flower pot cupcakes we’re meant to be shared weeks ago. Let’s just say, they’re late bloomers. Ha! Funny right? I know, I know stick with the baking ;) ….I purchased and planned these little cuties before Easter when these sweet little flower pot cupcake liners were still in stores. And since then I just haven’t been able to share them until now, just barely in time for Mother’s Day.
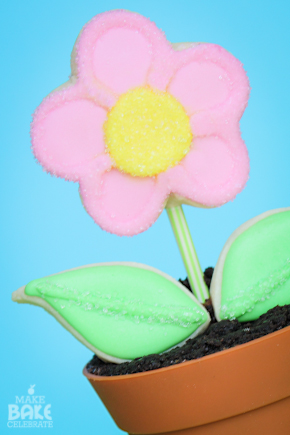
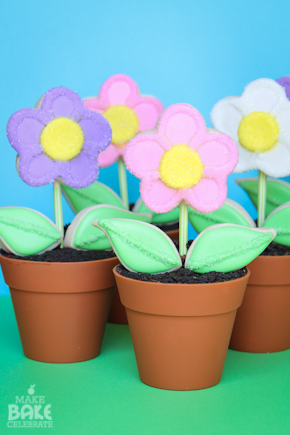
So if you would like to try these out and already have the little “pots” great! If not you can try them in some green cupcake liners, Pin the idea for next year, or just enjoy the pretty flowers! Either way, they were fun to make and worth the wait!
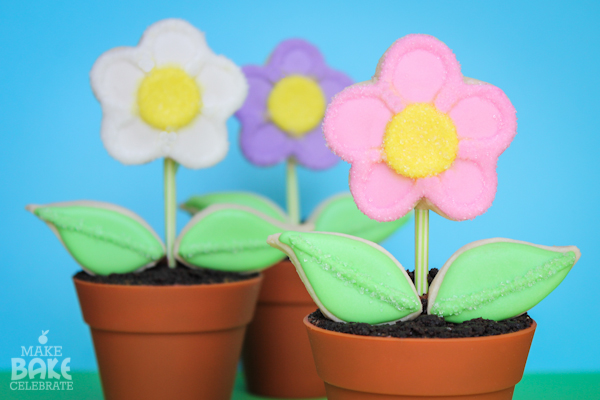
Incase you haven’t seen the lithe pots. These are silicone cupcake liners made by Wilton, which I baked chocolate cake in, added frosting, and chocolate cake crumbs for “dirt”. The flowers are actually royal iced cookie pops, and the leaves are cookies as well. There are a lot of steps to pull these together, but I assure you they are all pretty easy! These cookies really aren’t hard at all.
To keep this tutorial from growing into a book, I’m going to skip the cookie baking processes and show you how I pulled it all together. The cookie pops I made using this recipe and cookie making technique as always. :) I used a small 2 in flower cutter and the large leaf from Wilton’s fondant leave cutter set. Just before baking I turned them into pops by adding 6in lollipop sticks as I have shown here. Then we decorate and pull it all together!
Here’s what you will need:
Flower Cookie Pops
Cookie Leaves
Royal Icing
Gel Colors
Coordinating Sanding Sugars
Chocolate Cake Mix
Chocolate Icing
Green Washi Tape (optional)
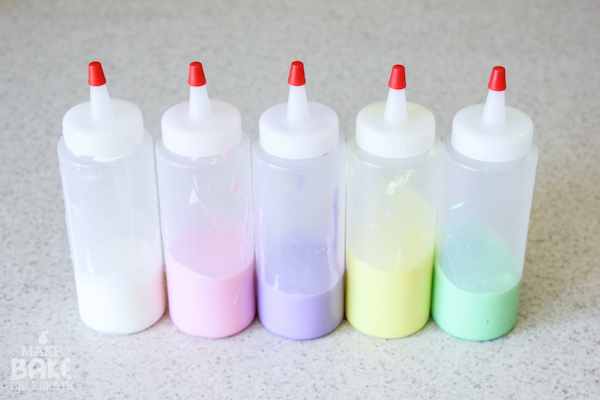
Step 1: Start off by separating your icing into several bowls and color however you would like. Although, you’ll want to make sure you have yellow for the center. Then thin with drops of warm water to a 20 second consistency (when you draw a line in it with a toothpick it will take 20 seconds to disappear). Separate each color into a decorating bottle.
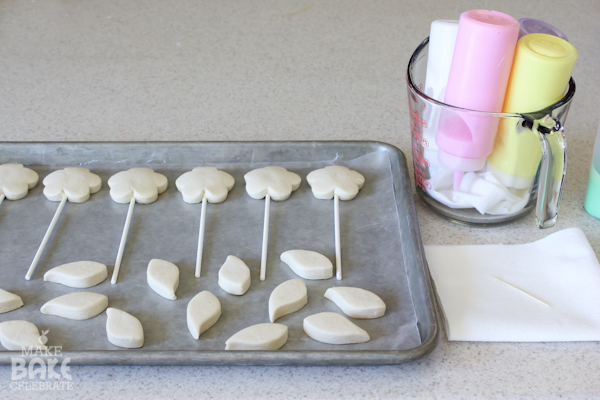
Step 2: Organize your decorating station. I like to work with my cookies on a wax paper lined baking sheet, my bottles upside down, and a paper towel and tooth pick near. You won’t need the sanding sugar just yet.
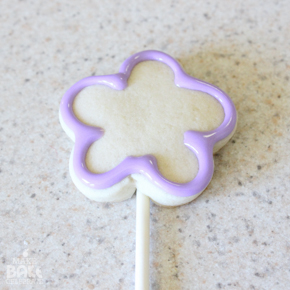
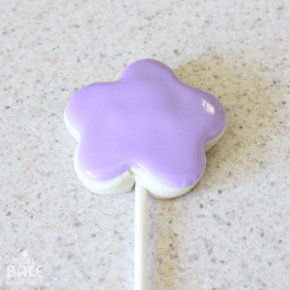
Step 3: Using your 20 second royal icing, flood and fill each cookie. Let them sit for 1-2 hours so they harden a bit.
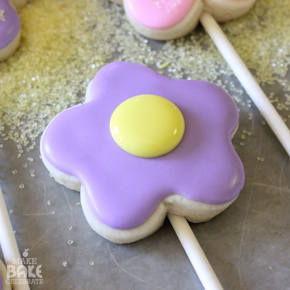
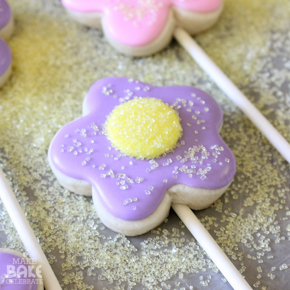
Step 4: Using your yellow royal icing pipe on a “blob” for the center. Remember, it will spread so don’t go too big. Then pour yellow sanding sugar over each center right away. Let them dry for another 1-2 hours.
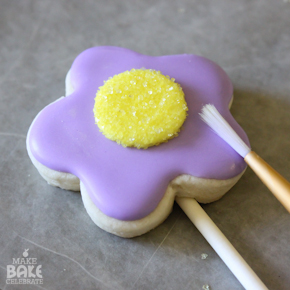
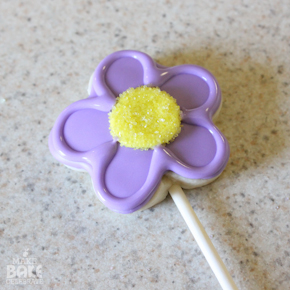
Step 5: Now you can gently turn over the cookies and remove the excess sanding sugar. Use a clean dry paint brush to remove any sanding sugar left on the cookies. Then you can pour the extra sanding sugar back into the jar to reuse!
Step 6: Now outline your cookie again and cover with coordinating sanding sugar. If you’re using multiple flower colors line mine, I recommended separating them onto plates by color before. So you can easily save the excess of each sanding sugar color.
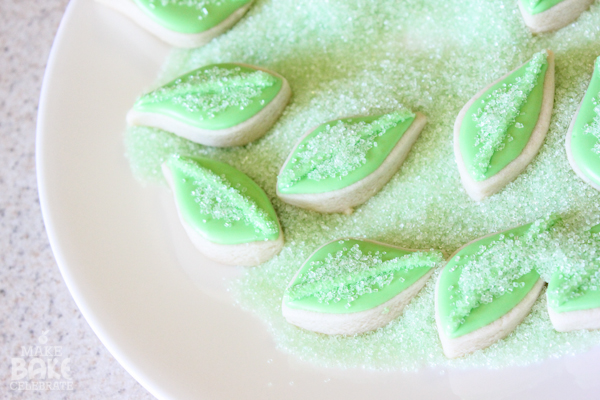
Step 7: Outline and fill each leaf. Let set for about 30 minutes. Then draw a simple line and add sanding sugar.
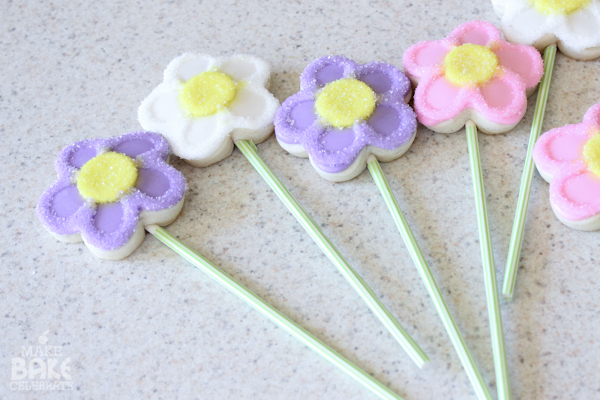
Step 8: After I let my cookies dry overnight I wrapped the sticks in green washi tape. Totally optional!
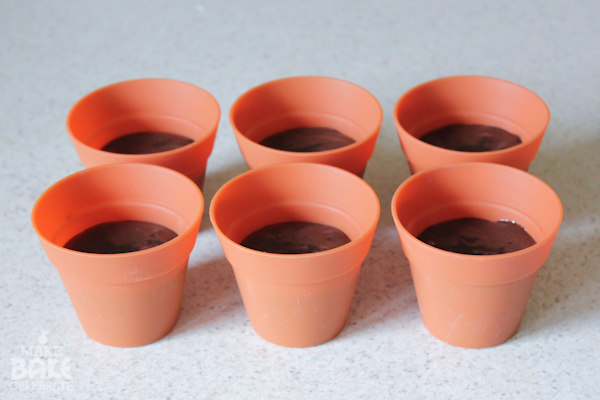
Step 9: Whip up your fav chocolate cake batter and pour 1/4 cup into each liner. Place them on a baking sheet and bake them for 18 minutes or until a toothpick comes out clean.
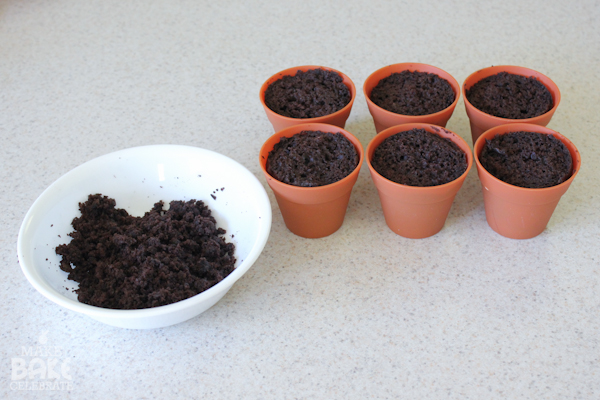
Step 10: While baking they will rise above the liner. Take a knife and cut off the tops. I also cut down a little more then the edge to allow for more frosting. Crumble up your cake scraps in a bowl and set aside.
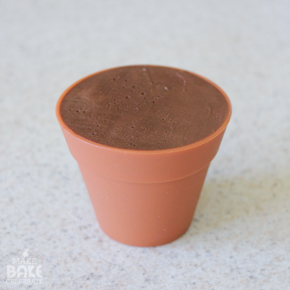
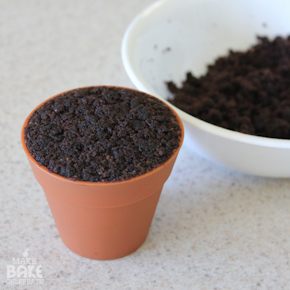
Step 11: Fill the rest of the pot with chocolate frosting. To get a nice level top just run the spatula across the top!
Step 12: Grab your bowl of cake crumbs and turn your pot upside down and place it in the bowl pull it up and then add crumbs to any bare spots. If needed you can gently smooth the top out now with a clean hand.
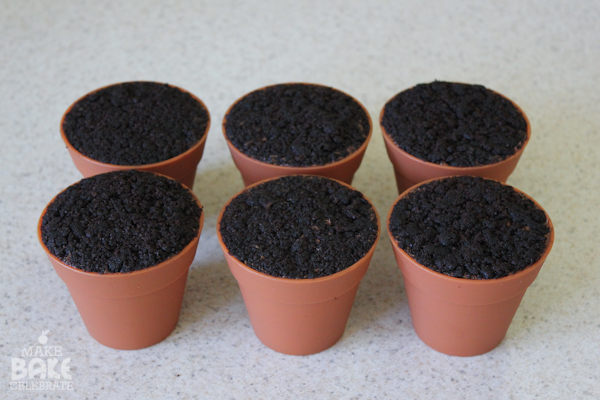
Now it’s super easy from here!
Step 13: Stick your flowers right down in the cupcakes. You may want to trim off about an inch of the stick first. I found they were a better height to work with after trimming them. I also trimmed all of mine slightly different because what flowers grow even. ;)
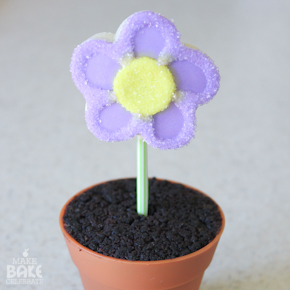
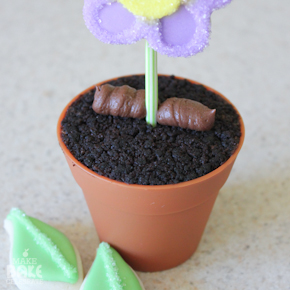
Step 14: Pipe of spoon to generous blobs of chocolate frosting on each side of the stem, then push the leaves down right in front of them. This will help support the leaves. If your leaves are sliding back just simply pipe more icing behind it to support it. You won’t see them from the front, but if you’d like you can add left over cake crumbs on top to blend it in.
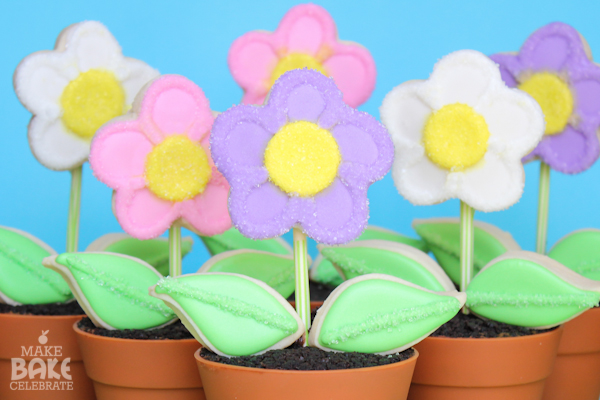
Whew! Now you can relax from your day of “planting flowers” and enjoy your creation.
Dirt never looked so cute!
Ok so maybe I’ve never successfully “grown” anything in my life…but I have baked many pretty flowers! If you would like to see more sweet flower ideas check out these daisy cupcakes here and this cupcake bouquet tutorial \!












Aw such a cute idea!
Thanks!