


A few days ago we celebrated a big milestone for our oldest kiddo, she lost her first tooth! I was honestly shocked when I found out she had really loose tooth, she just turned five! We had at least another year right?! Honestly, I had no idea it was such a big deal either! But recently it seems like that’s all her and her friends talk about. Who’s lost how many and who’s got another loose…it’s like their way of measuring how “grown up” you are. Sigh. I’m not ready for her to be grown up.
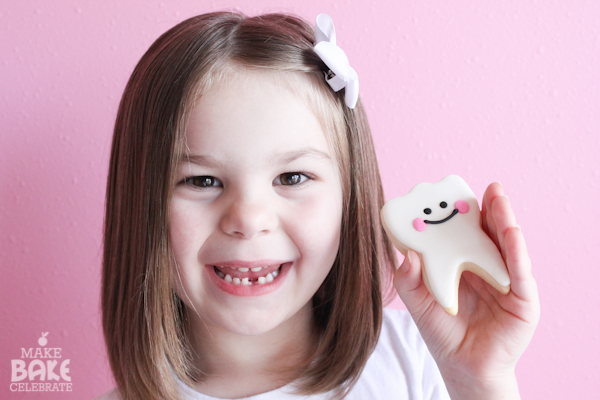
Once I realized her tooth was loose, and how big of a deal it was to her (and me)…I decided to make her a cute little personalized tooth pillow and maybe a little printable tooth fairy letter. Something to make it special. But it turns out, that baby was pretty loose and there was no time for all that fun stuff. She lost her tooth quickly after so I turned to something I knew I could handle, and fast! Cookies for the Tooth Fairy!!

I mean after all I’m sure even the Tooth Fairy has a sweet tooth. As long as she brushes after of course ;). It just so happened on my last visit to Country Sweetart Kitchen I picked up this cutter. Sometimes it pays to be random.
These cookies were quick, simple, and really flexible. There’s lots of difference ways to mix these up but here’s how I made them:
Sugar Cookie Dough
Tooth Cookie Cutter
Pink Sprinkles For Cheeks
Black Sprinkles For Eyes
White 20 Second Royal Icing
Black Royal Icing Of Piping Consistency
Pink Royal Icing (optional)
Icing Bottle
Tweezers
Toothpicks
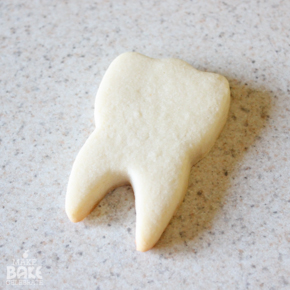
Step 1: Bake cookies. I used my normal sugar cookie recipe and method as I describe here in Rolled Cookies 101. I used this tooth cutter and was able to make 24 cookies.
Step 2: Make royal icing. For the royal icing I mixed up a batch of royal icing then set aside 1/2 cup for the black icing and 1 cup for the pink tutu icing. Then I thinned the rest of my white to a 20 second consistency. If your new to royal icing, this post will provide a recipe as well as shed a bit of light on 20 second icing.
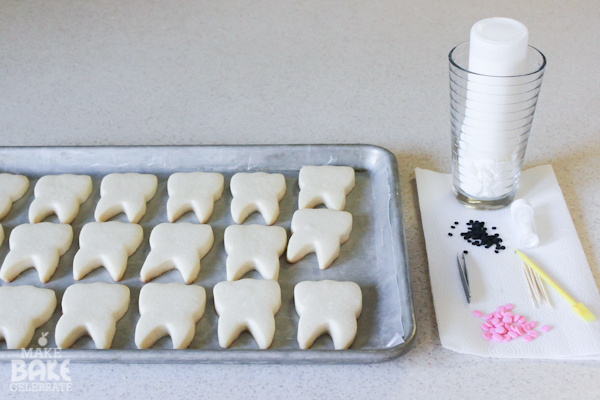
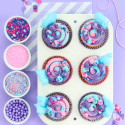
Step 3: Set up all your supplies and tools. Keeping your icing bottle upside down in a cup with paper towel helps keep the icing flowing as well as clean.
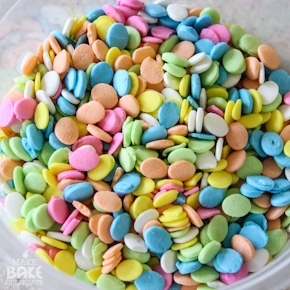
Here are the sprinkles that I used. The black eyes I pulled from a Halloween mix and the pink cheeks were left over Easter eggs. But remember, these are flexible. So you can swap them out for some sprinkles you have, use royal icing for the faces, or even draw them on.

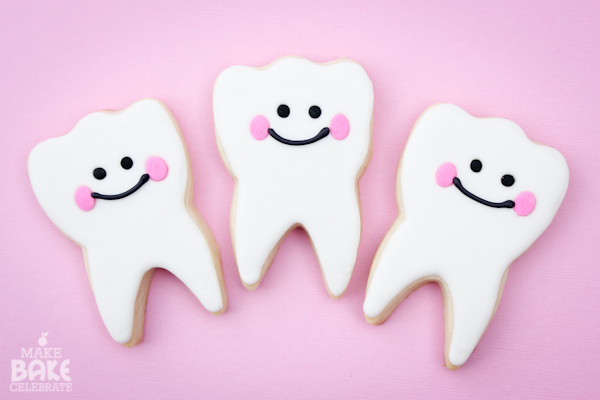
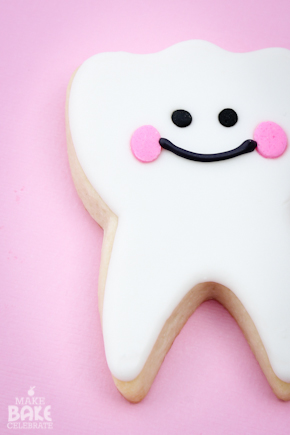
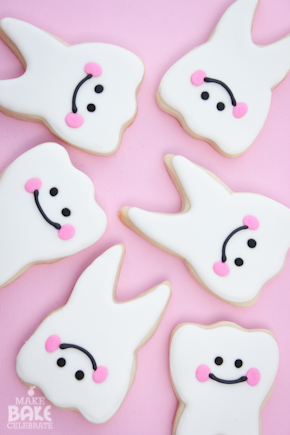
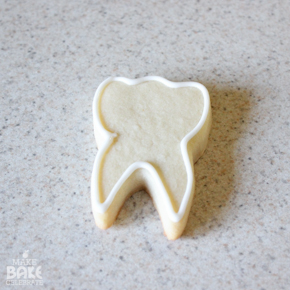
Step 4: Working one cookie at a time: outline your cookie, then flood your cookie with icing. Use a toothpick to gently move the icing around and close the “gaps”. While still wet, use your tweezers to drop on the eyes and the cheeks.
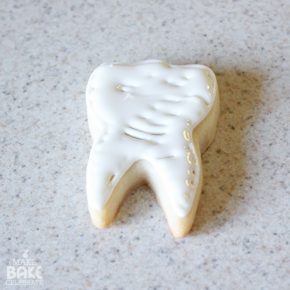

Step 5: Let your cookies set out to dry for several hours.
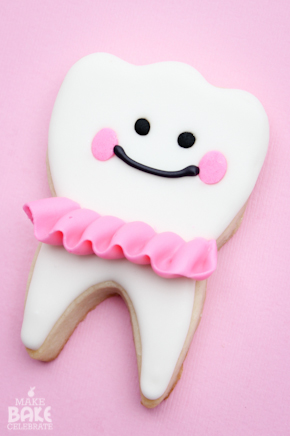
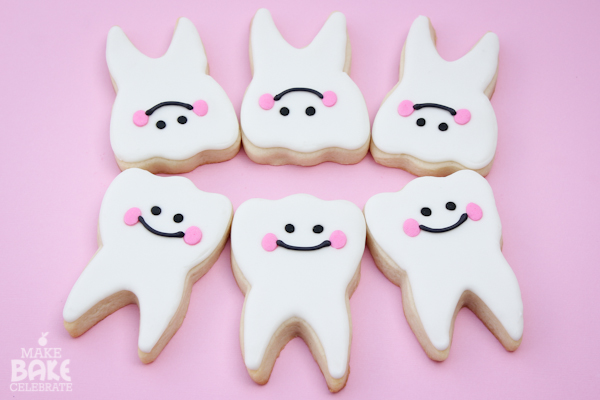
Step 6: Once your cookies are dry you can pipe on the mouth using black royal icing and a small round tip OR draw them on with an edible food pen. I was under a time crunch of course but I did manage to add a few sweet little tutu’s to some of them. A hair bow or flower would look adorable, and even a bow tie if your little man is loosing his teeth!
They don’t have to be just for the Tooth Fairy either, wouldn’t those in the dental profession just love these!
I’m pretty sure we were the Tooth Fairy’s favorite stop. ;)


I love your blog…Your design is really good..Love the spice jar clicks…
Nancy Carlson
You have a sweet daughter. I love your blog and can’t wait to get started on some of your recipes.I just retired after being a nurse for many years. I’m downsizing and moving since both my son and daughter are married. Don’t need this big house..I’ve baked for years and the locals and friends swear that i make the best pies, cakes, and cookies in this neck of the woods. when i get moved, I’m going to jump into decorating cookies. I’ve been buying supplies from Karen’s Cookies, but have yet to make a batch of royal icing. I have cookies cutters galore and have dabbled with fondant a little. My son lives in NYC and 2 yrs ago, he married and I did all the desserts for the rehearsal dinner and made little carrots to go on the carrot mini cupcakes.I did all the baking here in Tn and assembled then when I got to New York. TSA inspected my suitcases and I bet they had a cow when they opened 2 suitcases full of cupcakes, brownies, cinnamon-sugared pecans and the asst tools needed to assemble everything, plus I cheated with the squirt can of icing that you can get at Walmart. Probably looked like aerosol bombs on the scanner. LOL. Anyway enjoy your precious children. Time goes so fast. I have an 18 month old granddaughter that is growing up overnight and way too fast to suit me. Love your blog.
Thank you! You will have lots and lots of fun decorating cookies! I wish I had more time to really perfect the art but it takes so much time and practice. So I just squeeze in cookies when I can and stick with simple designs! Have fun and good luck with everything:).
I love your tooth fairy cookies so much that I decided to give it a try but with an apple cookie cutter. I thought these would be perfect for Teacher’s appreciation week! Being a novice on the cookie decorating I will definitely need some practice! I want to thank you for your fantastic directions – it helped a ton! Keep up the great work!
Glad to hear! Hope to see your apple cookies! I was considering making some myself this week. If I could only squeeze a few more hours in the day!
Your daughter is absolutely adorable! And, fortunate, indeed, to have a Mom like you.
The cookies, well, they’re just plain fantastic!
I adore your blog and these tooth fairy cookies are just the cutest thing ever, I had to share! I linked your blog and this post on my Tooth Fairy Pillow Shop tumblr blog :)
http://toothfairypillowshop.tumblr.com/
Thanks so much for the inspiring crafts and goodies!
Thank you! Lovely post :)