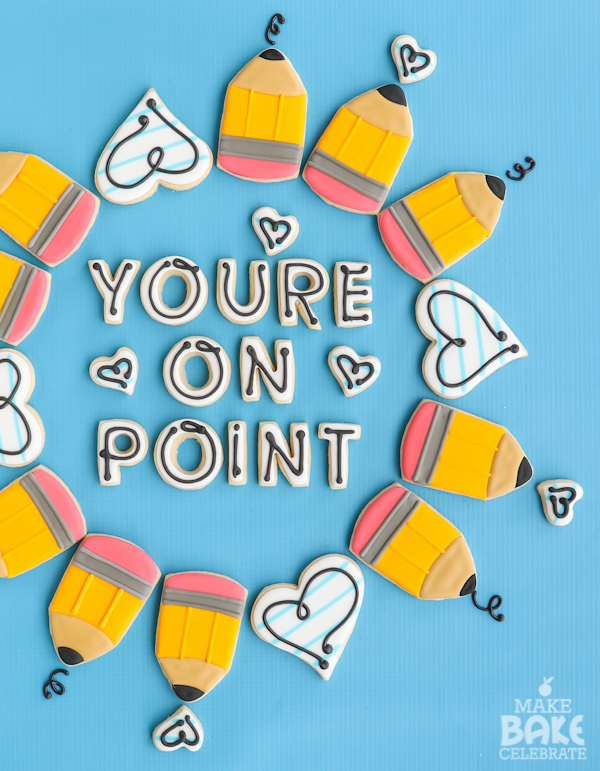
Teacher’s appreciation day (May 9th, 2017) is just a few days away, so I better get right to the point. I mean really there’s no point in beating around the bush, teachers are amazing. They are the awesomesauce people of the world, practically unicorns. I’m mean think about it, I can hardly handle my four kiddos and they wrangle like 24 every single day. Without wine, I have a good point don’t you think? So when we get a chance we better let them know, they are on point. This year I figured cookies would be perfect to point them in the right direction.
Ok, ok I’ll stop making punnies while refrencing the tip of a pencil. I know, you’ve got the point.
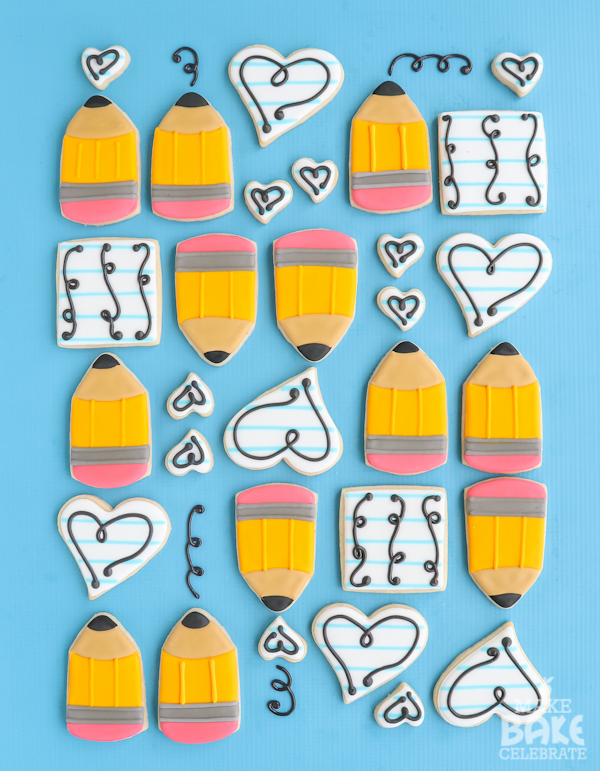
I can’t help it. I had like 5 hours of frosting cookies to come up with these. And I can’t resist a funny, or a bowl of sprinkles for that matter.
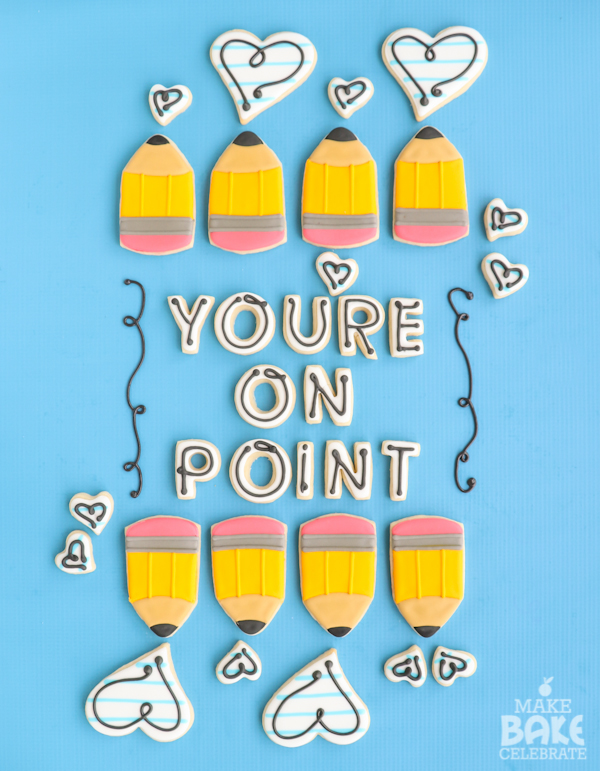
Ok, ok, I know you don’t come here for the jokes. (but really you should) so let’s get to the…cookies. Ever since I saw my sweet friends Sugarbelle’s chubby pencils a few years ago I’ve been wanting to make some. They’ve been on that I’ll get to someday list, today I finally put a check on that list. I mixed mine up a bit to fit my style but you can find the original cuteness right here. The other cookies I wanted to make were papers with doodles on it, and some letter cookies to say “you’re on point.” If you’re wanting to send them in small sets you can simply write “you’re on point” on one of the small paper cookies. I’ll be honest my icing writing, and handwriting in general, it’s kinda awful. So I cringe at the thought of writing on cookies and pretty much avoid it like the dishes.
As always we decorate so many cookies together on MBC so I tend to keep the instructions pretty simple. But if you’re just starting out here are some pages to read all about royal icing cookies!
Rolled Cookies 101
Royal Icing 101
Decorating Cookies 101
Here’s what your going to need:
sugar cookie dough (my favorite one HERE)
parchment paper (key to baking pretty sugar cookies!)
pencil cutter (or candy corn cutter), heart cutters, and square cutter
paring knife or rolling cutter
yellow outline and flooding royal icing
pink outline and flooding royal icing
grey outline and flooding royal icing
tan outline and flooding royal icing
black outline and flooding royal icing
white 15 second royal icing
blue outline icing (on the soft side)
piping bags
small round tips (Wilton #2)
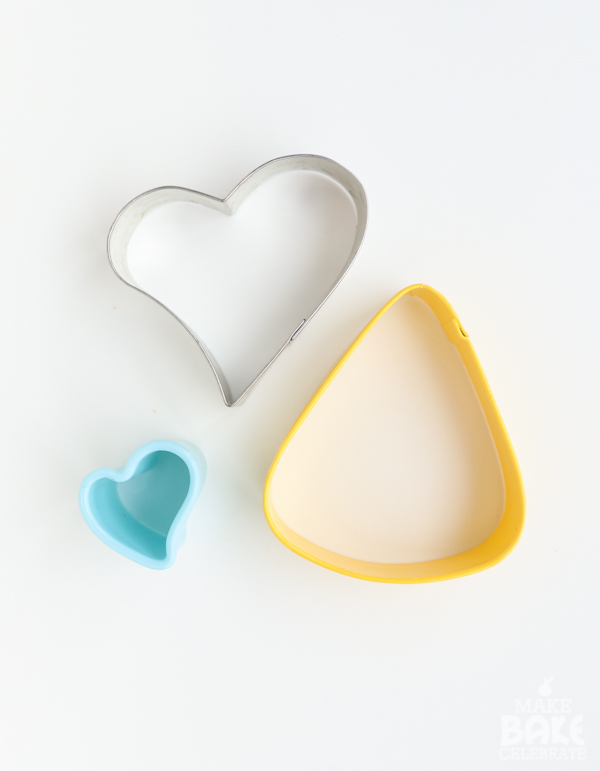
These are the cutters I used EXCEPT I totally forgot to add the square in, but I think you’ve got the…picture. These days Sugarbelle has her own set of cutters, in which you can find an awesome pencil! But mine is in the mail crossing the ocean, boo! So I followed her old school chubby pencil and trimmed a little off both sides of the candy corn cutter. One of my FAV cutters but the way.
First you’ll need to bake those cookies! You will find my full recipe and step by step tutorial on how I bake pretty roll out cookies here. The only thing to remember is when you get to the pencils if you’re using a candy corn cutter like me, take a cutting tool and trim equal amounts of both sides off. Once the cookies are cool it’s time to mix that icing!
For the icing I used the Wilton color right system which I am loving by the way. You can use any combo you would like but here is what I used to get these colors:
pencil yellow: 4 parts yellow 1 part orange
eraser pink: 3 parts red 2 parts blue
pencil wood: 1 part yellow 1 part brown
paper blue: blue
grey: 3 parts black 1 part yellow
black 4 parts black 1 part yellow
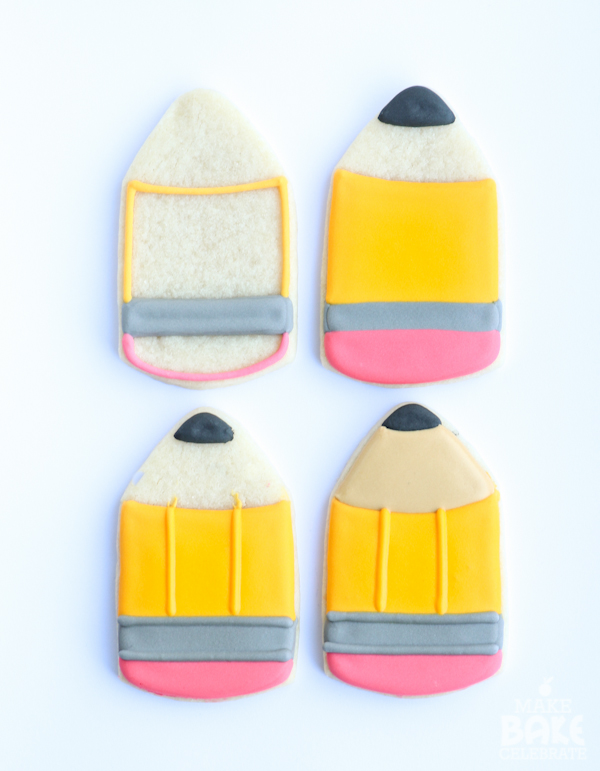
First let’s decorate those chubby pencils.
Step 1: Outline and fill the grey metal part of the pencil first. Starting here gave me a consistent guide for the pencils. I lined them up beside each other and did all of the grey first.
Step 2:Next you can outline and flood both the pink and yellow parts. Add on the black tip, the pencil lead.
Step 3: And when the cookies have crusted over just slightly (so the icing won’t sink in) you can add the grey and yellow details of the pencil. Now you’ll need to let the pencils dry for about an hour before adding the tan. This is because black can sometimes bleed. So you want it to dry to prevent that from happening. While the tips were drying I set to work on the lined papers.
Step 4: Once the black tips have trusted over, fill in the wood part of the pencil with tan.

Now for those love note doodles!
Step 1: Outline the cookie with white 15 second icing. I like to use 15 second icing here because it’s easier, faster, and the blue lines settle better into the thicker icing.
Step 2: Flood the cookie with white 15 second icing and let settle for a few minutes. I generally go on to fill the next cookie and then come back to line the first one.
Step 3: Using a wet on wet tehnique carefully pipe blue lines across the white icing. For squares I always start in the middle, then I break the two sections in half. For hearts I start at the top just below the v. This is the easiest way for me to keep even spacing.
Step: 4 After the cookies have sat for about an hour or two (go back and fill the pencil wood at this point!) you can now draw your little love doodles on the papers.
Now isn’t that fun! I really can’t wait to send off these little pointed pals to all the kiddo’s teachers this week!

