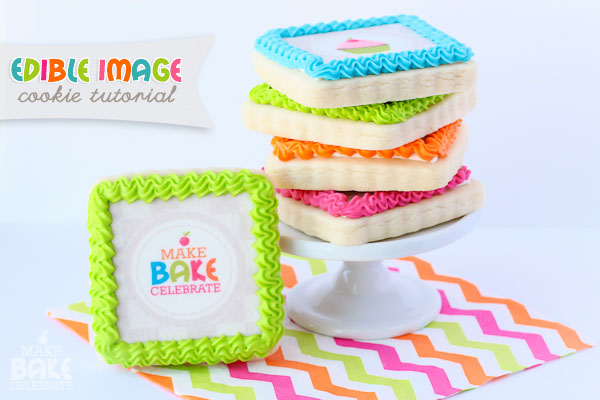
I’ve learned a few things in the past week. Like if you’re going to take a last minute trip across the country to a blogging conference, you should probably invest in lots of coffee and prepare to function on two or three hours of sleep for days on end, and look good while doing it! Also, it’s not a good idea to tackle a project you’ve been wanting to do for a year at the very last minute. Especially if it includes, baking, decorating, photographing and packing. However, if you go forward with said crazy last minute project make sure there’s room in your carry on. Or you might just end up having to check in a suit case, which may not make it to your last minute destination, and you may arrive with said project and nothing but the clothes on your back.
True story guys. It happens, I know. Although hey, maybe it’s better to show up with cookies then cute clothes anyway? ;)
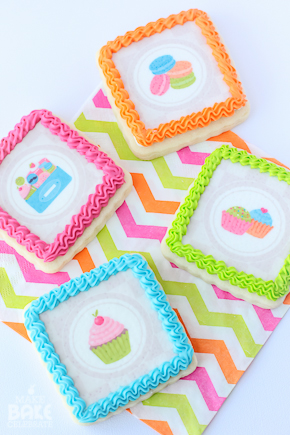
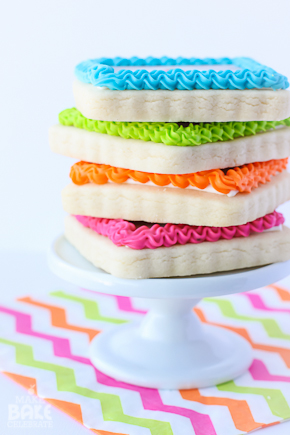
I have had these MBC cookies on my “to make” list since last year. Since I didn’t have much time to prepare for my trip to BlogHerFood I thought I would make a couple dozen to serve a few different purposes. I sent some out to a sweet baker as a thank you gift, then packaged up a few as roomie gifts, and then individually packaged up the rest to hand out to sweet friends I would meet along the way! Thankfully Angela came to the rescue with some cute matching MBC tags to finish them up!
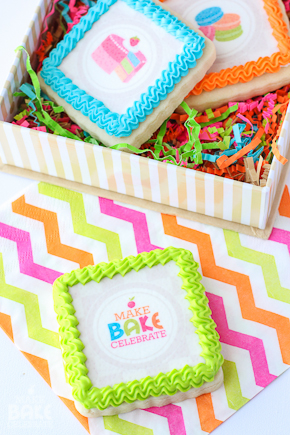
The key thing you will need to make edible image cookies is the edible image of course! You can get these many different ways. The easiest way is to call around to local bakeries or cake shops and see if they will print edible images off for you. I was able to get mine at a cake shop just 5 minutes from my house for $5.99 a sheet. If you can’t get them local there are many places to order them online. I’ve ordered them from here before. If you plan on using these lots and lots you can also look into purchasing a printer. However, if you are not going to be using edible images on a routine bases I would not suggest that route, as the ink quickly dries out and goes to waste.
Before you have them printed off, you will need to plan out the sizes you need. I first picked my cookie cutter then measured it I subtracted a .25in from the height and width to make sure my images would be a bit smaller then the cookies. I used photoshop to paste all of my images together on to one 7X10 image – the image needed by the printer. They offered several sizes but I chose to go with 7X10 and then cut my own squares out. Also, if I were to do this again I would first bake the cookies and then chose my size. Since even the best rolled cookie dough grows a bit it’s hard to know exactly what size you will want. If you won’t be able to pick the images up locally and need to wait for them in the mail, no worries! Just stick your cookie in the freezer while you wait for the images to arrive!
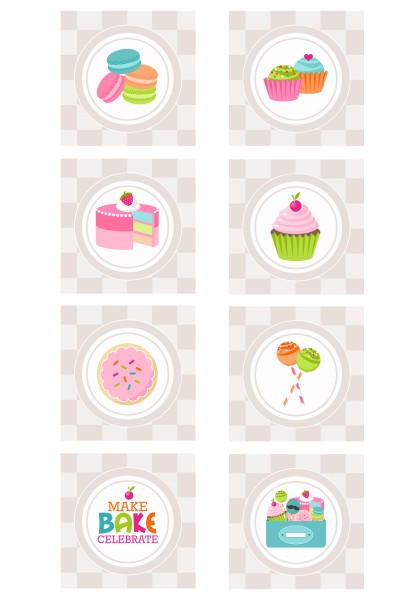
Since I was making my cookies into an MBC theme I chose different graphics from the Sweets Index and arranged them all into one printable sheet.
Here’s what your going to need:
Rolled Cookies
Edible Images
White Piping Icing
White Flooding Icing
Corn Syrup
Food Safe Paint Brush
Piping Icing For Trim (in your choice of color)
Small Border Tip Of Choice (I used Wilton 16)
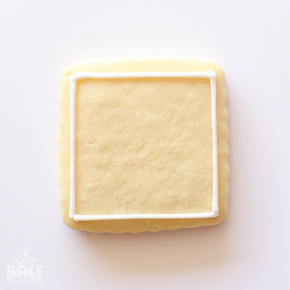
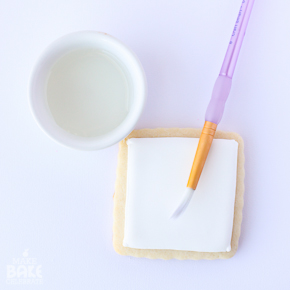
Step 1: Outline and fill cookies with white piping and flooding icing. You will want the icing to be as close as possible to the size of the edible image. (for more info on royal icing check out Royal Icing 101) Allow icing to crust for several hours.
Step 2: After the white icing has formed a solid crust you can begin to cut out your edible images. I recommend only cutting 3-4 at a time and keeping the unused portion in a air tight ziplock bag. YIf left out in the air too long they will become crisp and crumble when worked with. You will cut the edible image while it’s still on the paper baking. With a food safe paint brush, brush on a light coat of corn syrup. Gently peel off the paper baking then apply edible images on top and gently use a clean finger or second dry food safe paint brush to smooth out the image.
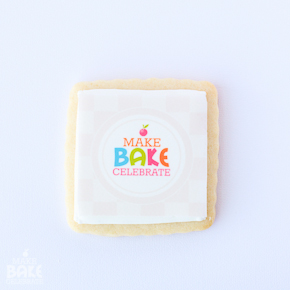
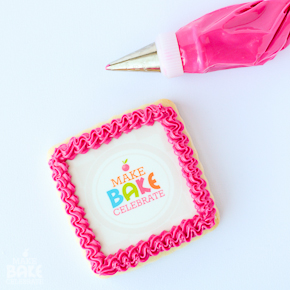
Step 3: After you have applies all of your edible images transfers you can mix up your border colors. I made 4 different shades of piping icing and place them in bags with a Wilton 16 tip.
Step 4: Pipe on a border however you would like and let cookies dry! Since I was in such a hurry I did a simple border using a Wilton 16 tip and a zigzag motion, but the possibilities are endless! Scallops, polka dots, curls, so many different techniques you could use! I recommend storing the cookies in an airtight container overnight before packaging them up.
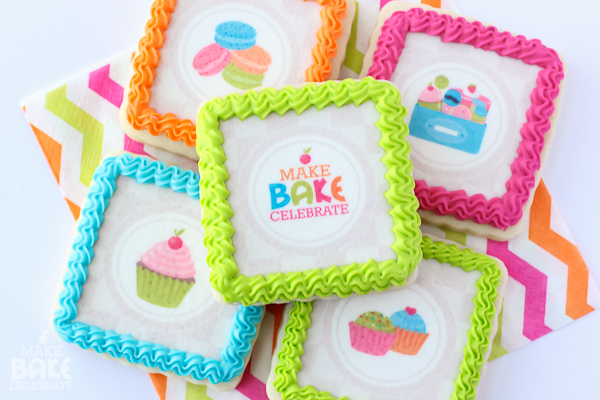
Edible images really open up so many different ideas! Not only do they make great coordinating parties, events, and holidays – they are simple enough for even the newest of cookie decorators! You can literately use any image you have access too from pictures to printable party items! Make sure to pin this post for later, you never know when your going to need some edible image cookies!
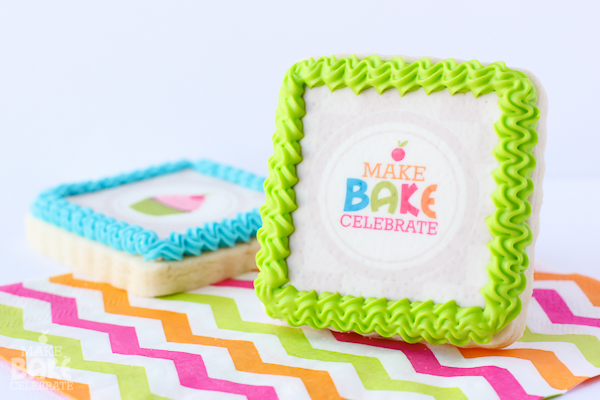










I love working with edible images and can’t wait to try and have custom designs printed. Your boxed sets look beautiful, I just love all the bright colors. (Sorry your luggage missed the flight!) :)
These are beautiful! Your pictures are gorgeous and the color, love the color!! Have a beautiful day!
Thank you!! You to!
omg, how absolutely adorable are these cookies? love the little printed cookies and tutorial, definitely pinned for later. Also, I lol’d when you described your experience of traveling with the cookies, after having met you, I can say that you looked positively beautiful and no one would ever have known you didn’t have your luggage ;)
Awwww thank you! But don’t worry I got my luggage in sometime during the first day! (I had packed an outfit in my carry on – whew!) And I’m sorry you didn’t get a cookie! I had more left but didn’t feel like toting them to the closing party – next time!
you are too cute with your cookies! Mine got squished :( but it still was awesome! Thanks for bringing these to BlogHer Food!
You’re very welcome! Sorry they got squished! Next time i am going to have to think of something more durable for traveling. (I had a hard time just getting them there)