
Eek! It’s that time of year…yep the time that I’m totally allowed to fulfill my candy corn obsession. There’s just something irresistible about those cute little layers of yellow, orange, and white that keeps my inspirations flowing.


You guys know how much I love to share easy to make cookies with you guys – adorable without all the fuss – and these fit right in! Each color is done in one icing consistency and I also used a little trick to keep the lines just right. Super cute + easy is always a win around here, especially if it’s candy corn!
Did you notice the sugar cookie is orange too? Such an sweet little trick to make the cookies have that extra special pop! And just how perfect are these yellow striped treat bags to package them up!

Here’s what you’re going to need:
Rolled Sugar Cookie Dough (I used this one)
Orange Gel Coloring
Candy Corn Cookie Cutter
Edible Food Pen
Orange 15 Second Icing
Yellow 15 Second Icing
White 15 Second Icing
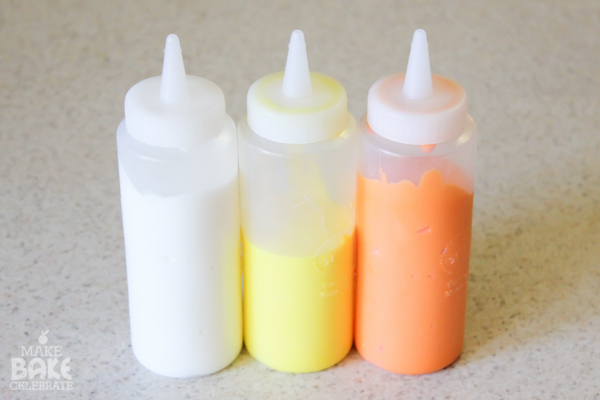
Need helping preparing the 15 second icing? Check out Royal Icing 101 for details!
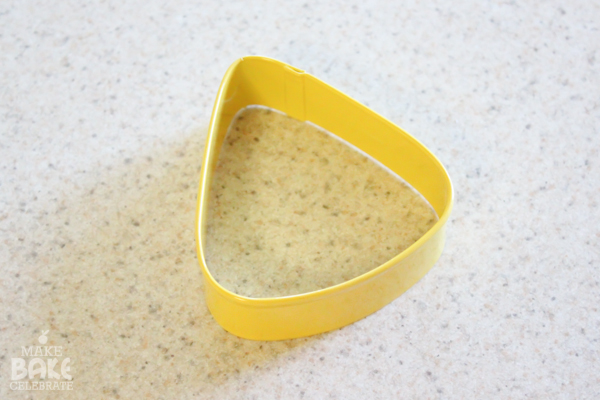
I used Wilton’s candy corn cookie cutter from this set.
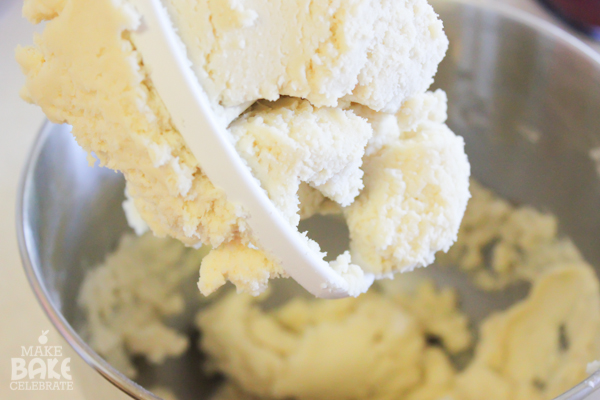
Step 1: Mix up a batch of your favorite rolled sugar cookie dough. I used my favorite go to recipe.
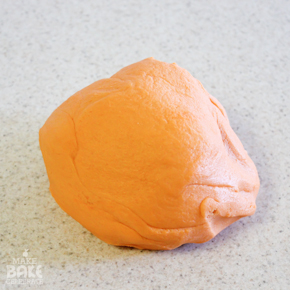
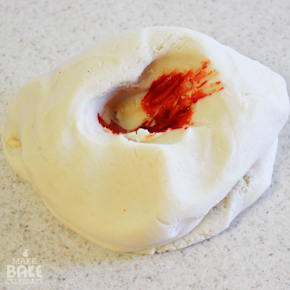
Step 2: Make a small dent in the dough, and place some orange gel food coloring in the center. Fold in the dough and continue pushing the outside in working the dough, until it’s completely orange. (this method helps keep the color on the dough and off your hands!)
Step 3: Once it’s a pretty orange, wrap up in some plastic wrap and let chill in the fridge for 5-20 minutes. It’s possible the dough may get warm and soft while your coloring it. Chilling it will get it right back to a workable dough, time will depend on your recipe.
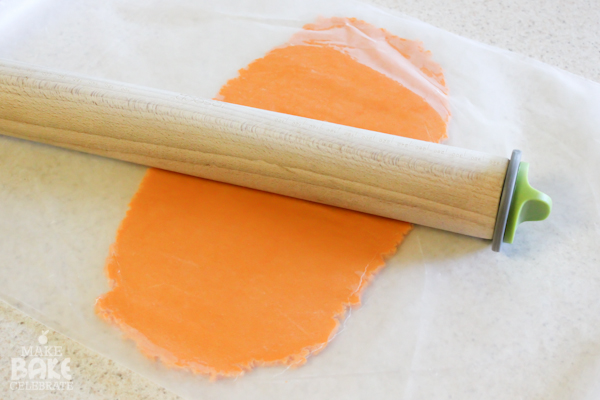
Step 4: Roll, cut, and bake your cookies. Mine were perfect at 10 minutes at 350 degrees. (your time may vary by recipe and thickness) Want to know all my tricks and tips? Check our this post to see how I make mine start to finish.
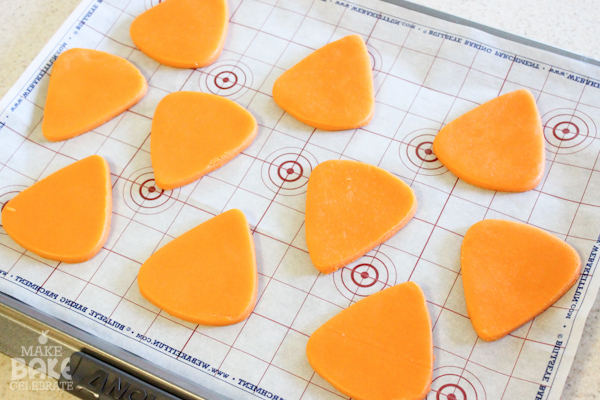
Time to decorate!
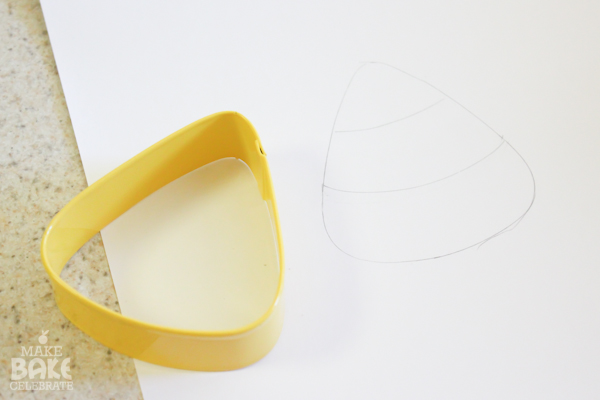
Step 5: To make the lines easy, I made a guide from paper then traced onto the cookies before icing. Trace your cookie cutter onto some paper, then use the bottom curve to create three sections (two lines). Then simply cut out that middle section.
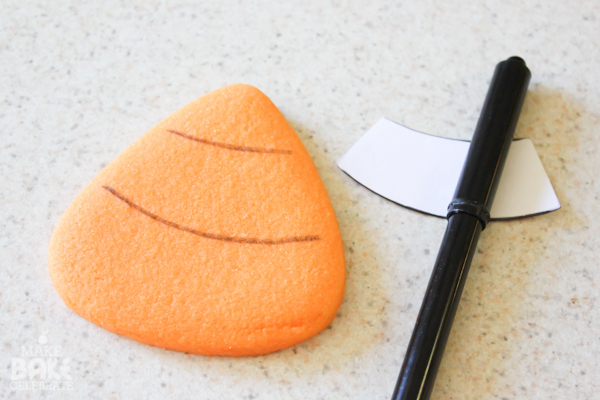
Step 6: Lay the pattern over each cookie and use it to trace both top line and bottom with an edible food pen.
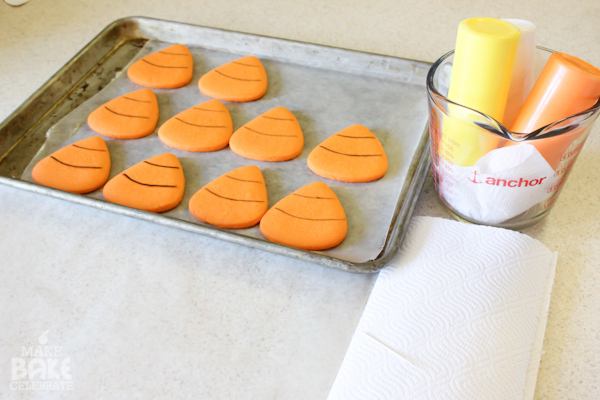
Step 7: Set up you’re work area.
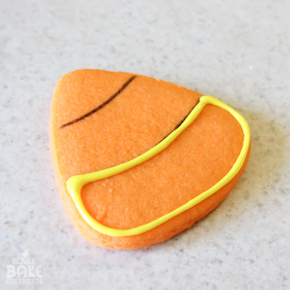
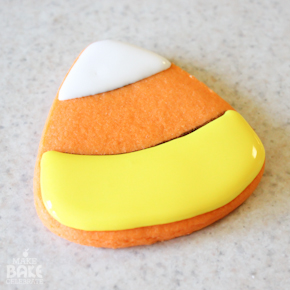
Step 8: First outline and fill both the yellow area, and the white area using the lines to guide you. Let them dry for about 1-2 hours to keep colors from running, then fill in the orange center! You can find lot more info on decorating cookies with royal icing here.
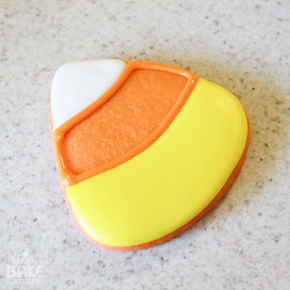
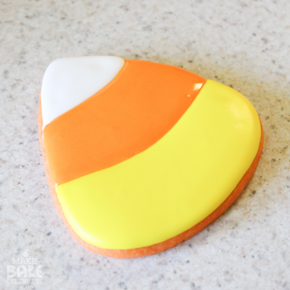
Step 9: If you would like the border I have, wait till the icing has hardened a bit (1-2 hours) then you can trace over the outline of each color with your icing. Start with orange first and completely outline the area, then add the yellow bottom and the little white top!

Ready to try out some candy corn cookies of your own? Don’t be afraid to get creative – add some silly eyes and a mouth, what about a bow?! A sprinkles border would be too cute!
If you’re totally new to cookie decorating or just want more info, here is all the links again to help you out:
Rolled Cookies 101
Royal Icing 101
Decorating Cookies 101








They are so smooth, I thought it was fondant – and I LOVE how you made the rim around each color! Beautiful!!
Thank you! Decorating cookies with fondant is on my to do list – I’m always afraid people will complain…have you tried it?
Lovin the look of the orange dough as the background!
I just love candy corn!! At this time of year, my house is filled with the little cuties!!! Cant wait to try these! thank you! :)
The orange base is a nice variation for your already cute cookies!
Funniest thing, I just bought a candy corn cutter at Joann yesterday. Now I got to get baking! Your cookies are adorable. Thanks for sharing!