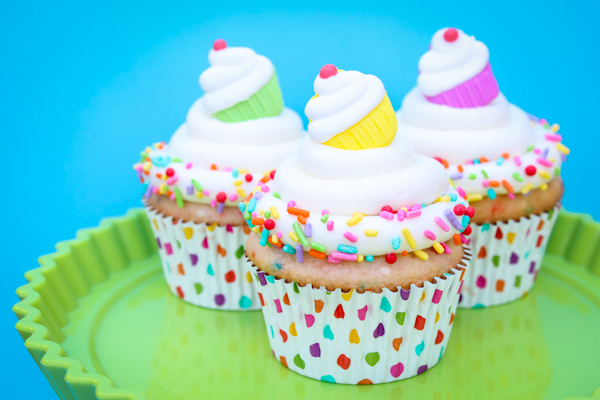
For those of you that may be just now joining in, this week I’m trying out some fun new Wilton cupcake products, and giving them to one lucky reader! If you haven’t entered yet, don’t worry…you can head on over here and enter until tomorrow. (April 19th, 2013)
A few days ago I shared some of my experimenting with the Colorburst Batter Bits in my Birthday Cake Cookie Bars. Today, I’m back to share with you my experience with Wilton’s new Two-Toned Cupcake Pan. I also wanted to give you guys some cute ideas on how to use some of the other fun new items. So you will also notice the Polka Dot ColorCups, Cupcake Decorations, and the Colorburst Batter Bits all baked into these cute little cupcakes.


Seriously, I love how they came out! Not only are they adorable and bright on the outside…the surprise on the inside is just as fun! And yes, it really was pretty darn easy! I’ll admit I was skeptical just how nice the inside would look, but check it out! My cupcakes had a beautiful blue center on the very first try.

The trick to baking these is this plastic divider that comes with the pan. Basically you place it over the cupcake liners and fill the center with one color or flavor and then the outside with another color or flavor. Then you slowly pull the divider right out! The batter stays in place and bakes just like you pour it, it’s pretty cool.
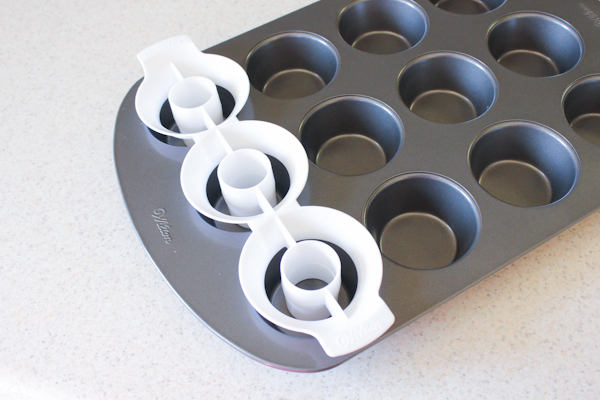
Here’s how to make them:
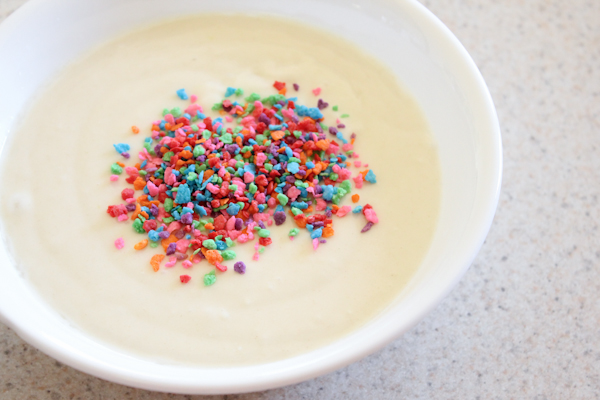
Step 1: Divide cake batter into two bowls. One should be about 1/3 of the batter (inside) and the other 2/3 of the batter (outside). Then color or flavor both bowls if however you wish. I colored my inside Wilton Sky Blue, and then I sprinkled in Colorburst Batter Bits in the outside batter.

Prettttyyyyy. Check out my last post for more info on the Colorburst batter bits.
Step 2: Line your cupcake pan with your liners. Then place the plastic divider in the first row.

Step 3: Fill the inside openings, then fill the outside.
I tried several different ways of filling these. You can simply use a spoon and spoon it in. The type A in me could let go of not measuring the batter and I wanted to cut down on the mess. The very best way I found to fill them was to place each batter in a pipping bag with a medium round tip (Wilton 10). This allowed me to easily squeeze the batter into each section, while keeping it pretty clean and fairly uniform. You can fill them however works best for you, however, two bags with round tips worked perfect for me!
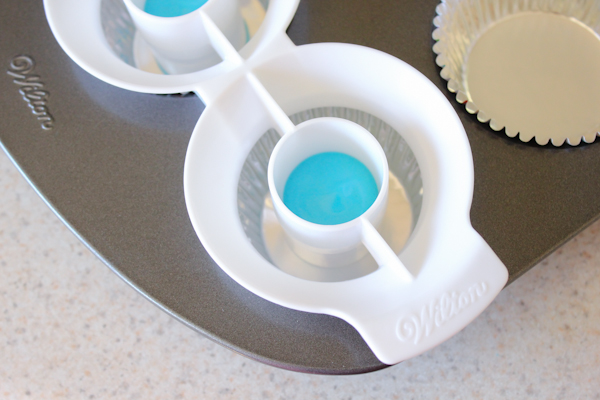
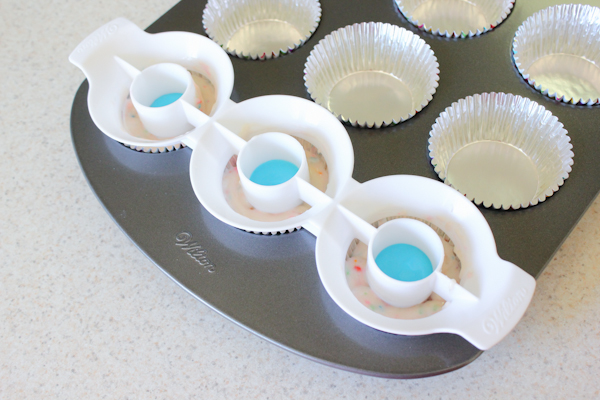
Step 4: Gently and slowly pull the divider out from the batter. Then continue with the rest of the rows.

Step 5: Bake as normal.
Here is how mine looked.

I decided to decorate mine with some sprinkles, a smooth swirl of buttercream, and the little cupcake decorations. Ever wonder how I get the sprinkles on just the first layer of buttercream? We’ll here’s how…first I pipe on the outside ring and then sprinkle the sprinkles on while holding over a bowl (to catch and reuse). Then I pipe on the swirl like normal starting with a little dot of icing in the center and then swirling it around. Check out this post here for more info on frosting cupcakes.
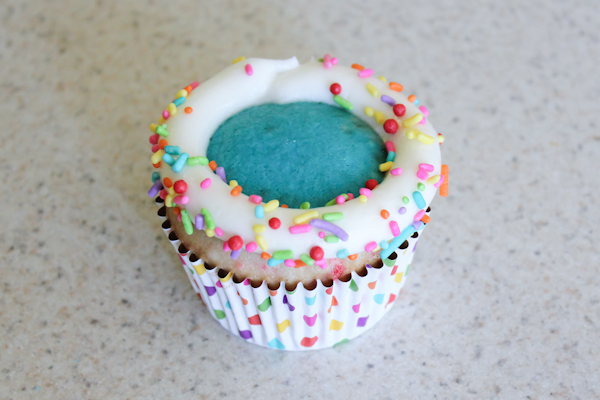
These cute little royal icing Cupcake Decorations can be found at in the Wilton section of your local craft store, Wal-Mart also carries them.

These cupcakes are so easy and fun, anybody could make them for just about any occasion!

I don’t know about you guys but I’ve got dozen of ideas to use this pan with! Not only all the color options…but think about the flavor options!!! Can’t wait to try a few more out. What flavors would you bake together? :)











Love them Toni! They are so cheerful and bright! Your new look on the blog is fantastic! BTW, I just posted some cupcake cookies on fb using the same cupcake icing toppers:) Yay for us!
So colorful! Love them! Thank you for the tip about putting sprinkles on just the first layers of frosting. It’s such a pretty look!
Your welcome! It took me several tries of rolling the cupcake in sprinkles to figure it out in the past! :)
These are so cute and look sooooo good. Can’t wait to give them a try.
I love these! They are beautiful! What cake batter recipe did you use? I can’t wait to use this technique for Memorial weekend. :-)
I LOVE these! Where did you find those sprinkles? The colors are perfect!
I actually have tons of sprinkles as I mixed my own to make this combo :).
I would NOT recommend using spoons to fill the cups…especially the first time! What a mess! But the cupcakes turned out great. I WILL use a bag and tip next time. :-)
I’ve tried these and found the inserts would not pull out easy. In fact, the batter clung to the plastic. I tried nudging with my fingers, tapping, and finally gave up. Anyone else have this problem? Would a spray with Pam work or should I use a very ‘runny, thin’ batter?
My batter did cling a little bit but since the colors were the same it didn’t create a problem. Maybe try using a thinner batter? I have not tried to grease insert, however I would be concerned about adding oil into the batter. Sry I wasn’t much help!
I have been debating whether or not to buy this pan! I think you have convinced me!
can the two tone cupcake filler be used with jumbo cup cake pans?