


Having a child in school for the first time this year, has finally given real meaning to Teacher’s Appreciation Week. Boy do I sure appreciate them and everything they do! We’ve been blessed with such great leaders in our kiddo’s life this year. Not only are they so fantastic with the kiddos, they don’t mind enjoying all our extra treats!
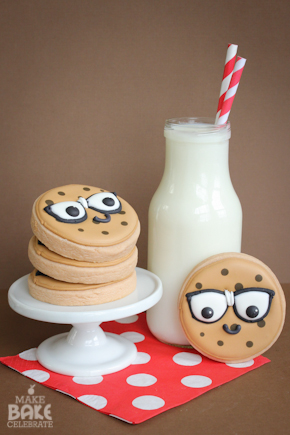
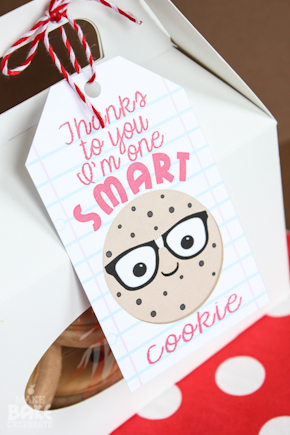
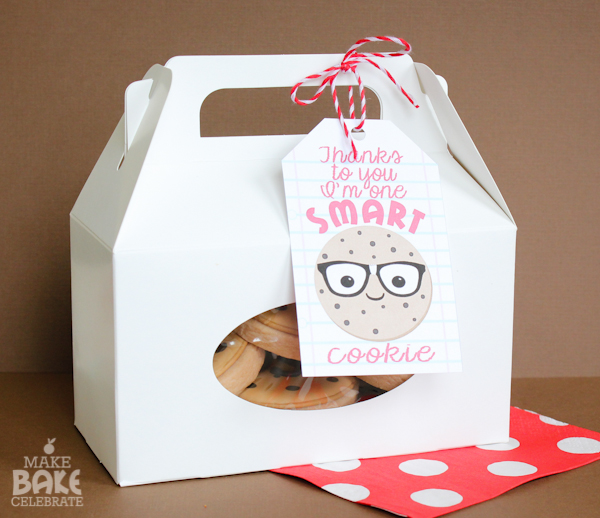
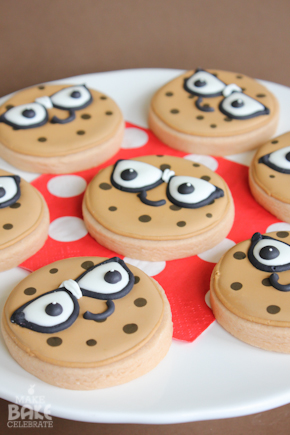
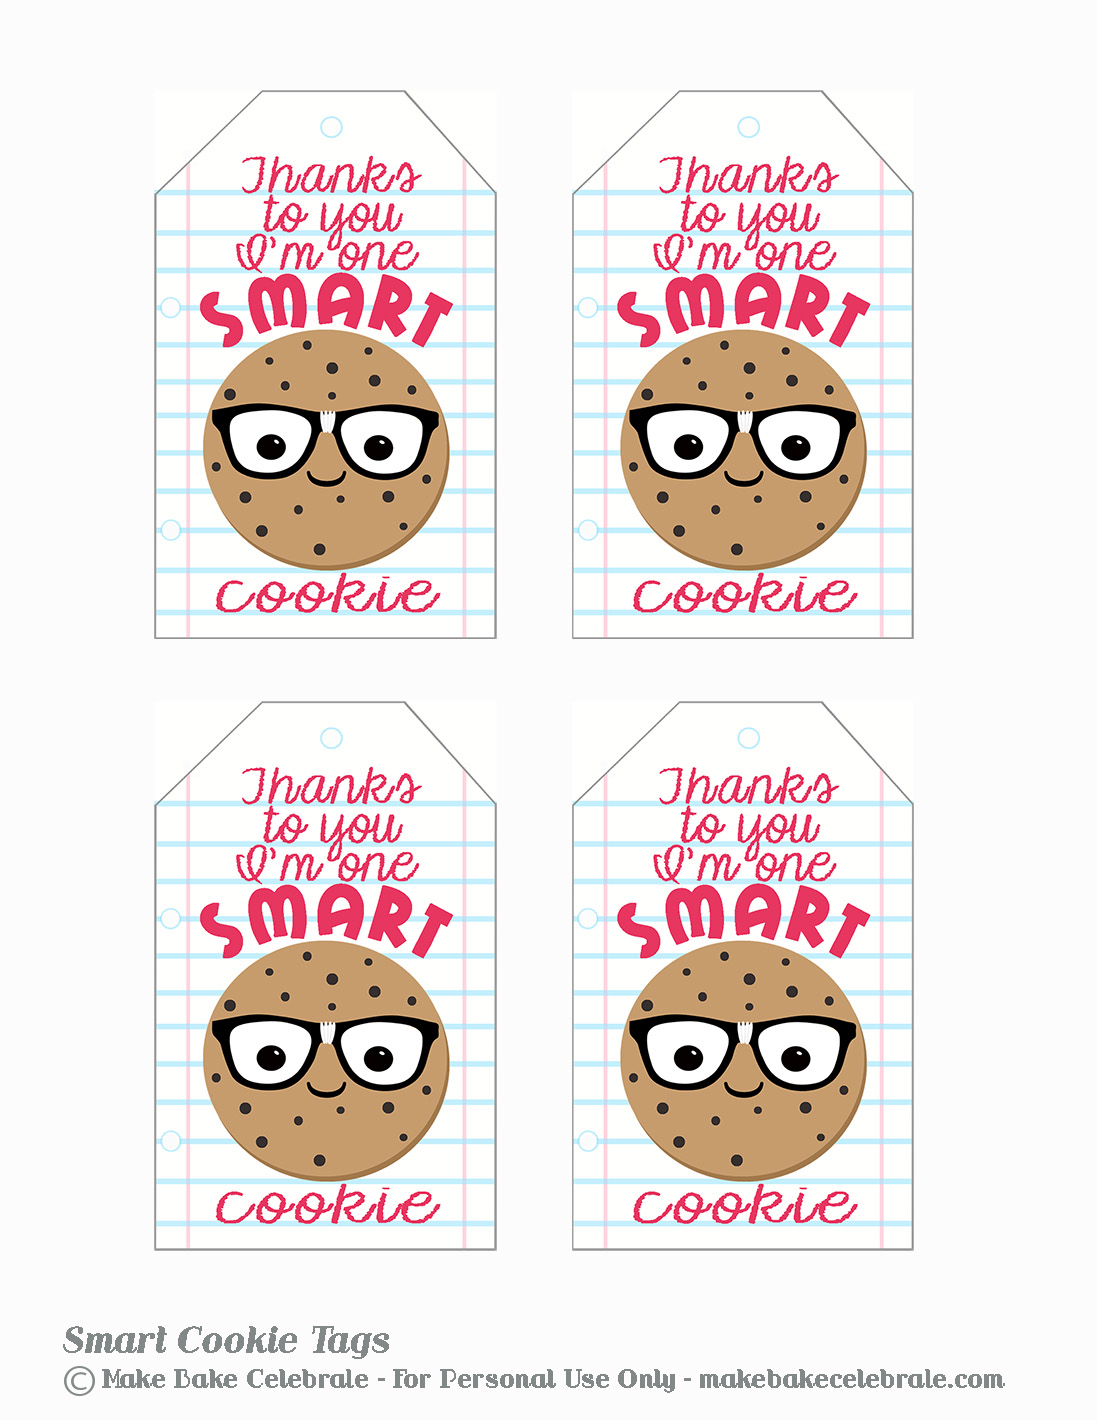
Since Teacher’s Appreciation Week is near, I thought it was time to bake them something up to say “Thanks!”. I’ve sent quiet a few cupcakes their way, so some cookies were in order. What better cookies to send them then some smart cookies?! Of course, a printable was in order too…these cookies may be smart, but they don’t speak for themselves! ;)
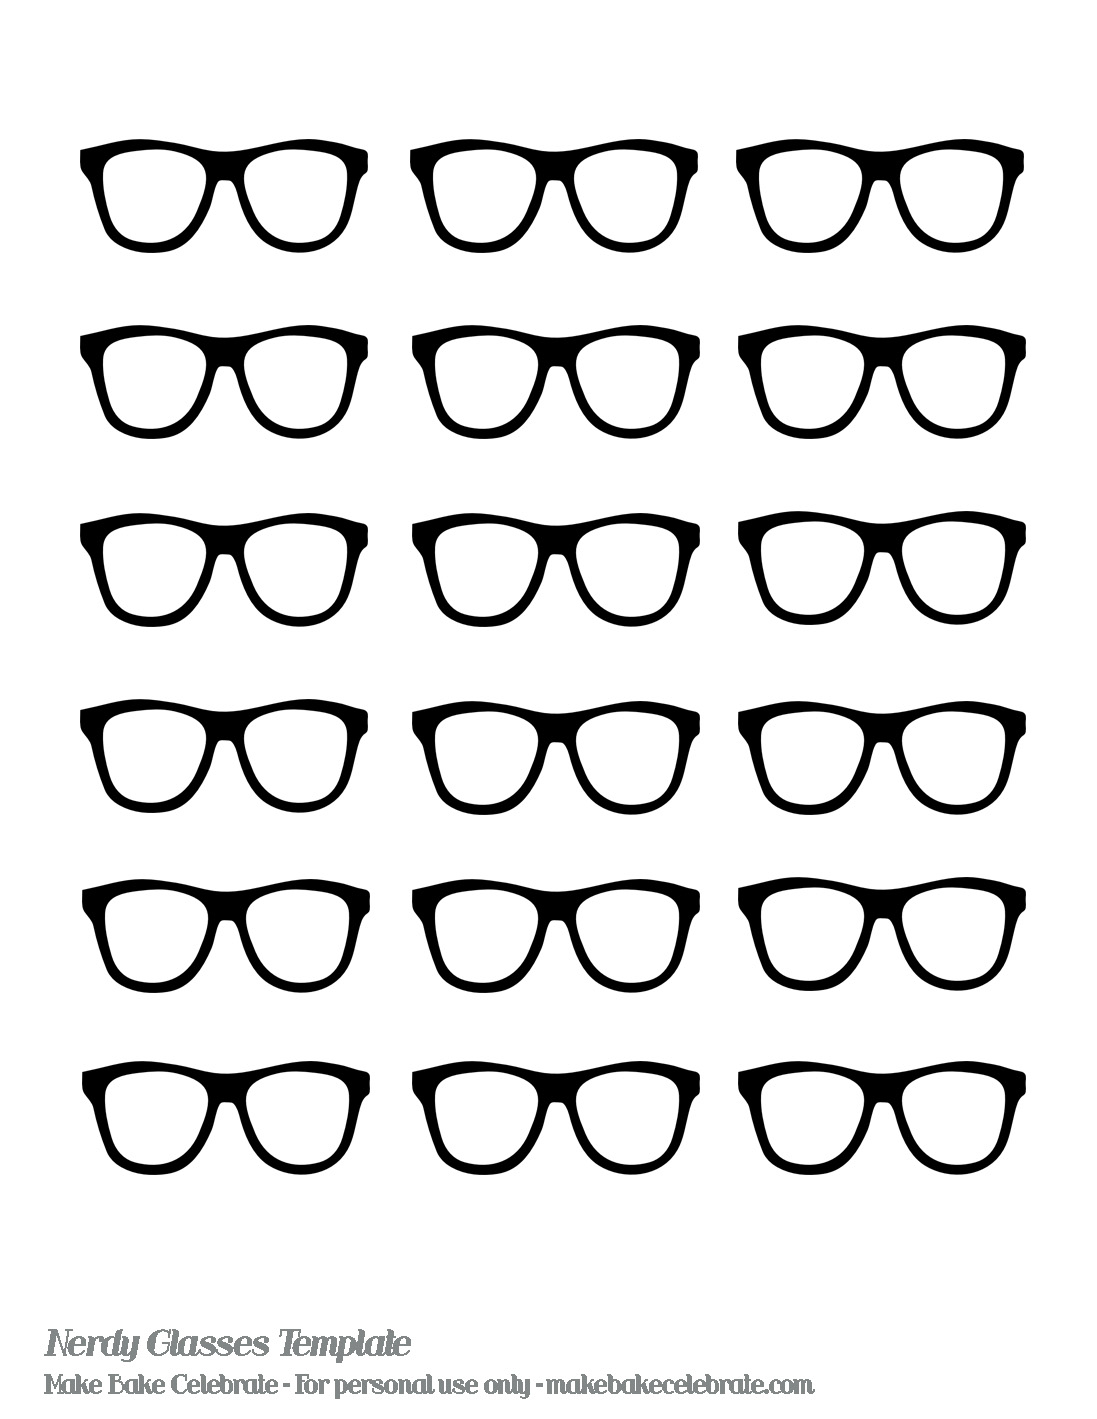
I had already “drawn” up the little cookie design before I made them so I knew exactly how I wanted the real cookie to look like, I just had to decide the easiest way to achieve it. I was super excited when I remembered these adorable Bookworm Cookies by Sugarbelle! She explains how she used a template and some wax paper to pipe the glasses on wax paper, allowed them to dry, then transferred them to the cookies. Genius. Want to make some too? They really aren’t very hard, and I even made a Nerdy Glasses Template to share with you!
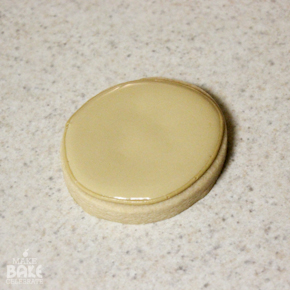
The template is made to fit 2.5in cookies, so if you need them any smaller or larger you can adjust them by changing the percentage when printing. To bake these cookies I used my normal sugar cookie recipe and method, slightly tinted brown. I also made two half batches of royal icing, one for the glasses the first day and then for the cookies the second day. Which I split into bowls, colored, thinned to consistency, and then placed in either a pipping bag or decorator bottles. If you are new to royal icing, Sugarbelle has an awesome post all about consistency here!
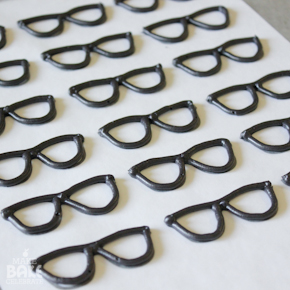
First you will need to make the glasses. They will need to be made 24 hours in advance, giving them proper time to dry, You will need:
Black Piping Icing
White 20 Second Icing
White Piping Icing (optional for “tape”)
Wax Paper
Nerdy Glasses Template
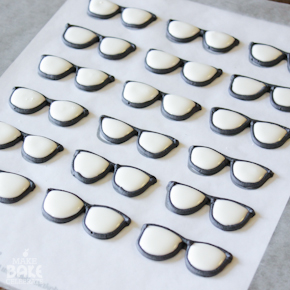
Step 2: Using your 20 second white icing fill in the “glass” portion of the glasses. If you would like to add a little “tape” to the glasses you can do so now with some white piping icing and a tiny round tip. Allow them to dry for 24 hours, they will then be able to gently peel off your wax paper.
Now time to decorate the cookies. You will need:
Light Brown Piping Icing
Light Brown Flooding Icing
Dark Brown Flooding Icing
Black 20 Second Icing
Tiny White Sprinkles OR White Pipping Icing (optional)
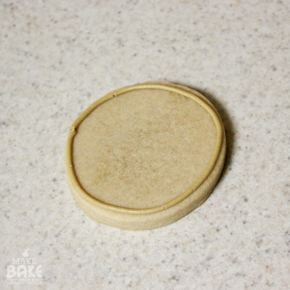
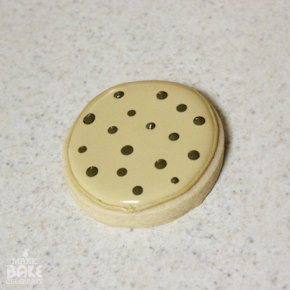
Step 4: Flood your cookie with light brown flood icing and a decorator bottle, use a toothpick to fill in any gaps.
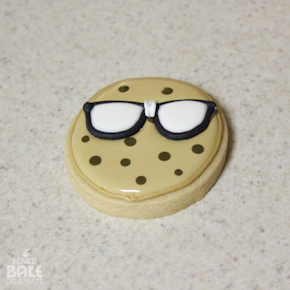
Step 6: Gently peel off your glasses and quickly drop them onto your wet icing. You can move them just a bit with a toothpick if needed. A small icing spatula helped me remove and move them easily.
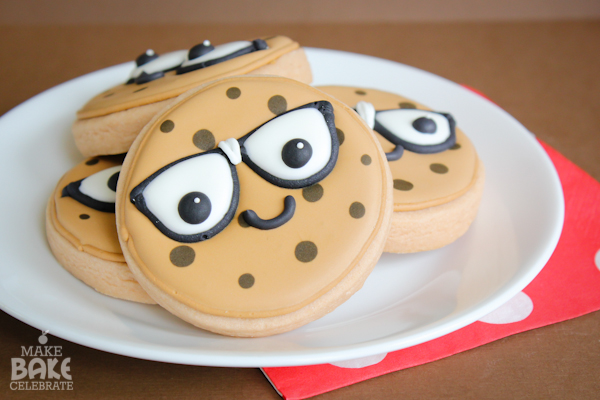
Step 7: Let the cookies set for a few hours or overnight. Then using your Black 20 second icing and a small round tip, pipe on some black dots for eyes and a little smile. I dropped a little white sprinkle on each eye to create a “gleam”. You could also wait till the black dries and pipe it on with white icing, or just leave it off all together.
These really we’re fun to make. It’s hard not to have fun making a cookie that’s smiling back at you…with those nerdy big eyes!
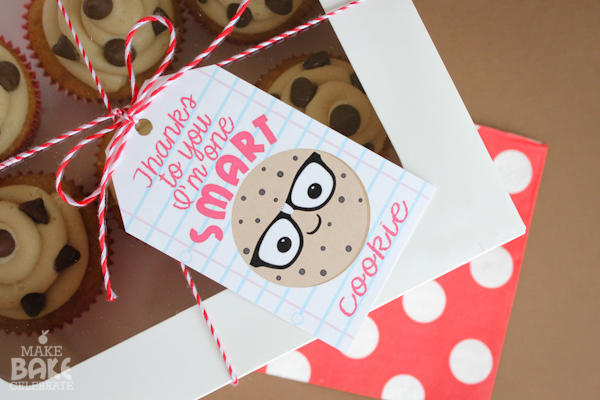
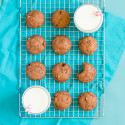
But if decorating cookies is not your thing, these tags would still look super cute with regular chocolate chip cookies! Or what about cupcakes? I also baked up some yummy chocolate chip cookie dough cupcakes last week then boxed and tagged them to give to one of her teacher’s at our special lunch date. It’s an updated version of my previous recipe which I’ll be back to share tomorrow! :)

For personal (non-commercial) use only.
Enjoy!


Such a cute design! I love the added touch of the tape on the glasses. :)
Adorable! Thanks for sharing!
These are so adorable, Toni! I am going to make some for my daughter and her husband; they are both teachers. I love the wet on wet choc. chips!
I’m the Editorial Assistant for Fun Family Crafts and I wanted to let you know that we have featured your project! You can see it here:
http://funfamilycrafts.com/smart-cookie-printable/
If you have other kid friendly crafts, we’d love it if you would submit them. If you would like to display a featured button on your site, you can grab one from the right side bar of your post above. Thanks for a wonderful project idea!
oh how i LOVE these! unfortunately i am not one smart cookie when it comes to royal icing but i’ll keep trying! LOL
oh, qu’ils sont mignons !!! j’adore !… je cherche des freebies sur le Net pour les partager, pour l’instant sur Pinterest (où j’ai déjà plus de 14000 liens vers des téléchargements gratuits), en attendant l’ouverture de mon propre site, et je vais vite poster le lien pour que tout le monde puisse télécharger et utiliser votre jolie création !… merci pour le partage, Is… (si vous voulez voir ce que je fais, c’est là : http://pinterest.com/lemondedis/ )
These are adorable! Thanks for including a download of the cookie tags as well. I’m going to make them for the teachers at the end of the year.
Sounds great!
Thank you for sharing–this is the cutest teacher appreciation gift EVER!!!
Thank you!
Adorable!!!!
I published: https://www.facebook.com/#!/ideiascomsabores/photos/a.604337196284033.1073741829.602288486488904/751750531542698/?type=1&theater
These are so cute! Thanks for saving me while I was in a pinch. I posted a pic of the gifts I gave to the teachers with your adorable tags.
http://leftbraincraftbrain.com/2014/05/01/teacher-appreciation-week/
Awesome! Glad they came in handy!
Toni… these are just incredible… your talent eludes me… So glad I took the time to parooze your site today! Might try these out one day.
Thank you Ginny!
These are amazing!
But I can’t seem to find the link for the cookie tag…
can someone help me?
:)
Hi CoraLee! A few paragraphs in there is a teal “click here to download” button, it looks like a big sprinkle. It should be to the left of “sweet sponsors” in the sidebar. Hope that helps!
Thank you so much for these adorable tags and the step by step tutorial for the cookies. I’m planning on using these tags for some teacher appreciation gifts this year and just wanted to let you know how much I love them. :) Any chance you have a sprinkle sugar cookie version of the tag? ;)
I don’t yet, but that would be a great addition!
Love all your ideas & creations! I was pressed for time so I didn’t make your recipe for Smart Cookies, however, whipped up a batch of our fave chocolate chip cookies! Packaged them in a cellophane baggie adorned with a pretty ribbon and your oh-so-cute gift tag! I love how easy it was to download this printable! Thanks you much!
This was a perfect way to end Teacher Appreciation Week!
Subscribed to your newsletter & can’t wait to see more fun ideas!
Awesome, so glad to hear they came in handy! Welcome to MBC!