
Ekk! I can’t believe it’s time to post fall stuff! Wahoo! I am SO ready for the holidays already. I know, I know it’s barely September… but I have a long list of fall and Halloween fun to share with you guys in the next few weeks. If your not already following M.B.C on facebook be sure to stop by and “like” the fan page so you won’t miss any of the fun stuff.
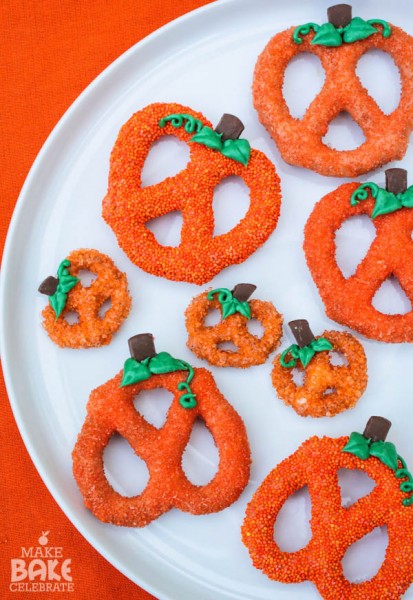
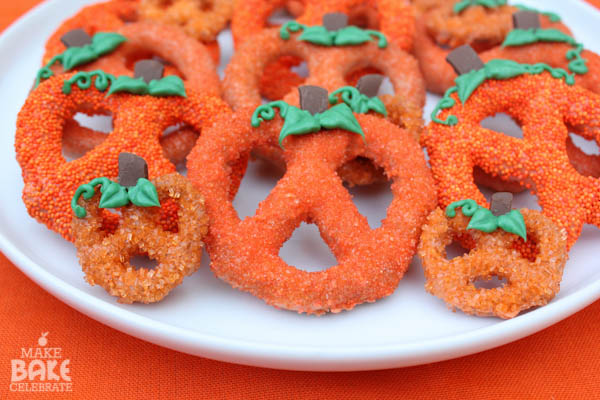
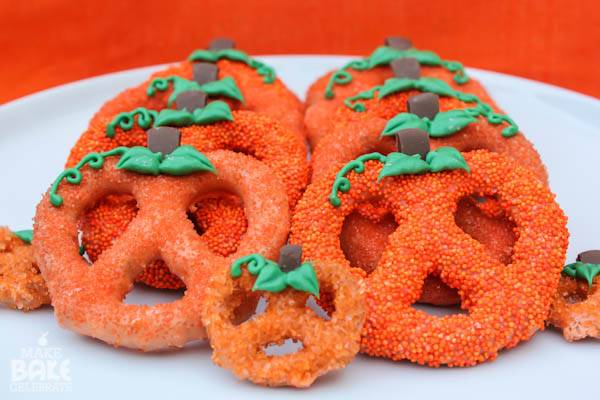
In our house we are huge pumpkin fans, and I’m not just talking pumpkin pie here. Our kids adore pumpkins in every shape size and form. The kiddos saw their first glimpse of fall items at the store the other day and you would have thought it was Santa. Seriously they’re crazy for them. As I was making the apple pretzels I knew I would have to try to turn some into pumpkins. I wasn’t sure if they would look as cute as the apples, but I actually think they are even cuter :)
To make this chocolate pumpkin patch your going to need:
Big and small pretzels
Orange candy melts
Orange sprinkles
Green candy melts
Chocolate pieces (a hershey bar or chocolate melts)
ziplock bag
leaf tip
small round tip
plastic wrap
coupler set
I didn’t take step by steps photos since I have done pretzels so many times here before. These little guys can be made using the same process as the apples with just a few changes. Instead of using the rips this time I piped on the leaves with green candy melts and I also covered the the pretzels in sprinkles. I used orange wilton candy melts for these and once covered they were more of a peach so the sprinkles gave them the pumpkin orange I was looking for. You can find more tricks and tips on how to cover pretzels in my Melting Chocolate 101 post.
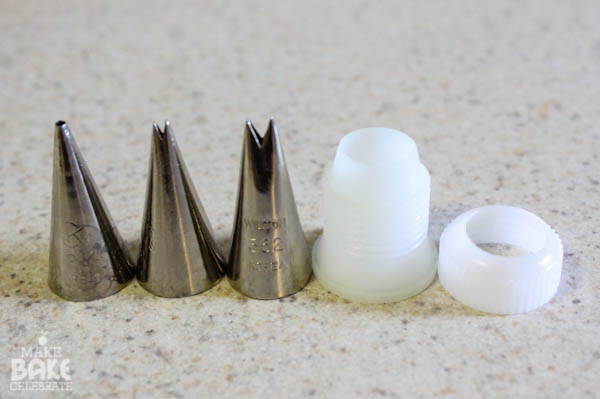
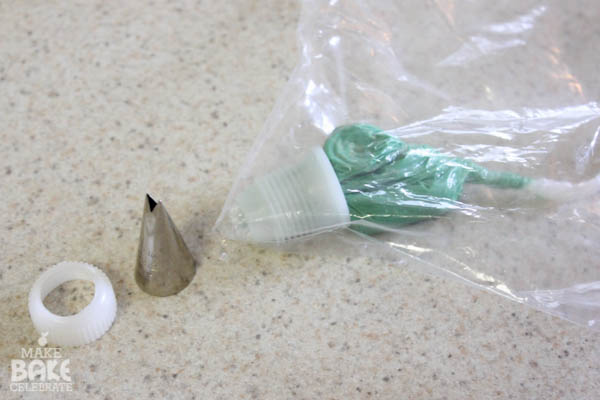
And here are a few tips (pun intended) on how I made the leaves. This if by far the easiest way I have found to melt and decorate with chocolate. No scrapping the bowl or pouring warm chocolate and easy clean up. A little less clean up is always a fav here. Of course you can use a pastry bag but I opt for a cheapie bag when it’s such a small amount like this. I used wilton #2 tip for the vines and for the leaves I used a wilton #352 and a smaller version that was unmarked. You could use the same size leaf tip however.
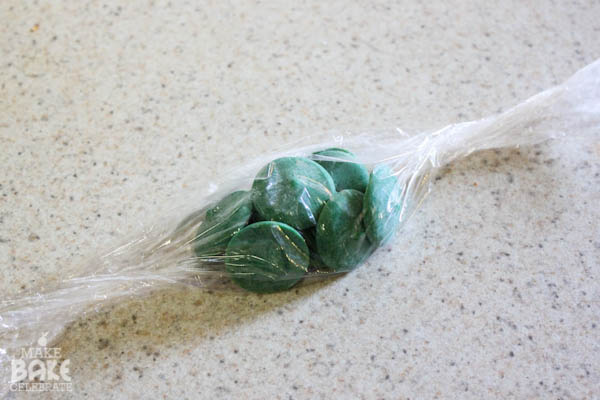
Wrap up a handful of chocolate melts in a piece of plastic wrap. Gently twist the ends…kind of like you getting ready to snap a towel ;) Then microwave at 50% power in 30 seconds spurts until melted.
**EDIT: In case you are concerned about plastic heating in the microwave, research has shown zero toxins or BPA released when heating saran wrap. My box of Glad wrap even states microwave safe. However, if you are not comfortable with heating the wrap, heat in a microwave safe bowl and then insert into pipping bag.**
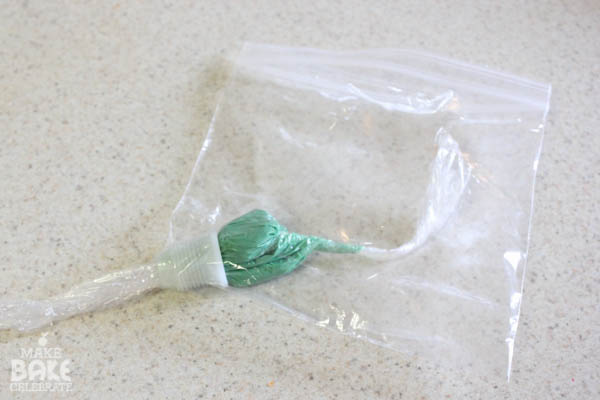
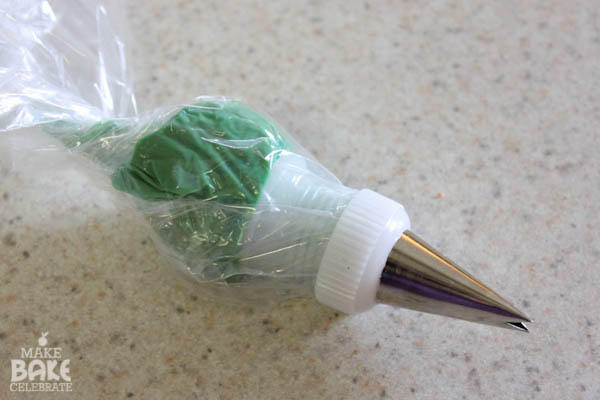
Once melted twist again so it’s nice and tight, then insert into a snipped sandwich bag with a coupler in it. Pull the twist through then trim the plastic wrap, and attach the tip.
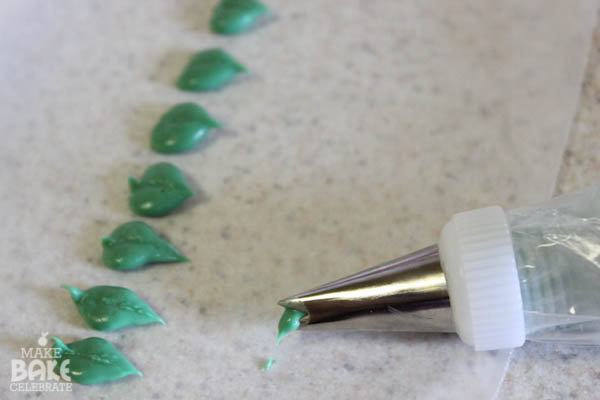
You can practice making a few leaves on some wax paper first. The leaves are easy to make. You apply a small bit of pressure then release as you pull back.
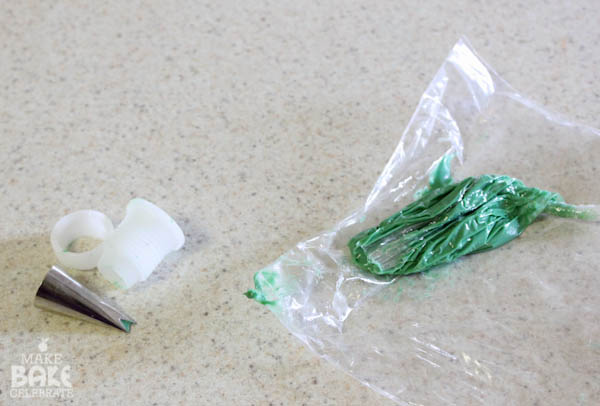
When your done all you have to do is unscrew the coupler, then pull out the bag and inside coupler. You can simply toss the bag and wrap and it’s an easy warm wash for the tips. Love this method! Sure beats scrubbing a bag out..chocolate is NO fun to wash off.
My favorite part though was changing up all the pumpkins. No two pumpkins are the same of course, so I made some with smaller pretzels and some with larger pretzels. I used 3 different sprinkle types to create different shades, and I even turned some pretzels upside down to create different shapes. These were so much fun, easy, and pretty quick. The thing I love about pretzels aside from them being so cute and easy is they package well…so I know I can send them to school or across the country.


I LOVE this, so freaking cute!!
These are adorable! Fabulous idea!
Cute, cute, cute! I saw the pretzels in the store over the weekend and wanted to get some but now I will make them instead!
Very cute, but I wouldn’t melt anything in plastic. Plastic releases chemicals when heated.
Hey there.Thank you for the concern, I wouldn’t want to have anybody get sick. I have done lots of reading on this subject and all research and testing saran wrap has showed zero release of toxins or BPA into food when heated. MY box of Glad wrap even says microwave safe. Hope that helps! :)
These are ridiculous cute! What a fabulous idea
Found via Pinterest so very cute! Will definitely try. =)
What are the stems?
The list of ingredients has Chocolate pieces (a hershey bar or chocolate melts) so I think you might just chop them up and use the pieces that look most like stems? Attach when you do the leaves? When I make them next week, that is how I am going to do it, anyway. :)
I can’t wait to make these with my girls! Thank you for sharing!
Love how these turned out! My kids would adore these!
Your “how to cover pretzels” link doesn’t work at all. Instead of a URL it has some long text in it.
Very cute! I am wondering if I can make these ahead of time for a party? Do you know how long they stay “fresh”? Thanks!
Definitely a week or two, maybe longer even. You can always freeze these to preserve them as well!
LOVE this idea! I’m not one to bake cookies for Halloween, but I’ll definitely try these this season. Thanks for sharing!