


Hey there, it’s Friday! Not only is it Friday it’s a long weekend! I’ll be honoring my soldier by baking up a storm this weekend (he gets to be the taste tester…win/win right? ) But for today I’m back with another “baking basics” posts, all about melting chocolate. With holidays and baking season just about here (yay!), I thought now was the perfect time to share all about melting chocolate. Who doesn’t love a chocolate covered… well anything :).
I feel like this year I’ve been stalking the stores waiting for the first hint of candy canes, red, green, snowflakes, and peppermint! Our stores were just barely sitting things out last week but that didn’t stop me from bringing home enough fun stuff to get started. I couldn’t wait to get in the kitchen and make some wintery goodness. So maybe this post was also a bit of an excuse to bust out the Christmas treats…peppermint, sugar cookies, gingerbread, can you tell I’m a bit excited?
Back to chocolate melting…I don’t know about you guys but, I have had some melting chocolate disasters. Clumpy chocolate, thick chocolate, burnt chocolate, chocolate that sets up funny, sliding off my treats chocolate, fishing treats from the chocolate, double boiler chocolate disasters, microwaved burnt chocolate, straight to the trash chocolate….you name it I’ve probably ruined it :) I have awesome memories of growing up making chocolate dipped treats with my mom each year, crossing our fingers hoping the chocolate would melt right in the double boiler. Even if we got the chocolate right…we would make a total disaster dipping the treats they never looked as good as they tasted. Even though I couldn’t stand the thought of melting chocolate…it was worth the effort, once a year.
I’m going to go out on a limb here and guess I’m probably not the only one that has had these issues…if you’ve totally never worked with melting chocolate before let me let you in on the agony. Chocolate gives you one chance…and if you mess it up, it’s over…c’est fini! If it’s heated too quick or too much it begins to clump…and will never go back to a nice smooth pourable chocolate. But I’ve melted chocolate a few dozen..ok hundred times since then, and I’ve learned a few tricks. Chocolate treats can be some of the easiest treats to share! So if your in the process of throwing out your melting suplies and banning all melting chocolate from your kitchen…wait a minute! I may have one…or two…tricks to help you out. Ok are we ready? Time to get serious about chocolate…
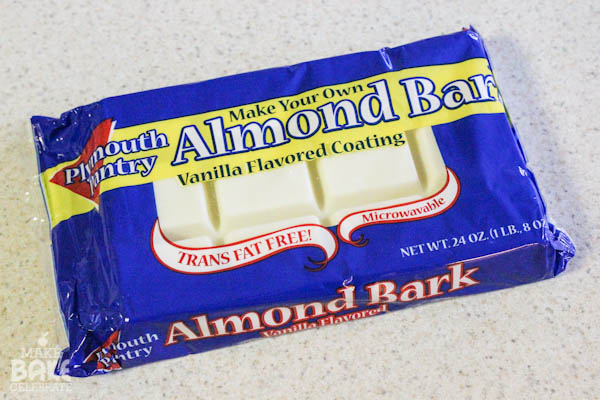
When I’m using melting chocolate I almost always use Almond Bark or Candiquick. It’s available just about everywhere and works perfectly for me. Of course it comes in white and regular chocolate. May I add…do NOT use chocolate chips. I can’t tell you how many times I find out chocolate chips are responsible for a melting chocolate failure. They are yummy in all kinds of desserts, and who doesn’t love chocolate chips…but if your looking to cover a cake pop…they just won’t work, ok?
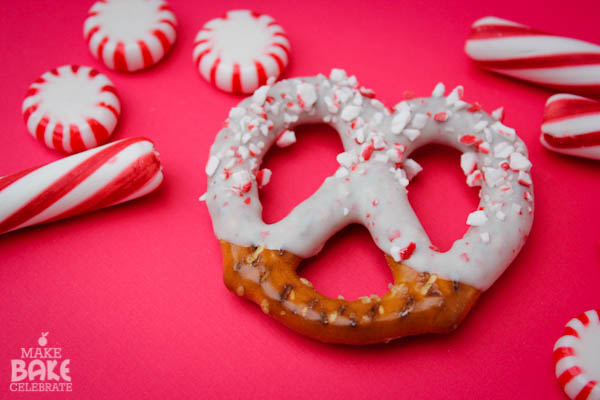
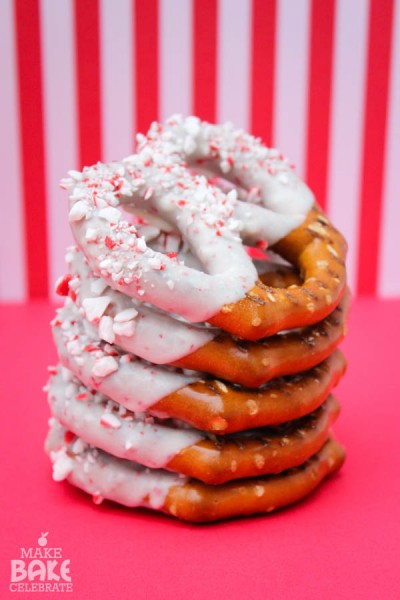
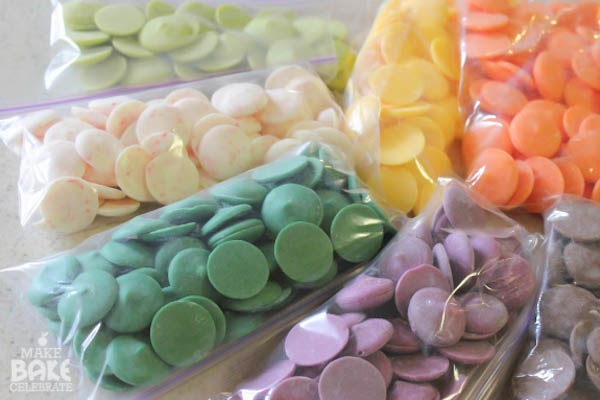
The other item most commonly used is candy melts. Now of course these aren’t technically chocolate (same as white chocolate)..but they are used the same way and taste pretty much like chocolate. Besides have you ever heard somebody bite into a covered cake pop and say wow, I love that candy melt??? Yea, me either. So for today I’m calling it chocolate :) The benefit of candy melts is they come in tons of different colors and they are really easy to use! There are several different name brands but I tend to just stick with Wilton, they are easily available and affordable. I also love to use Merkins melts, but we’re currently stationed in an area that had zero baking supply stores, which means I have to order it online if I really want some. Recently while I was stalking the store for Christmasy stuff I found these candy cane flavored melts! There was no way I wasn’t taking a few bags of these home right away. I will be using them to demonstrate in today’s post by making chocolate covered candy cane pretzels :)

Melting Chocolate
I long ago gave up melting chocolate on the stove. Quiet frankly…it’s a pain in the butt. So if your stuck on using a double boiler…I’m not much help. Other then low heat and stir, stir, stir! :) Most melting chocolate can be melted right in the microwave and even has directions right on the bag. So up until recently I have melted chocolate in the microwave…and I got it down pretty well but it’s still a pain. Until I finally caved and bought something I thought was an “un-needed” kitchen gadget…drum roll please…………the Wilton Chocolate Melter Deluxe.
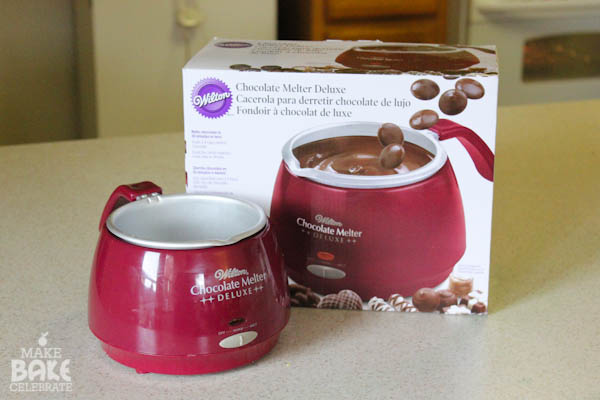
This little lady has totally changed my chocolate covered habits…a very welcome change. I simply put my chocolate or candy melts in here, place it on melt, and walk away. A few minutes later I come back and stir it and slide it to warm once I feel it’s ready. I have now used it well over a dozen times and have had a 100% success every single time. Everything I have tried has came out perfect and SO MUCH EASIER. I don’t even think twice about melting chocolate any more. No worrying about working too slow because it might harden or over heating it. It just stays perfect! Normally I’m all about flexibility in the kitchen. But honestly….if your going to make some chocolate coated treats this year I would invest in this little lady. For around 20 bucks you can make chocolate melting hassle free. (which is about what I use to spend replacing burnt chocolate, ha!) Oh and did I mention how clean it is? I just pull out the bowl and my spoon and stick them under hot water. If I’ve dripped any on the melter I just wipe it right off while it’s warm. You won’t regret it, promise. Ok….sorry I’ll get off my little soap box now.
If your just not convinced you need a chocolate melter…the microwave is always my next favorite option. To melt chocolate in the microwave I simply break it up into small pieces and place it in a microwave safe bowl. Then I reduce my microwave power to 50% and microwave it for 30 seconds. I open the door, stir, and then microwave it again at 50% for 15-30 seconds continuing to do this until it’s almost melted. I like to pull it out when I see just a few very small chunks left then stir until the heat of the chocolate has finished melting it all. This is a great way to reduce the risk over melting. If you haven’t over heated it and it’s still not right, you can add a small amount of shortening to help out. (see more on that below) Also once you pull it out of the microwave, let it sit for a minute and cool down just a bit before dipping. You can see how this may take a bit of patience I’m sure.
Consistency
When your using melted chocolate in any way you are going to want it to be smooth of course. Chocolate lumps are really never pretty no matter the treat. The key here is to melt slow and not to over heat of course. When you pick up your spoon your chocolate should slowly drizzle down from your spoon. It it’s falling in more of a clump it’s not quiet ready yet. One trick to getting melted chocolate to a smooth consistency is to add a little bit of shortening to it and stir well. I add about 1/2 TSP to a cup of melted chocolate. When I was melting chocolate in the microwave this always helped, however, since I have gotten my new Wilton chocolate melter…I haven’t needed to add any Crisco at all. The chocolate should be thin enough that the excess slides off whatever it is your trying to cover with a gentle tap. If it’s too thick it will just kind of clump on there.
Coloring
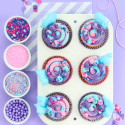
Coloring chocolate can be such a pain! This is where candy melts come in so handy. Candy melts come in so many different colors using them is so much easier. Different brands make different colors so there are almost always an option for what your looking for. If that’s not enough you can color the chocolate, but it has to be an oil based coloring. If you use regular food coloring or even gel coloring your chocolate will become thicker and may not even pour at all…ask me how I know ;). Wilton does make oil based candy coloring as well, which can often be found around the candy melts in a box of four. These are perfect when you just can’t find the right shade of what your needing.
Flavoring
I don’t often flavor chocolate, especially if I’m trying to nicely coat something in it. However you can flavor chocolate using candy flavoring (you know those tiny bottles?) because they only take a small drop and they are generally oil based. I have also had a good outcome with flavoring chocolate with powders such as pudding and Duncan Hines flavor packets. But it always takes a bit of experimenting to see if it will work.
How I make pretty chocolate covered treats
Ok now I’m going to break it down Barney style and show you my method of melting and covering a treat in chocolate. Of course there are many different ways and you have to do what’s comfortable for you…but this is just my way and it works for me!
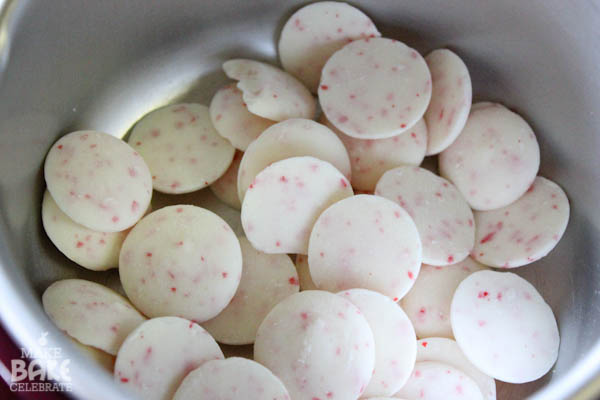
Step 1: I pour chocolate (or candy melts in this case) in my Wilton melter. I generally only melt about 1/2 cup to 3/4 cup at a time unless I know I’m really going to be covering a lot. Melting chocolate goes a long way and it’s easy to melt a little more if needed, instead of wasting chocolate. (because that’s a crime, seriously!) I place my melter on “melt” and go on to the next step.
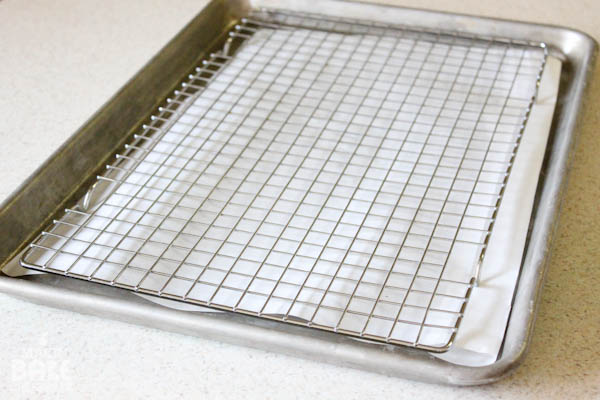
Step 2: While I’m waiting for the chocolate to melt, I get everything setup so my process is nice and smooth. Organization is always key to making treats look as good as they taste. To start I line a large baking sheet with parchment paper or wax paper, then I generally layer a cooling rack on top. The cooling rack is totally optional and I don’t always use it…but I like it because it keeps extra chocolate from pooling up around the treat. The paper underneath still allows for easy clean up. If your going to be making cake pops or any other treats that can’t lay flat…you will need a block of styrofoam or a cake pop stand to stick them in.
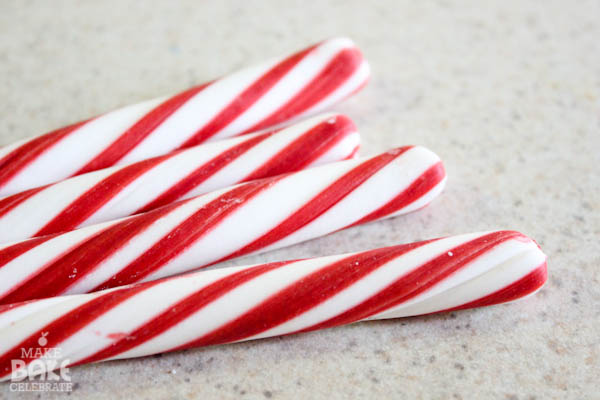
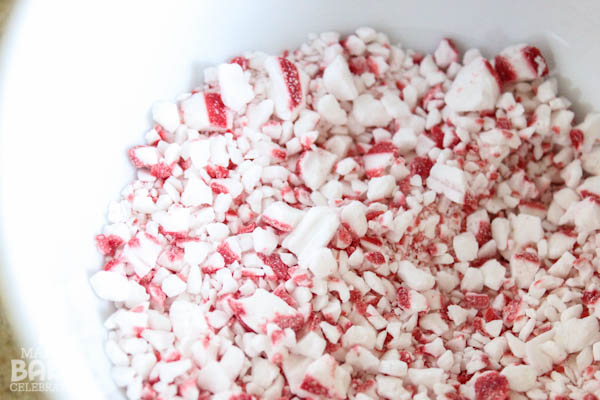
Step 3: Next I gather any other supplies I will be needing. A spoon, a fork (if completely covering treat), a napkin, my naked treats, and sprinkles of course. For these candy cane pretzels I ground up candy cane sticks in my Ninja (another kitchen fav) and used them as sprinkles…
Everything is clean, organized, and ready to go! -keyword…organized. :)
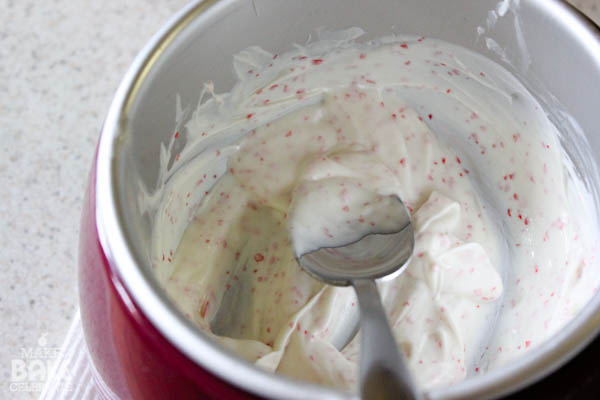
…and by this time my chocolate is ready to go! I really really love this candy cane version. Once I give it a little stir and confirm it’s ready, I switch the slider to “warm”. Which will keep my chocolate at the right temp the whole time I’m working with it. Yep, no more rushing to get everything covered before it hardens! Everything covered the same way from start to finish.
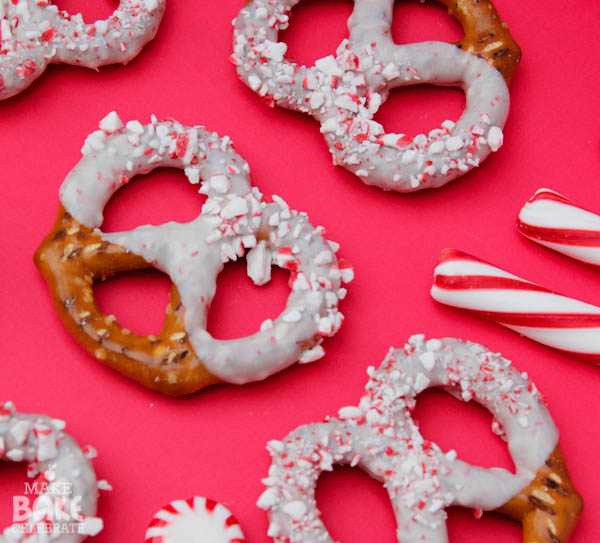
Step 4: Now I simply hold on to the bottom of the pretzel or cake stick and cover with chocolate using my spoon. Really I don’t dip anything in chocolate at all! I always bring the chocolate up to where the pretzel T’s at the bottom, keeping them nice and uniform. Then I gently tap the pretzels on the side of the bowl until the excess had fallen off and the chocolate has smoothed out.

Step 5: Once it’s nice and smooth and not dripping I sprinkle on a few sprinkles…or in this case candy cane chunks.
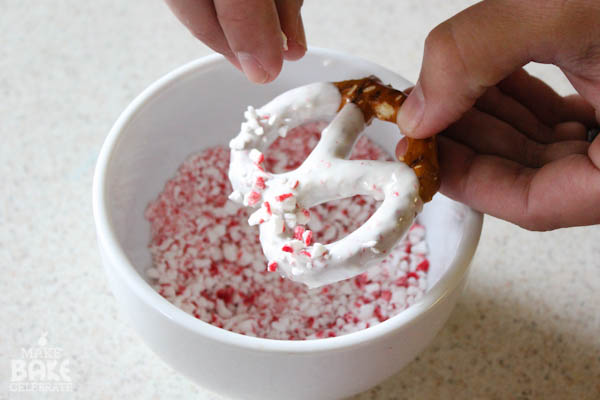
(Pst. the awesome hand model is the hubs. He was voluntold to stand there and hold the pretzel due to my lack of third arm, thanks babe!)
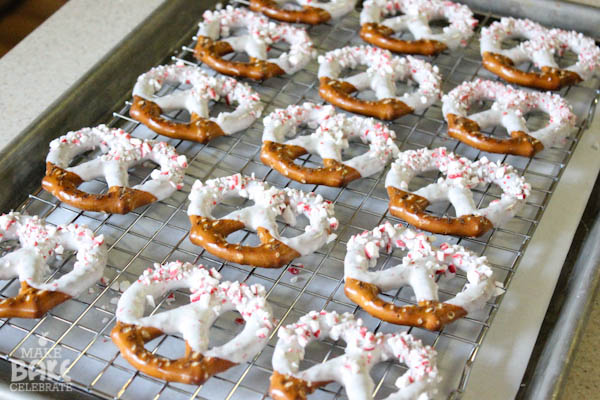
Step 6: Then I place them on the cooling rack/cookie sheet.
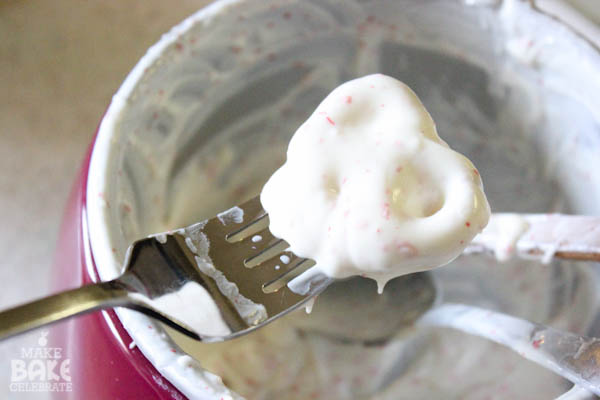
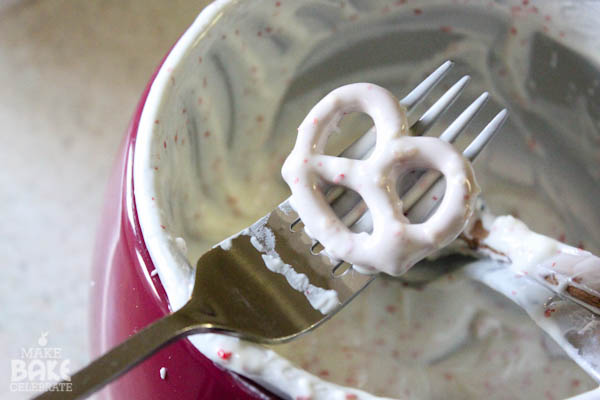
I use the same process for anything that isn’t completely covered or has a stick. If I want to cover the whole treat I just simply add a fork to the process. Here are some regular size pretzels I covered. I place the pretzel on the end of the stick, and use the spoon to cover with chocolate. Then tap the fork gently until all the excess chocolate has fallen off.
And that’s it! No more fear of melting chocolate. No dessert is safe from a chocolate coating now! Here are a few more helpful tips for covering things in chocolate:
If you do drop it in, no worries…pick it up recover, it and tap it again. Who ever said a second coat of chocolate was a bad thing!
When dipping cake pops first dip the tip of the stick in the chocolate about 1/4in before placing the stick in the cake pop, this will “glue” it on a bit.
Try not to remove treats from the freezer and immediately cover in chocolate. Really warm chocolate + really cold treat will cool the chocolate really quick so it won’t smooth out nicely. If possible let your treats sit out on the counter for a few minutes to let them warm up just a bit.
When covering a truffle or other soft doughy treat your dough may settle into the fork while tapping. Wipe the fork off in between dippings with your paper towel. An easy way to keep the dough from falling into the chocolate making a mess.
If your having trouble getting the treat to slide off the fork (like truffles!) bring the fork down to the cookie sheet and use a toothpick to slide it right off. You want to keep it as close to the fork as possible for a clean get away.
…and that’s how I cover just about everything in chocolate! My mom and I are planning on baking up a storm while we’re home for Thanksgiving leave. I can’t wait to show off my much improved chocolate skills…I know she’ll be proud, lol. Oh and you better believe I will be packing up my chocolate melter and taking it with…no way I’m leaving without it! Hehe.


I’m pretty sure you know my address… I’ll be watching the mail every day for my treats to arrive! ;o)
A bit of an odd question, but is almond bark almond flavoured or is it just regular chocolate?
It’s just like regular white chocolate :)
Ah! Ok, I was convinced it was almond flavoured!
With the Almond Bark, can you turn it into milk chocolate color?
They actually make almond bark in milk chocolate too :)