What’s better then yummy adorable food? Food you can play with! As you guys know, most of the treats I make are geared towards holidays, celebrations, and kiddos. I love making treats that the kiddos light up just a bit while they get to enjoy (not that I’ve even seen a child deny or not enjoy a cookie). Every once in awhile, it’s ok to play with your food!
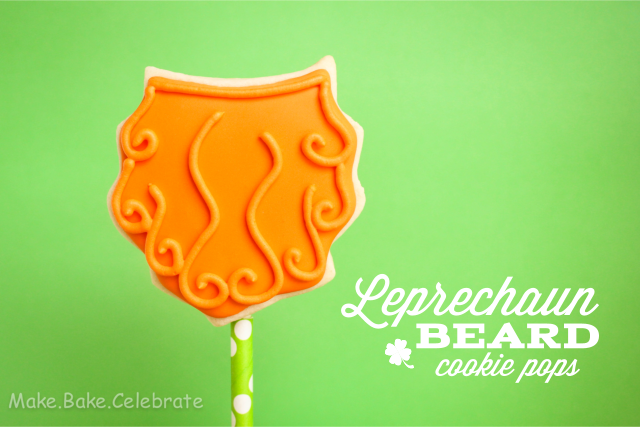
I was inspired to make these cookies in the fall when the cookie whisperer Sugarbell posted these Uncle Sam beard cookies. What a fun way to turn something kinda dull into something kiddo friendly. As soon as I saw them my insane baker brain went Leprechaun beards! Wouldn’t that be cute? And yes…my brain really functions like that. How I go from Uncle Sam to Leprechauns in two seconds fault…is a mystery :). Creative disease really…plus I just so happened to have to same cookie cutter already….And…I needed a reason to play with these green polka dot paper straws from Sweets and Treats Boutique. So really I had to make them, right?

My kiddos seriously loved them! They were all giggles as they each pretended they had bright red beards. For the first time ever, I had to tell them several times to please finish their cookies. :)
Cute curly leprechaun beard cookies… perfectly normal right?
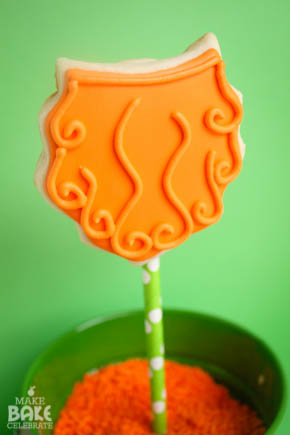
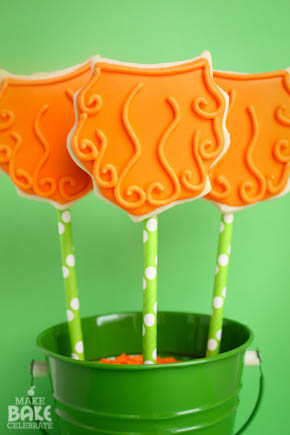
So if you’re looking for something fun an different to make for the kiddos here’s how:
I started out with a batch or my fav sugar cookie dough which you can find here. (it will make approx. 24 of these pops)
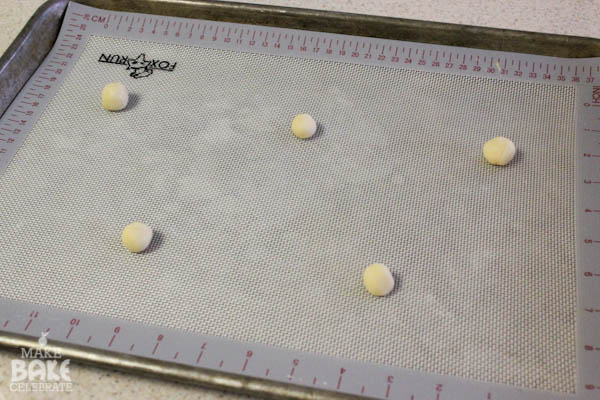
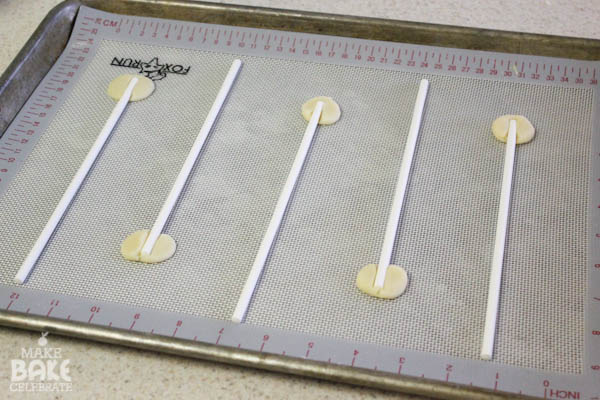
Step 1: Line several cookie sheets with parchment paper or a silicone baking mat. Roll small balls or dough, then flatten a bit and push sticks in. This will help “glue” your cookies to the sticks.
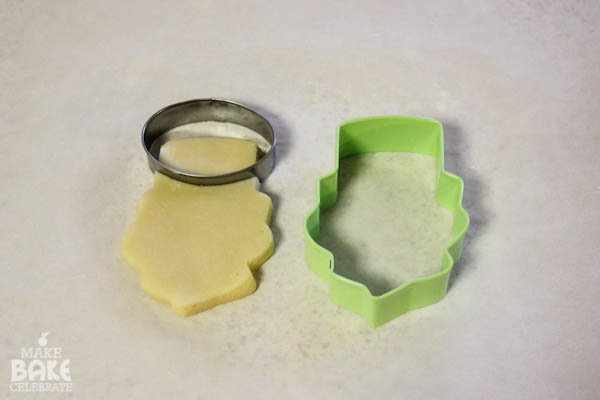
Step 2: Roll out and cut your cookies. I explain exactly how I roll out my cookies here as well. I used my Wilton ice cream cone cutter to cut out the cookies then I trimmed off the cone with a oval cutter. The ice cream cone cookie cutter can be found at almost any craft store in a summer 3 pack.
Step 3: Lay the cookies over the sticks and gently press down.
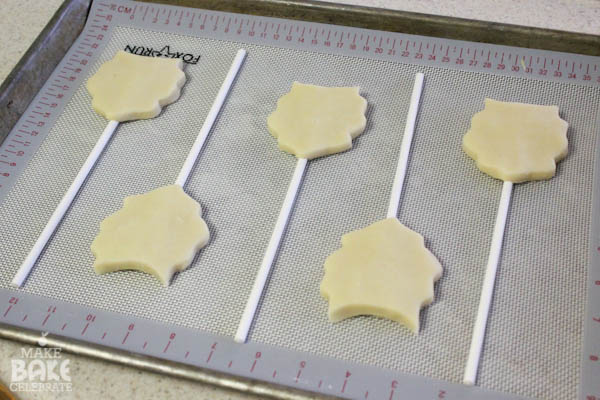
Step 4: Place in freezer for 2 minutes then bake at 350 for about 10 minutes.
Now time for the royal icing! You will need…
4 cups powdered sugar
6 TBS warm water (plus more to adjust icing)
4 TBS meringue powder
Orange gel food coloring
This can be mixed by hand, but I recommend using a mixer to do so. Often when I mix by hand I find chunks of powdered sugar in it…which get stuck in tips and cause lots of drama! ;)
Step 1: Pour powdered sugar, water, and meringue powder in bowl and mix until combined. Then slowly add drops of warm water until you get a smooth toothpaste like icing. You don’t want it to be TOO thick because it needs to pipe nicely and not too thing so it will just run out. Remember use VERY small amounts of warm water..a little goes a long way. If you have one a spray bottle does wonders when making royal icing much less of a chance of over thinning it.
Step 2: Mix in orange gel coloring until you achieve your desired color.
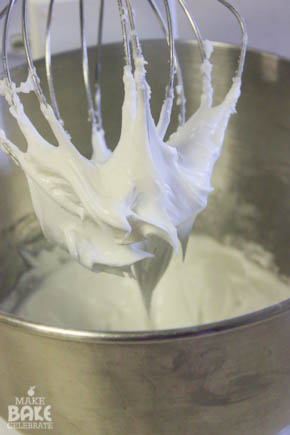
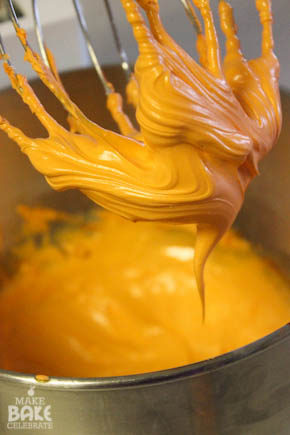
Step 3: Measure out about 3/4 cup of the icing and place in an airtight bowl. Later you will use this to pipe on the lines.
Step 4: Continue to thin your icing until you have a nice 20 second icing. If your new to this…grab a timer (like your phones stop watch) and draw a line in your icing with a toothpick and start the timer. When the timer hits 20 your icing should have smoothed out and the line will be gone. You can continue adding drops or sprays of warm water until it comes runs together by 20 seconds. This will give you a nice easy icing to outline and fill you cookie with all in one!
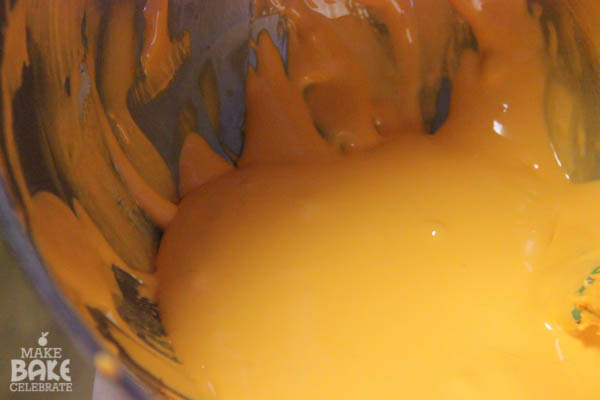
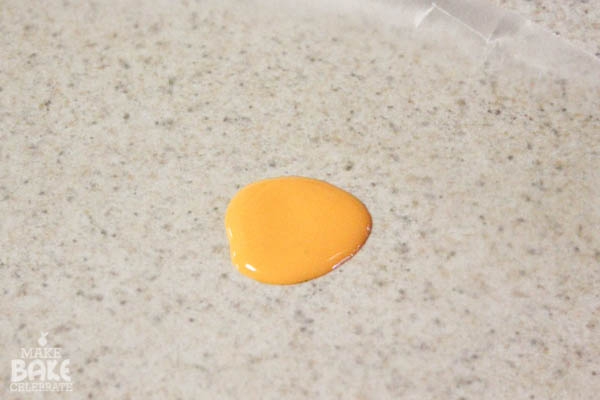
Another way I test mine is to pour some out on to wax paper. It should smooth out nicely and not spread too much. If it’s spreading out a lot, it’s too thing and could run over your cookie.
Step 5: Pour the thin icing into a icing bottle.
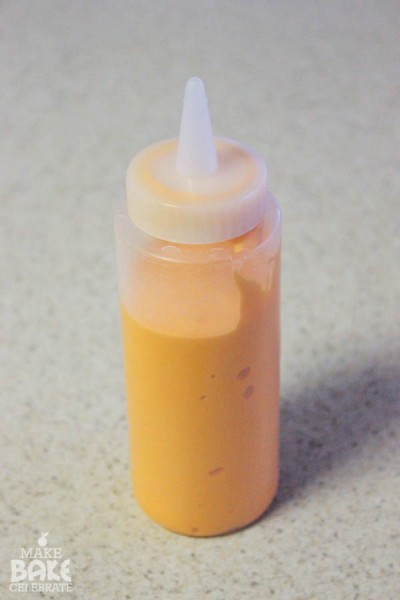
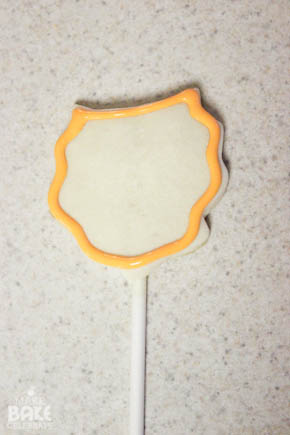
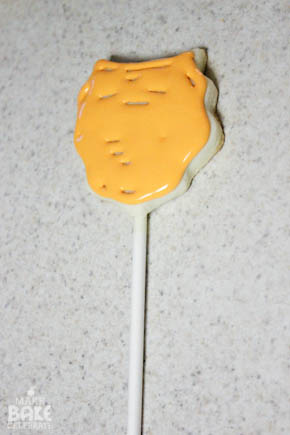
Step 6: With the icing bottle outline and fill your cookie. You can use a toothpick to spread the icing where there are “holes”. Let sit for several hours, or over night until.
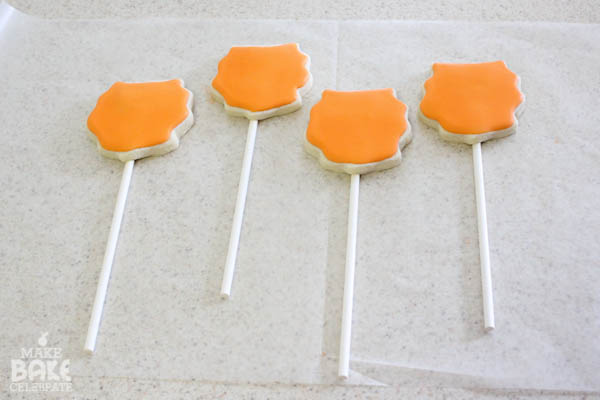
Step 7: Using a round tip, fill a icing bag with your thick icing you set aside.
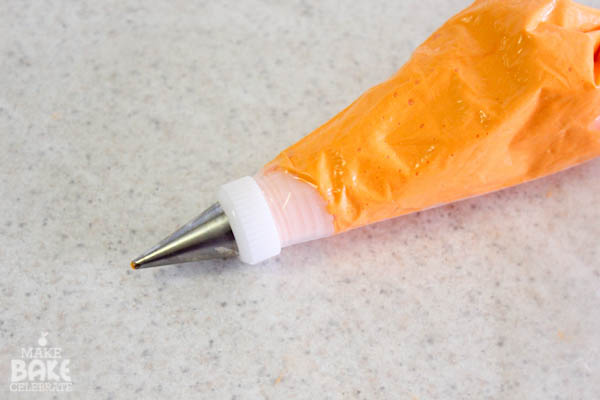
Step 8: Draw on your “beard lines”. Feel free to get creative, but here’s how I did mine!
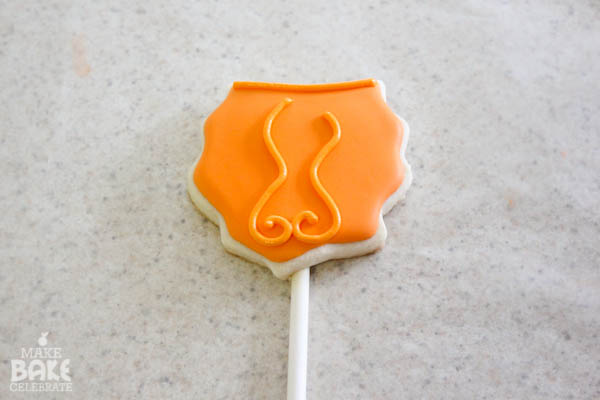
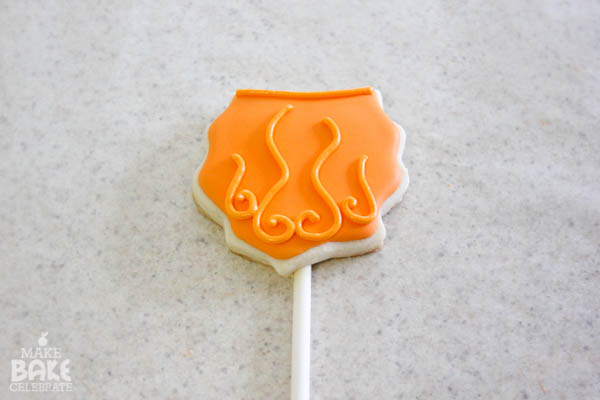
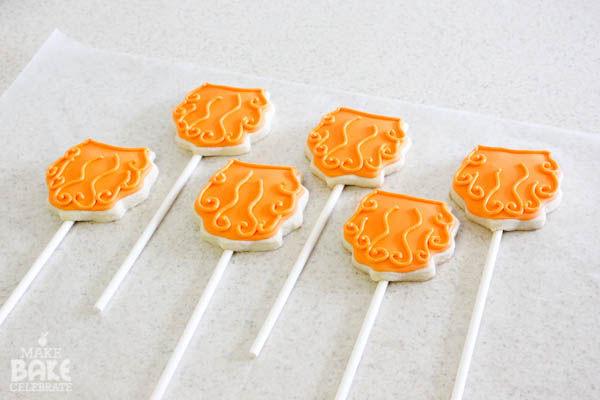
Let sit several more hours until dry, then your ready to share these silly cookies with your little leprechauns! I slipped the straws on after they were dry :).
Oh how I love decorating cookies… when they are this simple!
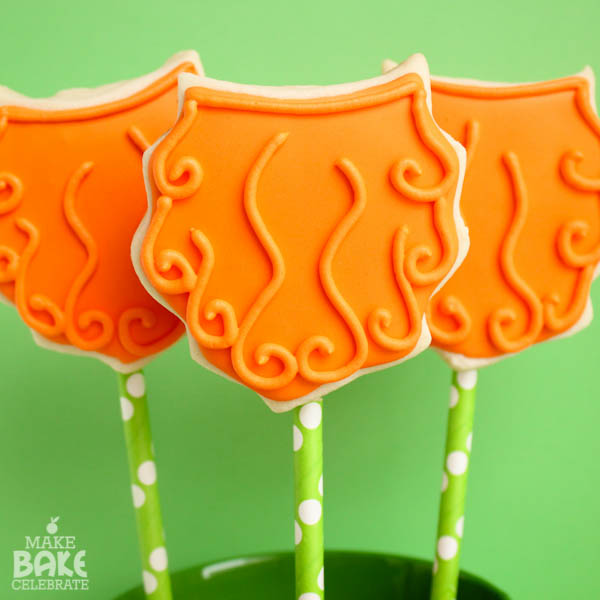








Super cute and clever!