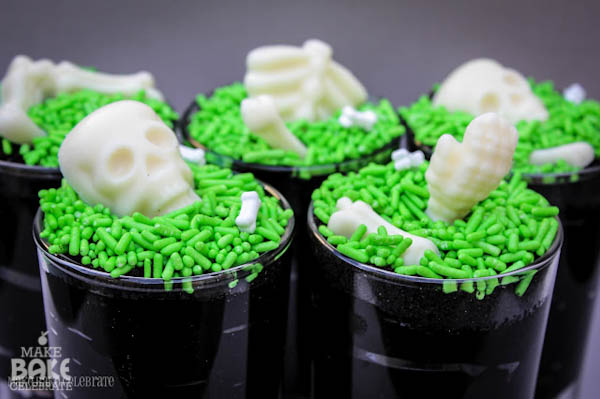
“What are you up to today?”…”Oh you know, making little puddings with edible bones it in, you?”
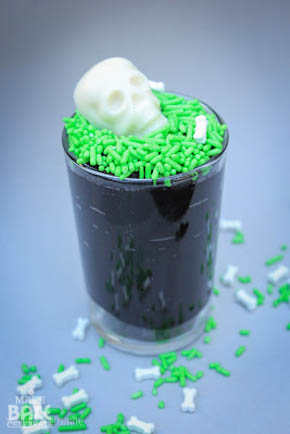
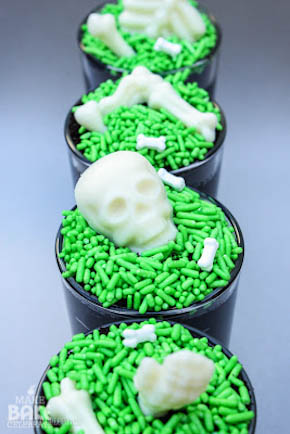
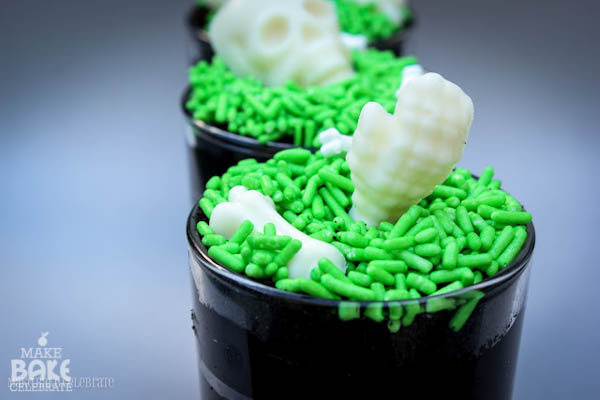
We mixed up the popular graveyard pudding by leaving out the tombstones, layering Oreo crumbs and devil’s food pudding, filling it up with chocolate bones, then topping it off with grass sprinkles. After they were done we called over the neighbor kids to enjoy our afternoon snack, and much to my suprise these were a big hit. All of the kids really got a kick out of the bones mixed in the pudding, even the big kids. I kept hearing “ut oh I got a bone!” lol. We didn’t have any gummy worms around but I’m sure they would have been a perfect addition.
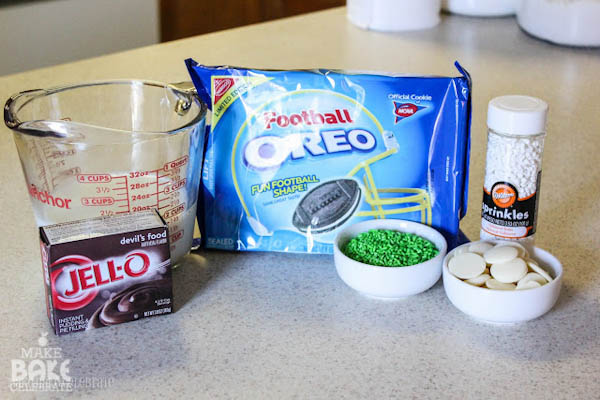
Here’s what you’ll need to make some:
4 cups milk
2 boxes of Jell-0 pudding (Devils food was a good dark pudding)
Oreos
Green sprinkles
White melting chocolate
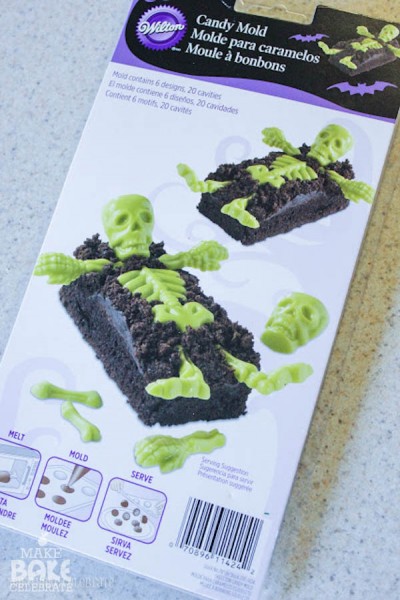
Wilton skeleton candy mold
Bone sprinkles (optional)
Black food coloring (optional)
Makes approx. 6 servings.
You can pick up one of these molds and your local craft store for less then $2.00. Aren’t those brownies awesome? We may have to put that on our “to bake” list :).
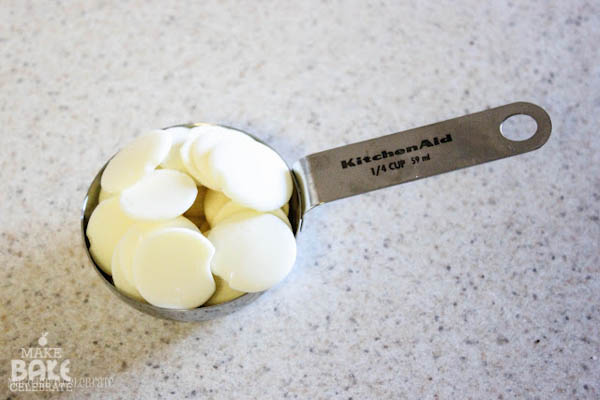
Step 1: Measure out 1/4 cup of white chocolate candy melts or about 2.25 oz of white melting chocolate. This is enough to fill the candy mold once. 1 mold was enough “bones” for all 6 desserts. Place in microwave safe bowl and microwave at 50% power for 25 seconds then in 15 seconds spurts until melted, stirring in between each time. (I have found adding just a bit of crisco helps it get to a better consistency)
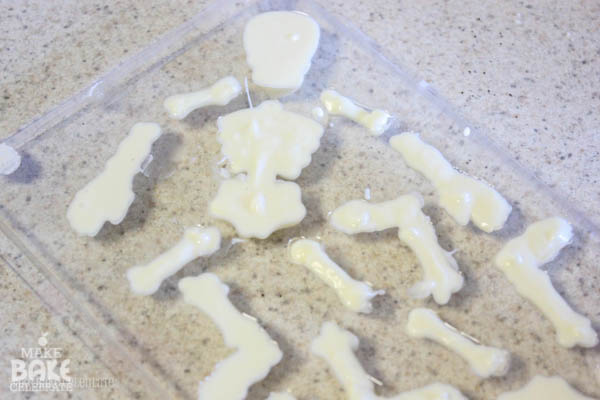
Step 2: Pour melted chocolate into a ziplock bag and cut tip, fill each bone cavity. Tapping the candy mold on the counter a bit after each cavity helps remove bubbles and smooth chocolate. Don’t worry if it’s a little messy mine were messy on the back and perfect on the front! Let set in freezer until firm, about 15 minutes.
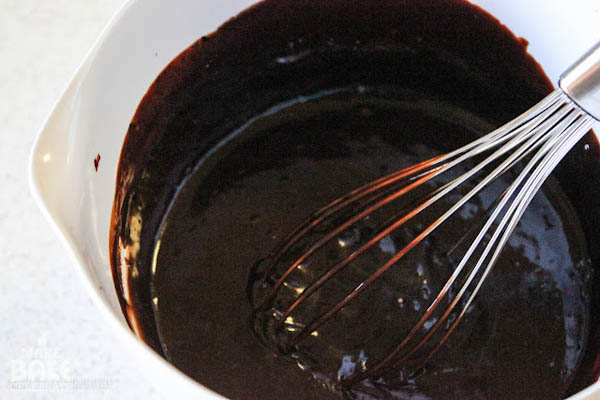
Step 3: Whisk together 4 cups of milk and 2 boxes of Jello pudding for 2 minutes. I added just a little bit of black food coloring to help darken the pudding. Completely optional, but I’m kinda obsessive compulsive like that. Let chill in fridge for 5 minutes to fully set up.
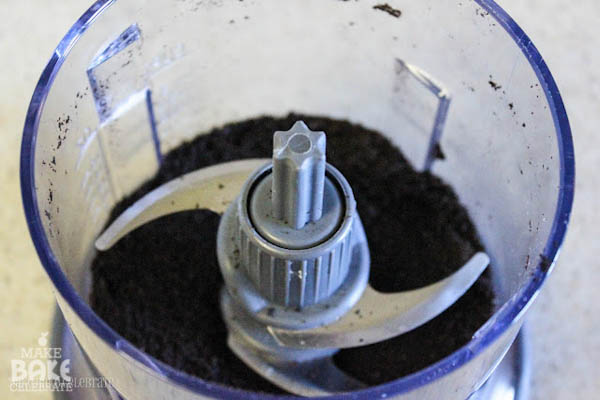
Step 4: Pull apart 10-12 Oreos and scrape off the cream center. Go ahead let the kiddos enjoy it :) Crush up Oreos cookies. I like to use my ninja because it’s amazing, makes perfect Oreo crumbles…really more like a powder! Look’s just like dirt…if dirt were clean and all.
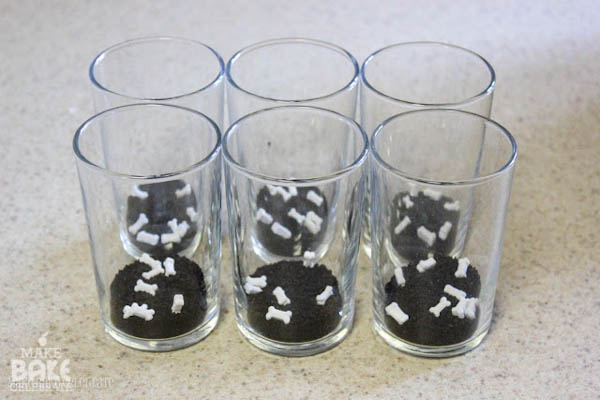
Step 5: Add a layer of Oreo crumbs to each cup bottom. I filled each with about one TBS of Oreo crumbs you amount may change with the size of cup you use. Then add a little bone sprinkles if you’d like.
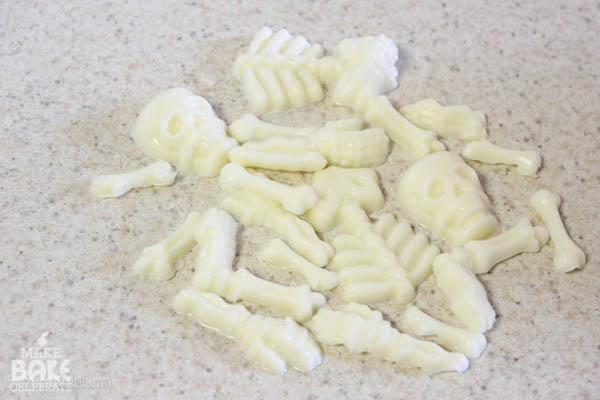
Step 6: Once ready pop these little guys out of the tray by gently twisting the edges back and forth until they all fall out. Kind cute for bones right? :P
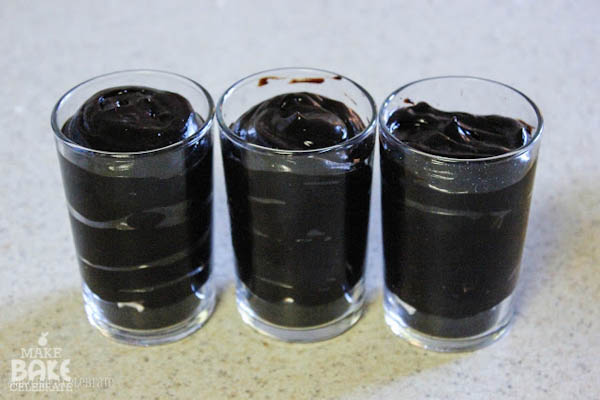
Step 7: Spoon or pipe your chocolate pudding into the little serving cups. I stopped half way and added a bone of two to each cup then finished covering up with pudding.
Step 8: Level off with some Oreo crumbs.
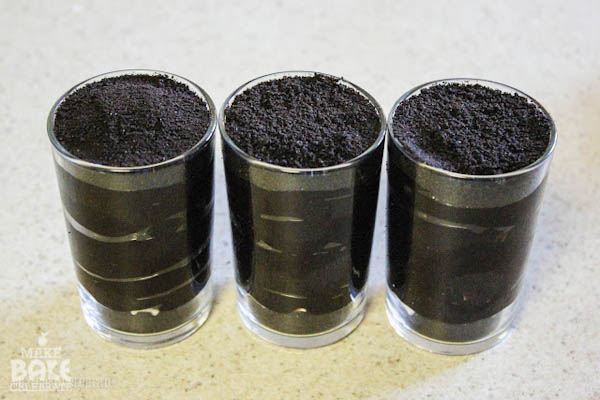
Step 9: Top with green sprinkles, chocolate bones, and sprinkle bones!
Now enjoy your spooky snack. But beware, don’t choke on any bones!










So genius! I love those molds and made something similar last year, except in a loaf pan. Love how the green pops against the dark pudding. Mmm :)