Today I have a special post to share with you, our baby girl’s 5th birthday party! Honestly, her party was almost a month ago, yet I’m still sitting here going, how is she five, when did this happen?! I feels like I was just staring at her big beautiful eyes for the first time! Then I blink, and she’s five. Seriously, no more blinking. We went over several different themes for her birthday from Lalaloopsy to baking…and it seemed all she really wanted was to make sure we were baking something (squeel). A girl after my heart right?
But as the holiday season was fast approaching my time was becoming very limited and I knew I had to do something that I could pull off fairly simple. (simple, seems to be my thing lately!) Baking and decorating cookies is her very favorite activity and at that time it was just getting really cold and the kids were asking for hot cocoa everyday. So after a little brainstorming we came up with a cocoa and cookies theme, she was SO excited…and I couldn’t wait to get started.
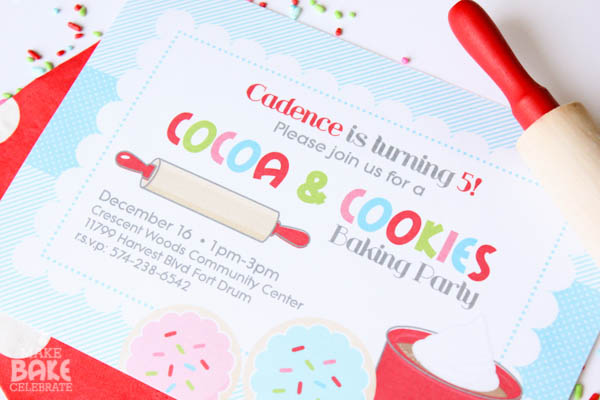
The party came to life really quickly once my sweet friend Angela from Hello, Cuteness stepped in. I normally make my own printables (only because I’m OCD and can’t find what I want) but I couldn’t even find the graphics I needed…ok wanted ;). Angela and I get to chatting and talking about what I need next thing I know…the party was created. Graphics and all…at incredible speed. Remember that magic I talked about yesterday…I’m convinced she has a magic wand. Seriously. It was so much fun opening my mail box each day to a new printable created just for us. I just about died with excitement. e-v-e-r-y-t-i-m-e! Seriously…I LOVE how every piece turned out! THANKS ANGELA!
The whole party was based around making sugar cookies and hot cocoa. I used traditional elements like little rolling pins, aprons, spatulas, and sprinkles. Then we spruced it up a bit by picking a bright color pallet and adding in polka dots, and just a bit of stripes. Can I just say, it was so fun planning a not so girly girl party!
Ok ready for some par-tay pics?!
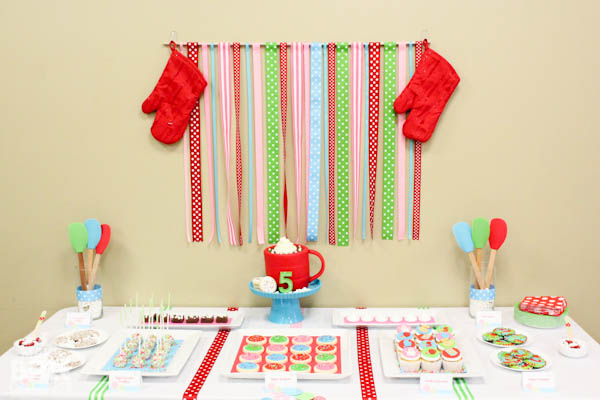
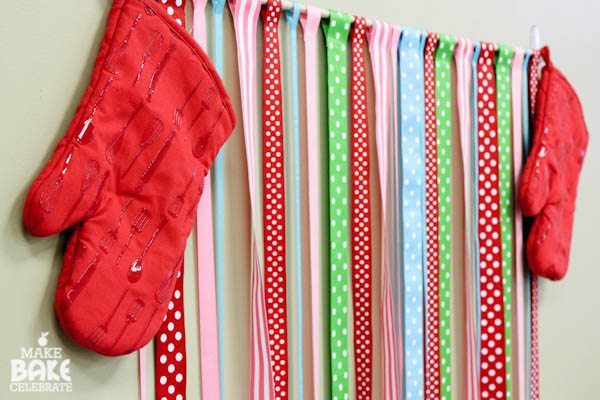
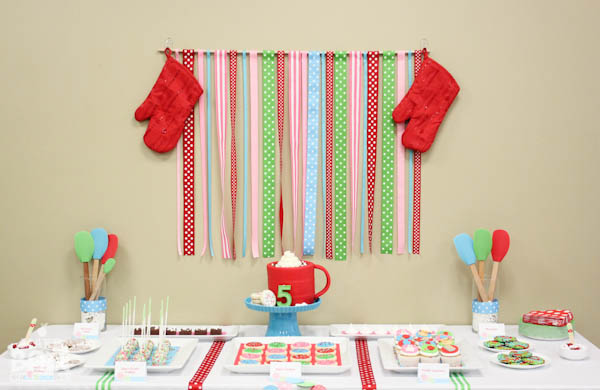
I had BIG plans for the dessert table…but quiet frankly they came crashing down the day before the party. Several first time dessert fails, backdrop catastrophe. After a close call on turning into party-zilla…I re-grouped and came up with something simple and quick! The ribbon back drop, was 2 am desperation…but I actually kinda like it! What do you think?
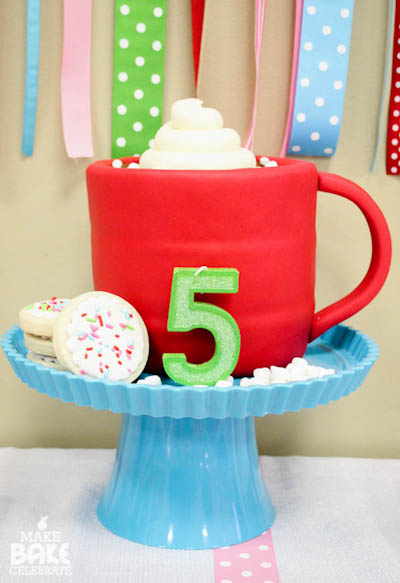
Ok I wasn’t going to go into detail about those fails, but my type A is pushing through and I just have to warn you on this one! Let’s talk about this cake. The birthday girl requested a giant cup of hot cocoa as her cake (she wouldn’t go for the giant sugar cookie cake I tried so hard to convince her of). I knew right where to go for inspiration, the lovely Munchkin Munchies has several hot cocoa themed treats including a giant mug cake! The day before the party I got up nice and early and carved a perfect 3 layer cake in the shape of a mug. I was SO proud of the carving it was spotless and the buttercream looked great! Then I went to cover it in fondant…which normally takes about 5 minutes. Well, since red is the hardest color to make…I, for the first time, bought store bought red fondant thinking it was a brilliant idea saving so much time and effort….WRONG. That red fondant was AWFUL and cracked every single time I covered it. I’ve made countless fondant cakes…and have yet to have such problems. Should have just airbrushed it red like I normally do, sigh. So after TWO HOURS of trying…I eventually got “smart” and laid the cake on it’s side and wrapped the fondant around it….hours later the cake lines seaped through! After all that, we never even cut the cake, we just ate teh cupcakes. UGH. Moral of the story….stick to what you know works, and DON’T BUY RED FONDANT TO COVER A CAKE! lol. Then the cake set the stage for my first ever cake pop fail….ugh. It was a rough day. Ok…back to party cuteness, though I better pass along that info though :).
The “whipped cream” was buttercream and the hot cocoa was simple brown fondant. The handle I shaped from extra demon red fondant and let dry before sticking in with tooth picks. I didn’t even photograph this cake! Yes, I disliked it that bad. So here’s a cropped up close picture of it! lol
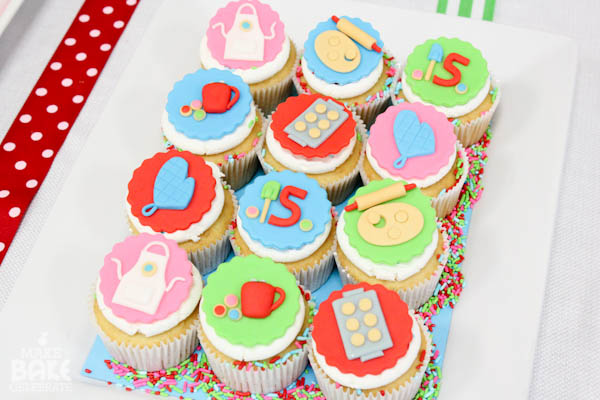
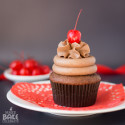
Fondant cupcake toppers are my FAVORITE thing to make. I really loved these…maybe i’m just partial to the theme ;). Nah.
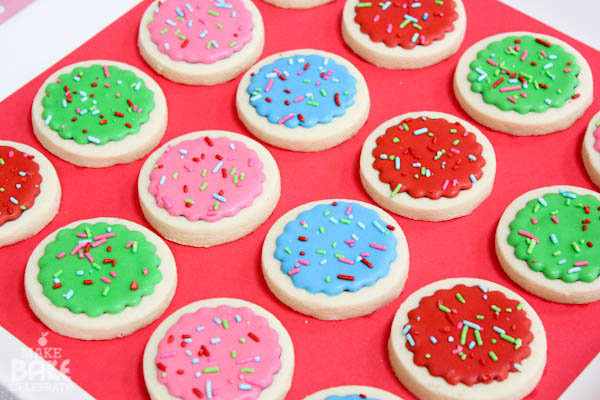
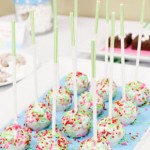
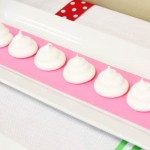
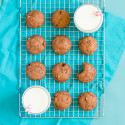
I filled up the dessert table with hot cocoa and sugar cookie treats. Hot cocoa fudge, sugar cooke truffle pops, hot cocoa crinkle cookies, meringue “whipped” topping cookies, sugar cookies, vanilla cupcakes, and a few other treats. And no…I have not shared some of the recipes. And yes, I plan on it!
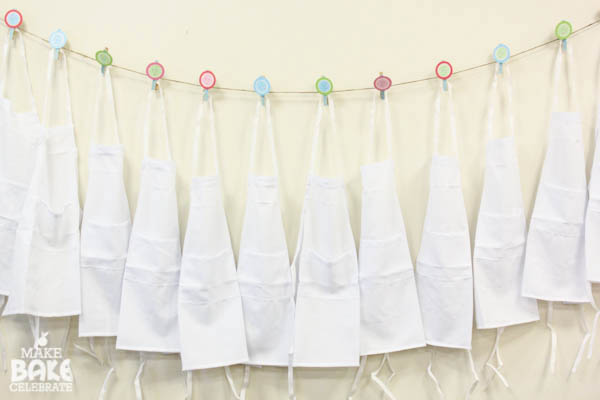
When the kiddos came in they suited up in aprons, which they were able to take home later. Each apron was strung up on twine with clothes pins and a cookie circle from the Hello! Cuteness set. I purchased the aprons from here, they were really affordable (1.99) and really nice! I had every intention of personalizing them…but time just did not allow. Sigh.
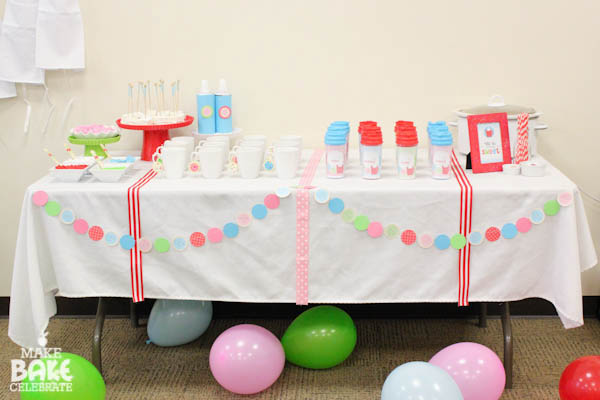
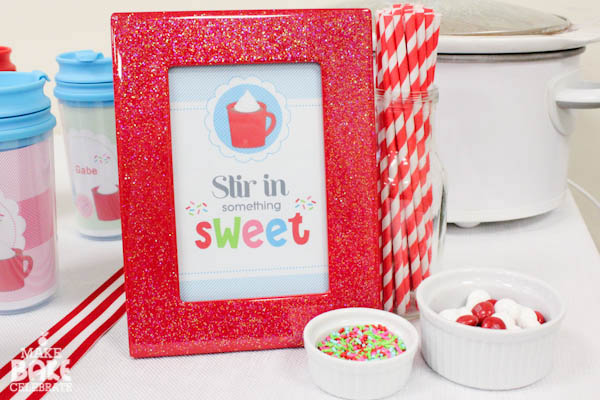
While we were waiting on all the kiddos to arrive. Each kid was able to head over to the hot cocoa “bar” and stir in something fun…in their very own cup!
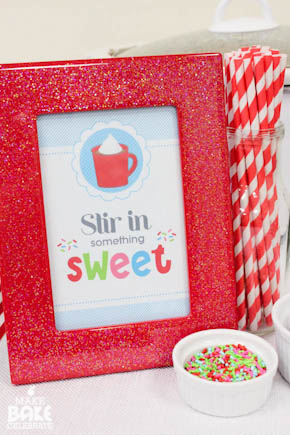
I really loved these cute signs, they are sitting in my kitchen now. I ♥.
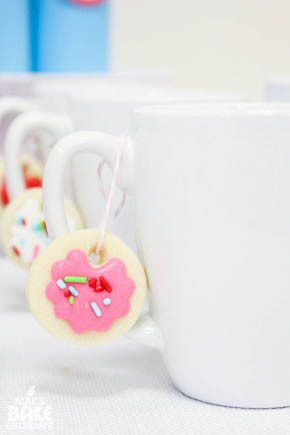
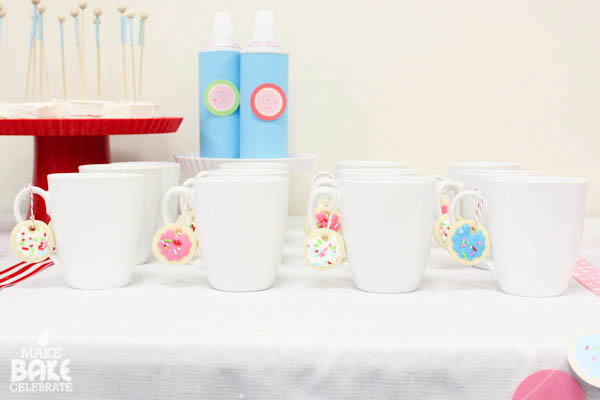
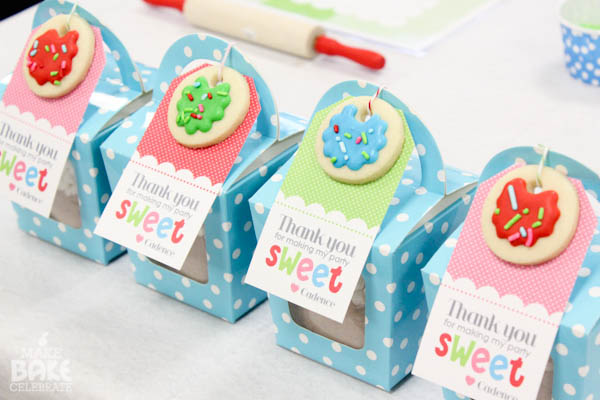
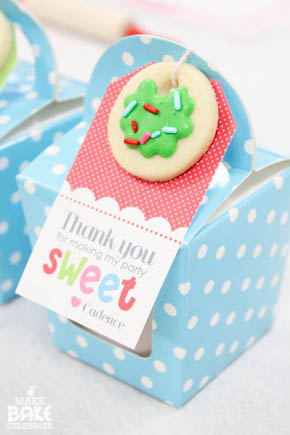
I made tiny little cookies tags to hang from the cups and thank you tags! They were so much fun to make. People kept asking if they were real, yes…they are! lol.
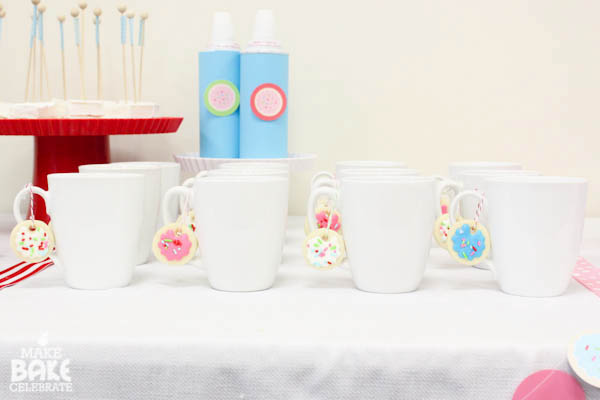
These adorable little cups came from believe it or not…the Dollar Tree! When I saw these I knew we had to have them for the party! They are so cute and they had pull out inserts…which I replaced with a label from Hello,Cuteness. Which doubled as another favor! I couldn’t believe how much the kids loved seeing their name on everything, it made it really special for them!
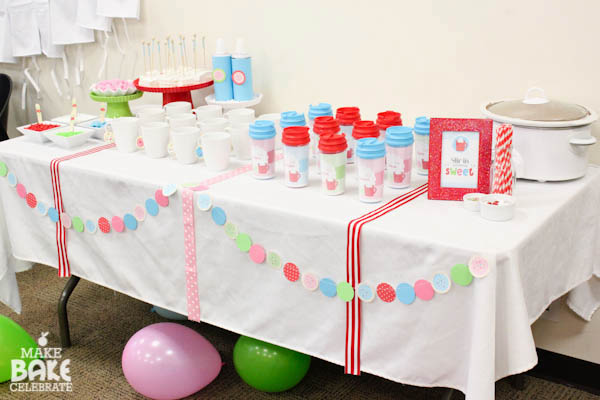
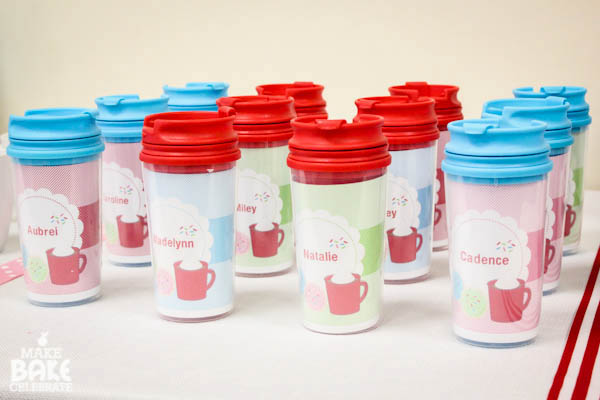
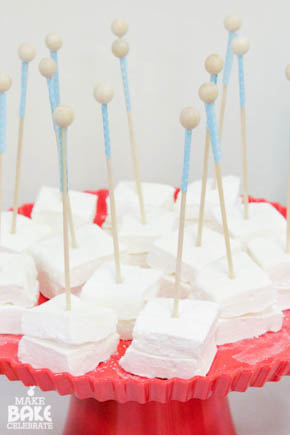
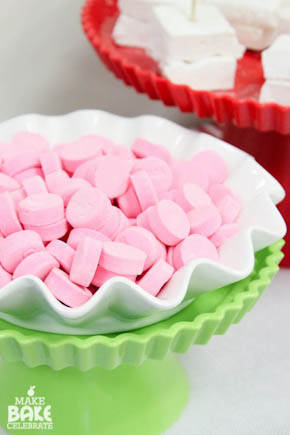
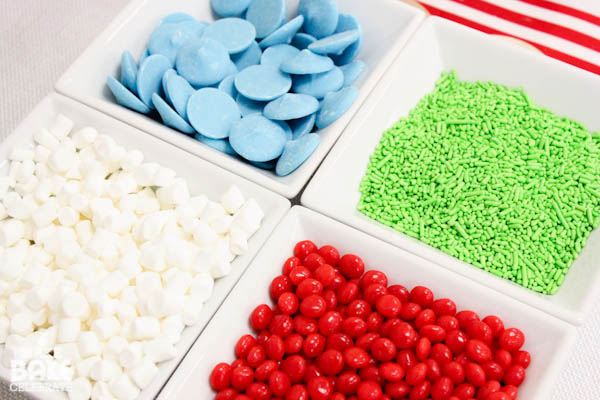
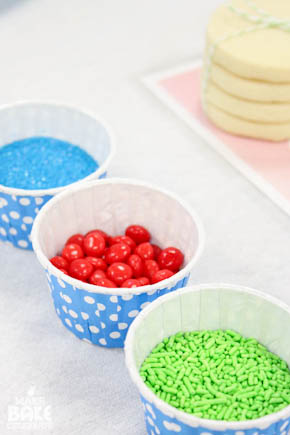
Cadence helped choose all the candies and “stir ins” for the hot cocoa bar. They weren’t exactly gourmet choices but I think they worked well for the age group! They just wanted to keep stirring in sweet stuff, and really loved picking their own!
And because adults like hot cocoa and cuteness too…
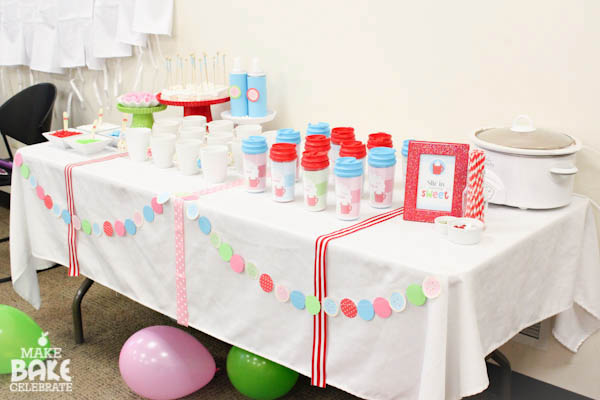
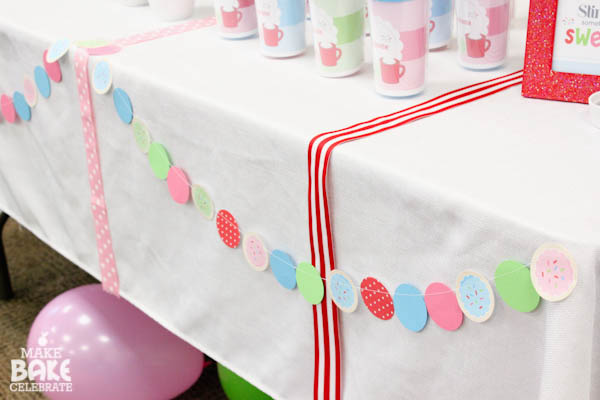
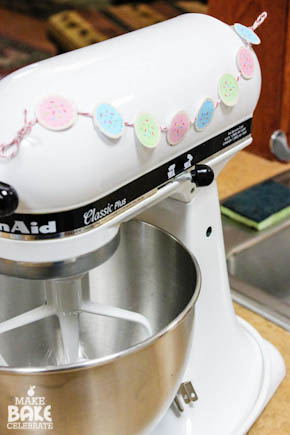
One of the few decor elements I made were these little paper garland. Using the printables from Hello, Cuteness, a 2in punch and the sewing machine, I created lots of cookie garland. I LOVE making paper garlands, so easy and cheap, yet they pack some cuteness punch!
After sipping some hot chocolate, and baking some cookies of their own, the kiddos set down to decorate some cookies with royal icing and sprinkles. I had a stack of four cookies pre-baked and ready to go at each place setting.
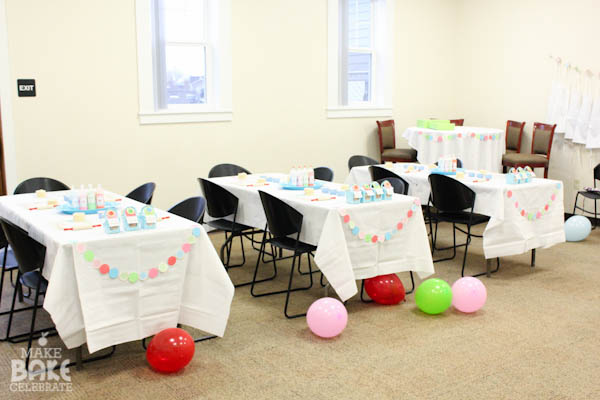
I know balloons can be such a pain, but I always have several packs on hand and toss them around on the floor. They always offer entertainment for the littles that aren’t quiet ready to join in on the party yet.
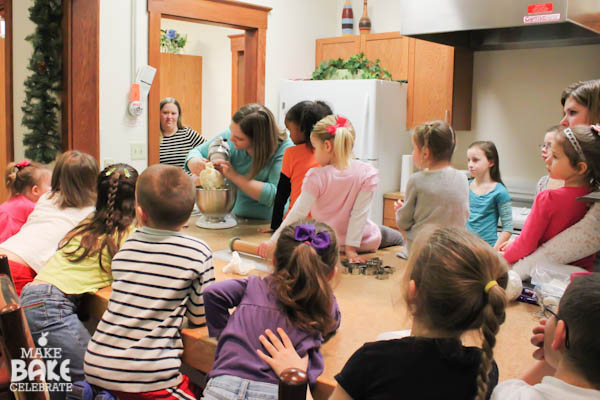
After the kids enjoyed some hot cocoa we stepped in the other room where the kitchen was to bake some cookies…which was a little tricky with 15 kids to say the least. I would recommend breaking it up into groups if your planning a large cookie party! While the cookies baked we headed back in to decorate the cookies I had already waiting for them.
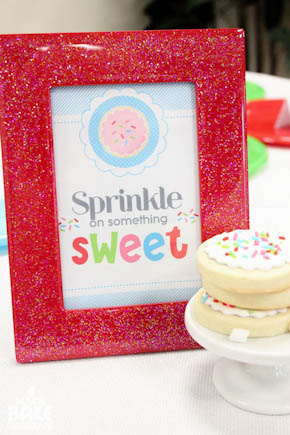
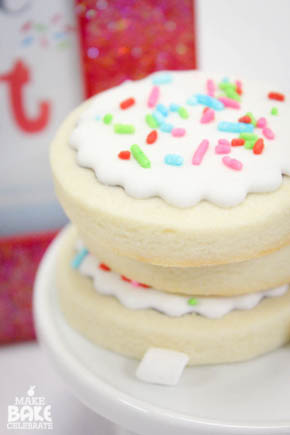
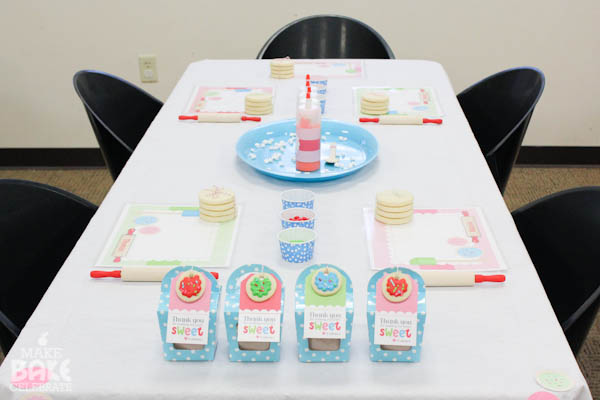
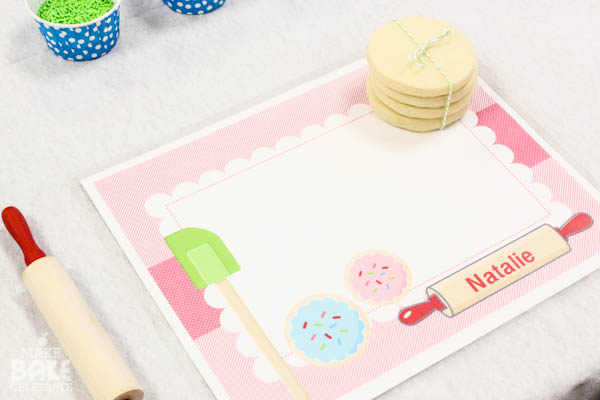
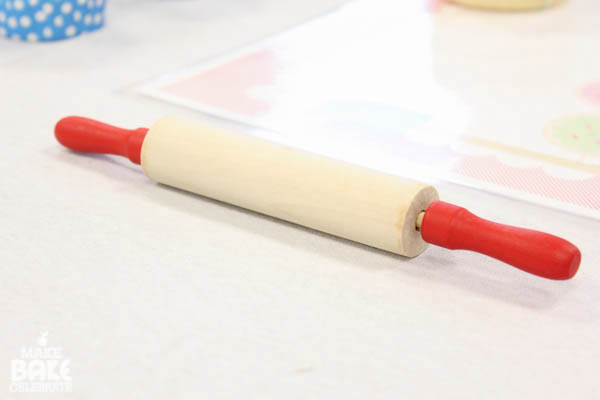
Each table had a personalized place mat for each kid (to roll out cookie dough), and a rolling pin, along with a stack of cookies I baked before hand. There were lots of different sprinkles, and 4 icing colors on each table to chose from.
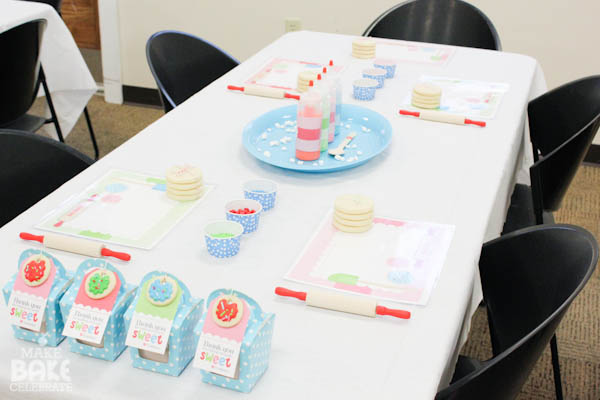
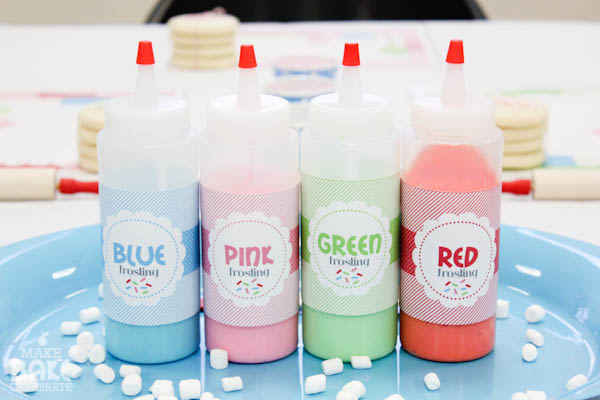
For the icing, I set out four plastic icing bottles (can be found at any craft store) one for each color. They were dressed up and labeled with these adorable little labels made by Hello, Cuteness. I really love these labels.
If only cookie decorating were so cute and simple all the time!
These sweet little favors lined the tables so the kids could take home a bit more hot chocolate to enjoy with their cookies! I paired my tiny little sugar cookies with these tags and a bit of bakers twine for an adorable “thank you”. I think these were my favorite out of everything! I had so much fun with these tags!
The kids ended up taking home lots of stuff for favors: an apron, a personalized place mat, a rolling pin, a personalized cup, their decorated cookies, and hot chocolate mix. Can you believe I was able to do all that for less than 6 dollars a kid! You can not beat that, and it sure beats bags of candy (that goes un eaten most of the time in our house!. No, we don’t still have Halloween candy at all…psh.
Even the mixer got dressed up for the event! With a little paper cookie banner. I couldn’t leave her out!
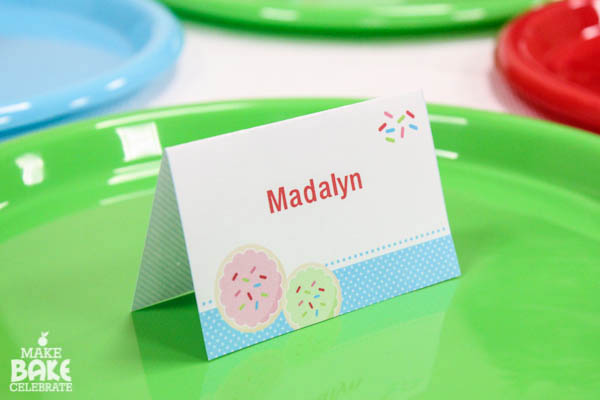
Once the kids were done with their cookies they had a special little plate reserved with their name on it to lay them on, and take them home.
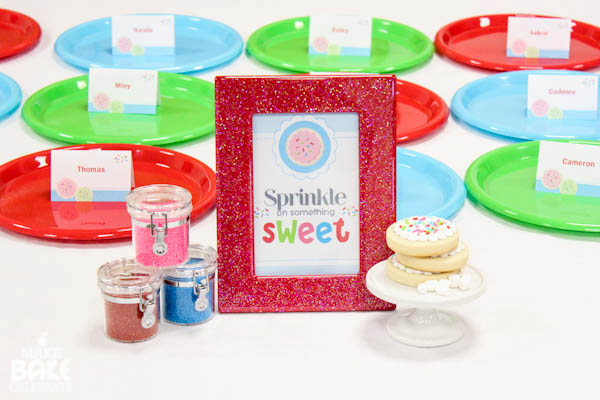
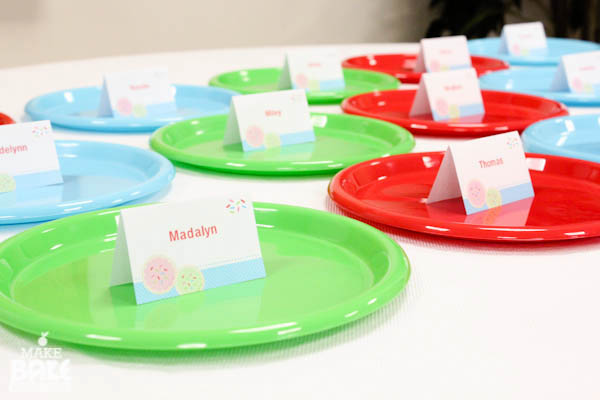
I should note…Angela had this great font on these, but printing them last minute I had some tech problems and had to use a plain font. My bad! Her font choice would have made them even cuter!
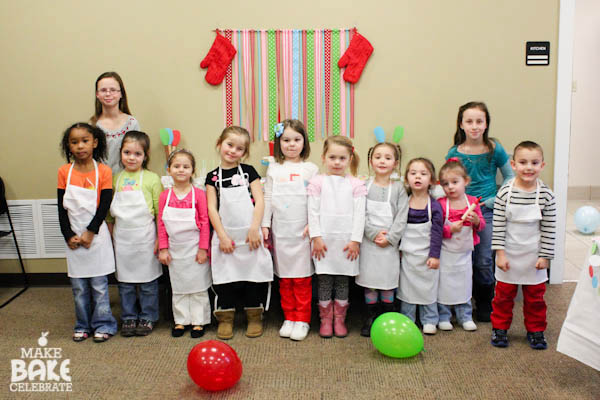
Here’s a shot of all the kiddos getting ready to get their cookies on! All those little aprons make my heart melt!
Here we are baking it up! Each kid got a chance to do something in the process.
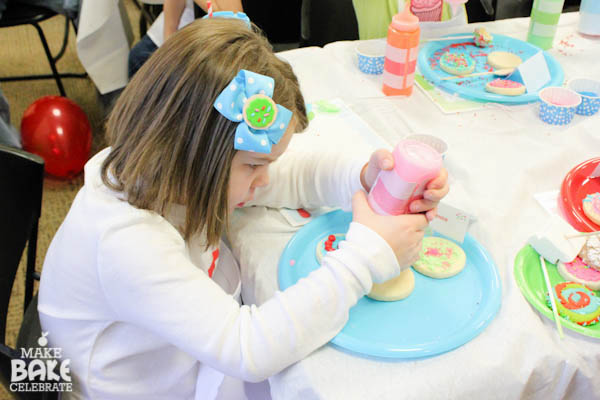
Here’s the birthday girl decorating her cookies. I had to DRAG her away to open presents and cut the cake! She is perfectly content sitting here for hours, decorating cookies. I think we have a Sugarbelle in the making!
Some more of the cookie decorating cuteness going on.
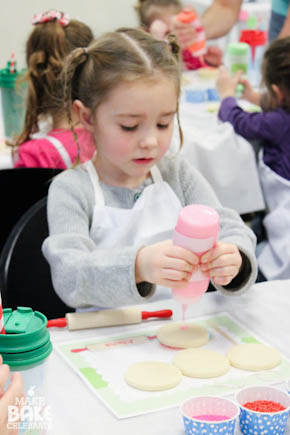
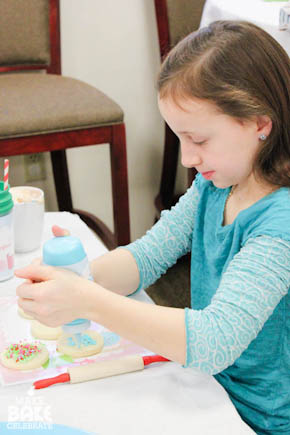
Aren’t these sweeties cute?
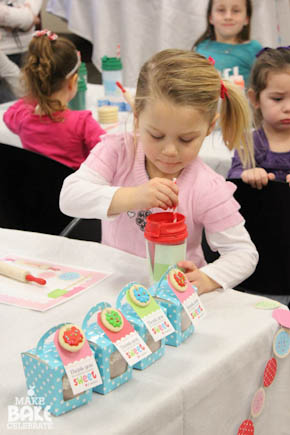
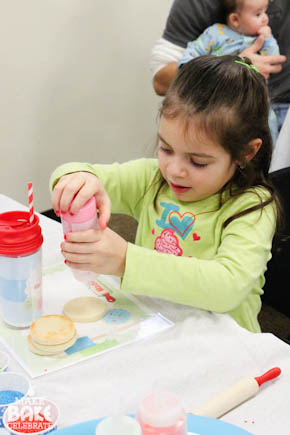
Time for sprinkles! Oh yea…
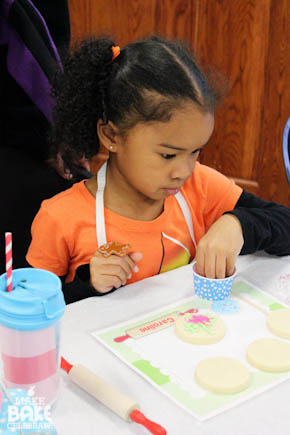
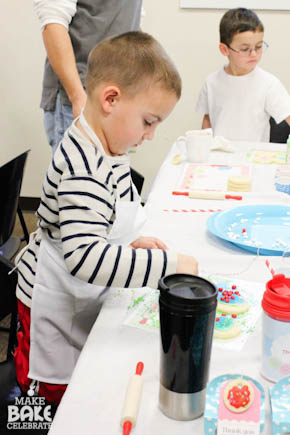
I was so impressed with all their design and cookie decorating!
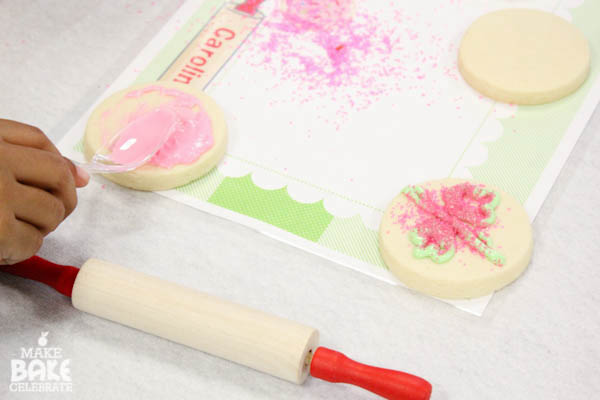
One little one was trying to sneak in a few bites first…who’s kid is this! Geesh! ;)
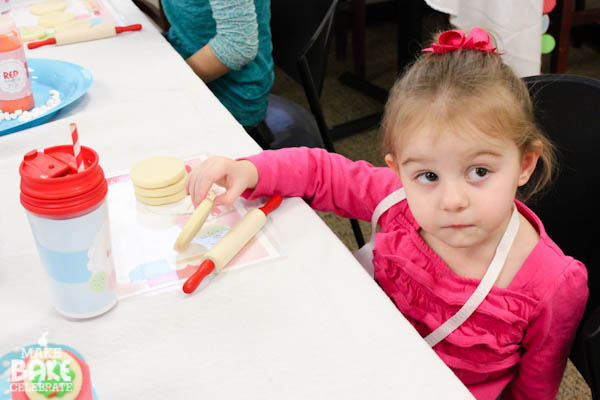
Over all, I think the kids had a really fantastic time. I really loved hosting an activity based party, and I would love to do more in the future! A lot more attention was spent on the activity and supplies that were used and really enjoyed then just decorations that would be tossed out in the end. The kids had such a blast and really got to jump in and get involved, then take home lots of their supplies in the end…I think even the parents had a little fun themselves ;).
Just a few more shots of the birthday sweetie!
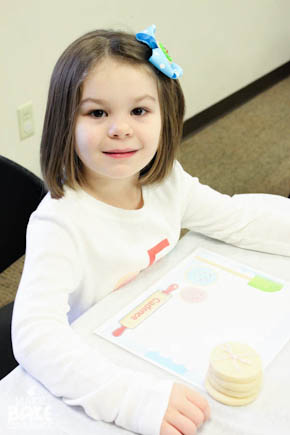
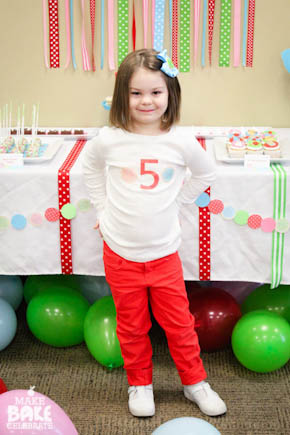
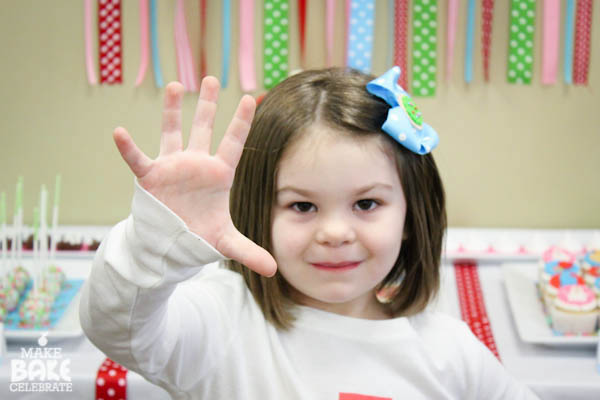
Whew…..this party momma is beat. Now to start dreaming up deatails for the princess bash the twins are begging for in Marsh. There is no rest for the party host. EVER. But really would I trade it for anything…nah, sure wouldn’t!
I hope you guys have enjoyed reading about this party and even got a little inpiration!
Vendors:
Hot cocoa party printables – Hello, Cuteness!
Polka dot baking cups –TomKat Studio
Wooden marshmallow sticks – TomKat Studio
Rolling Pins – Amazon
Aprons – Chef Skin
Stripy straws- Sweets & Treats Boutique
Bulk sprinkles – Country Kitchen SweetArt
Polka dot favor boxes – Sweet Shop Lulu









Hey, is that big, red mug the cake? I want to see it:) I LOVE your cupcakes! The little cookie tags are adorable too! I’m smitten with the round sugar cookies on the red tray; they remind me of Melissa and Doug’s wooden cookie set…just darling! You did a fantastic job on the party!
Oh my goodness Sue I forgot the cake! I edited the post to explain the cake for ya! We have to chat later…I has some really cute hot cocoa ideas…that completely did not work out, which did not help my OCD and almost turned me into partyzilla.
You are too hard on yourself Toni, and a perfectionist, I see:) Though it was difficult, the cake sure looks terrific to me!!! Thanks for the kind words and link-love:)
P.S. Your little birthday girl looks so cute!
Everything came out really great Friend! Super colorful, cute and fun! You’re one talented chickadee :) Glad I could be a small part of C’s party!
I found your post when Hello.Cuteness shared it on Facebook. I adore her work, so couldn’t resist a peek. And now I’m hooked on your adorable blog! *smiles* Happy Birthday to your pretty girl, and I’m looking forward to those recipes, and to seeing what you do for your twins in March. My Serenity turns 1 the end of April, and I’m teaching myself to bake because I want to give her a beautiful party…and have virtually no idea what I’m doing. Thanks for the great ideas and inspiration!
Such a cute party! I love the fun color scheme, and it looks like everyone had tons of fun too! Beautiful job!
Cute post. Experienced the presence in the party. Brilliant way to engage kids in party and mind blowing colorful occasion. Awesome.