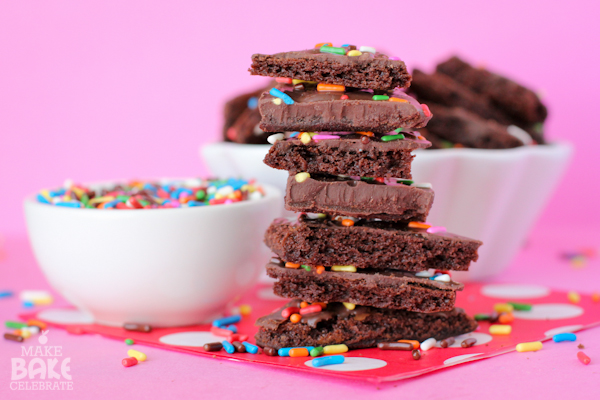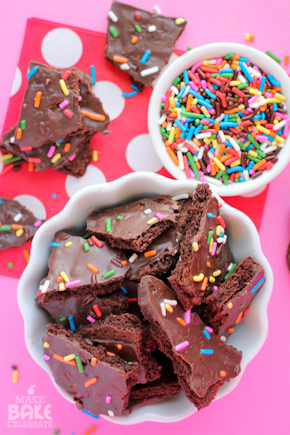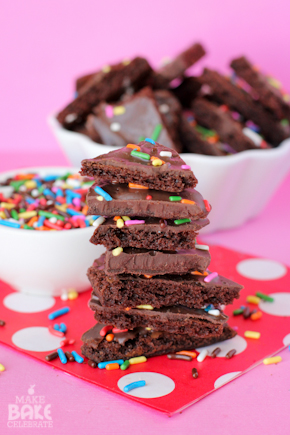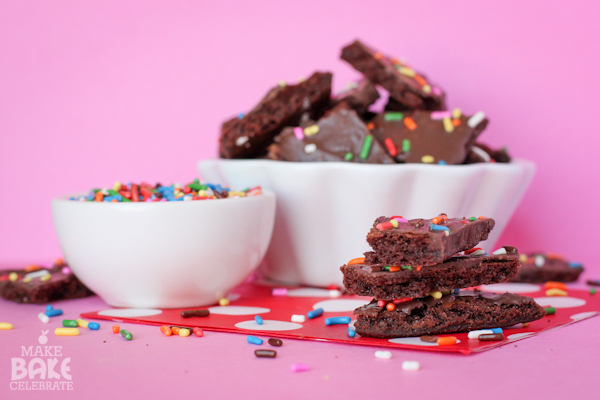
You know that feeling from high school when you’re late to class and you slip in the back hoping the teacher at the front doesn’t even notice you weren’t there? Well that’s kinda how I feel today. I’m just going to slip right back into sharing sprinkle covered treats and hope you didn’t even notice I haven’t hardly blogged at all this month. Except now I just pointed it out…rats. Hopefully my sweet readers are willing to just let me slide this time. (pretty please) The truth is I totally did not mean to take a little break in blogging. As a matter of fact I left for leave with posts all prepped and ready to be shared but life and vacation just happened.
I have to admit, it was wonderful and exactly what I needed! My crew and I spent 2 weeks enjoying family up north. We visited the fair, enjoyed our first Krispy Kremes, indulged in one too many amish bakeries, shared our childhood towns with our girls, went camping, bought more sprinkles then I care too admit, and so much more.
Even though it might have been cricket chirping quiet here on MBC it wasn’t all fun and games (but mostly fun). I had the opportunity to once again vist Country Kitchen Sweetart and the incredible Autumn Carpenter, which I’ll be sharing with you very soon. I’ve also been hard at work on several big projects that I can’t wait to share with you guys. But for now, let’s get back to sharing sweet treats! Why not a little chocolate to get me back in the swing of things…


I meant to share these with our family members up north, I really did, but somehow they never made it off the plane. Those pesky kids. ;)
Here’s what you’re going to need:
1 Box Brownie Mix + Ingredients Listed On Box (I used Duncan Hines)
8 oz. Candiquik Chocolate Candy Coating (8 squares)
Sprinkles (optional)
Parchment Paper
Step 1: Preheat oven to 350 degrees and line two large baking sheets with parchment paper. (11-17 worked best for me)
Step 2: Prepare brownie batter as instructed on box. Pour half of the batter onto each parchment paper lined baking sheet. Using a spatula spread out over the pan. You want you batter to be very thin, no more then 1/4in.
Step 3: Bake brownies for 20 minutes. Remove from oven and use a pizza cutter to cut into small sections. You can cut them in squares triangles, no pattern at all, or however you would like. Place them back in the oven for 5 minutes. This will help insure you get a nice crispy brownie throughout the pan and not just on the edges. Once five minutes is up remove from oven and let cool on pan.
Step 4: Once cool melt chocolate and half over each brownie tray. Spread out thin with a spatula, add sprinkles if desired, then let cool once again.
Step 5: Once chocolate is cool and firm you can break up the brownie pieces and enjoy!

Now you have a snack to fill your sweet and crunchy cravings!
Ingredients
- 1 Box Brownie Mix + Ingredients Listed On Box (I used Duncan Hines)
- 8 oz. Candiquik Chocolate Candy Coating (8 squares)
- Sprinkles (optional)
- Parchment Paper
Instructions
- Step 1: Preheat oven to 350 degrees and line two large baking sheets with parchment paper. (11-17 worked best for me)
- Step 2: Prepare brownie batter as instructed on box. Pour half of the batter onto each parchment paper lined baking sheet. Using a spatula spread out over the pan. You want you batter to be very thin, no more then 1/4in.
- Step 3: Bake brownies for 20 minutes. Remove from oven and use a pizza cutter to cut into small sections. You can cut them in squares triangles, no pattern at all, or however you would like. Place them back in the oven for 5 minutes. This will help insure you get a nice crispy brownie throughout the pan and not just on the edges. Once five minutes is up remove from oven and let cool on pan.
- Step 4: Once cool melt chocolate and half over each brownie tray. Spread out thin with a spatula, add sprinkles if desired, then let cool once again.
- Step 5: Once chocolate is cool and firm you can break up the brownie pieces and enjoy!


I made these tonight thinking it would be something fun for an upcoming bake sale. Unfortunately mine didn’t turn out as I expected. They look thinner than yours and they’re not “crispy brownies” as you described yours, but hard as rock. They’re pretty, but not bake sale-worthy. I might try again, but not really sure what to do different since I followed the instructions exactly.
Hello! I’m sorry to hear that they didn’t turn out, sometimes this can be a matter of something very simple like the pan quality/thickness. If they look thinner, I would suggest next time leaving the batter just a little thicker and not thinning out as much. Hope that helps!
Thanks. They were still really good. I didn’t use them for the bake sale, but my husband took them to work. He didn’t seem to mind the texture and apparently his coworkers didn’t either. :-D