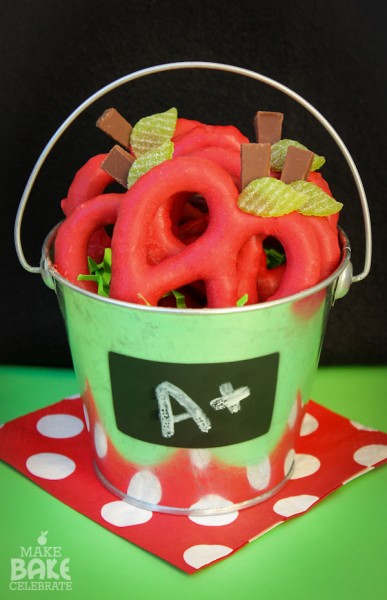
This year our oldest is headed to school. She’s going into Pre-K which happens to be in elementary school here and 5 days a week. So it feels like “big kid school” to her and me. :) So I wanted to make a little something to send with her to start out the school year right and these little apples are going to work just perfect! So for those of us that were procrastinating or “waiting for the right moment”… I think these cute little chocolate covered pretzels will be gladly welcomed by both students or teacher. Heck my kids have been eyeing these since the moment they got up waiting for the moment mommy says they may have a bite. Who knew and pretzel deisguised as an apple would be such a hit?! I have to say these could be one of my favorite pretzels I’ve made…and I’ve made my fair share.
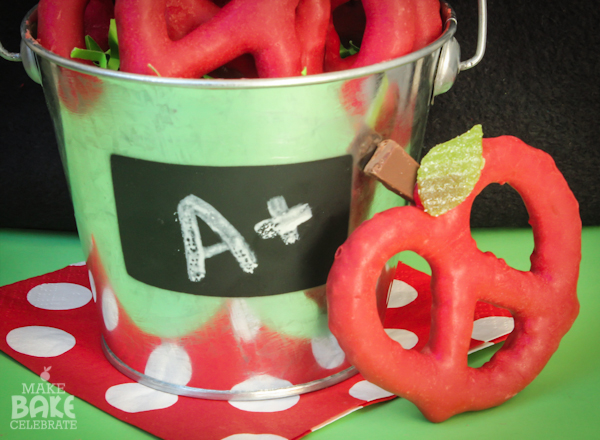
Just the other day I was looking through the Target 1 spot..because that’s where the world’s best little trinkets are kept of course. (I firmly believe it is physically impossible for a momma to run into Target without at least checking the dollar spot) I was in need of a few new buckets and was happy to see some silver ones. Much to my surprise however there was a little chalkboard spot on each of them! They made the perfect little tote to send off these apples with the kiddo on her first day of Pre-K!
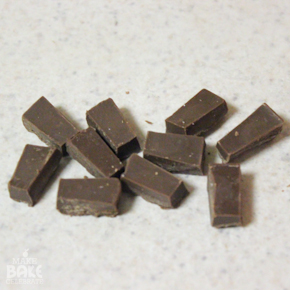
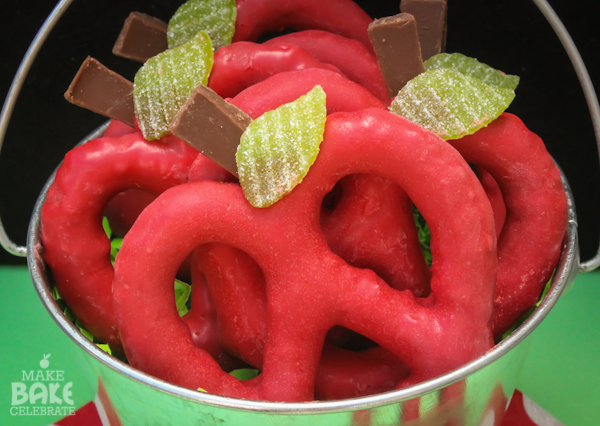
I took a quick stroll through the candy aisle to find some edible stems and leaves. I was happy to find these little sour rips that were perfect to cut leaves from and small chunks of Hershey bar made the stems delicious :).
Here’s what you will need:
Rips
Red Candy Melts
Large Pretzels
Hershey Bar
Small Leaf Cutter OR Scissors
Wax Paper
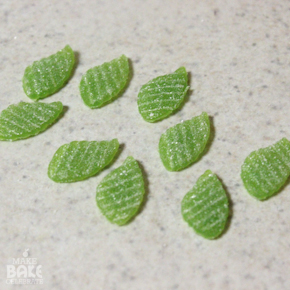
Step 1: Using the green rips, cut out the little leaves with a small leave cutter. The one I used came from a Wilton fondant set. However, if you don’t have one you can use a pair of kitchen scissors to free hand some leafs, they are easy enough.
Step 2: Now cut little stems from your Hershey bar. I cut each Hershey square into half one way then the opposite way then trimmed one side to get a small angle.
Step 3: Before you melt your chocolate lay everything out, organized and ready to go. As I’ve said so many times when your working with chocolate you want everything in order to make the process smooth. You can lay you finised pretzels on wax paper or on a cookie cooling rack over wax paper. I prefer it on the cooling rack so the excess drips off and doesn’t pool around it.
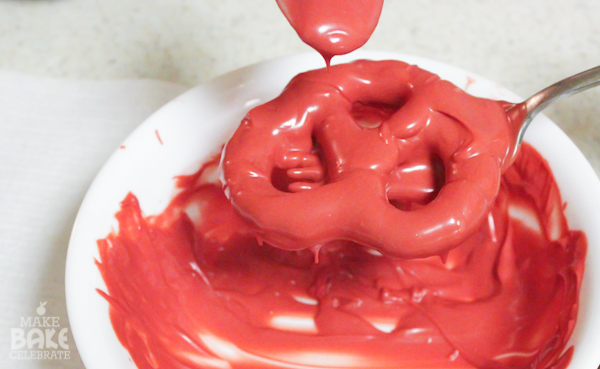
Step 4: In a microwave safe bowl melt your chocolate (I do about 3/4 cup at a time) using 15 second spurts stirring in between. Your chocolate should be nice and smooth when melted easy to drip off the pretzel. If you need help thinning it a bit add a small amount of crisco and heat.
Step 5: Holding your pretzel on a fork use a spoon to spoon the chocolate on to the pretzel. Then gently tap fork on side of bowl until excess had dripped off. Then move to cooling rack.
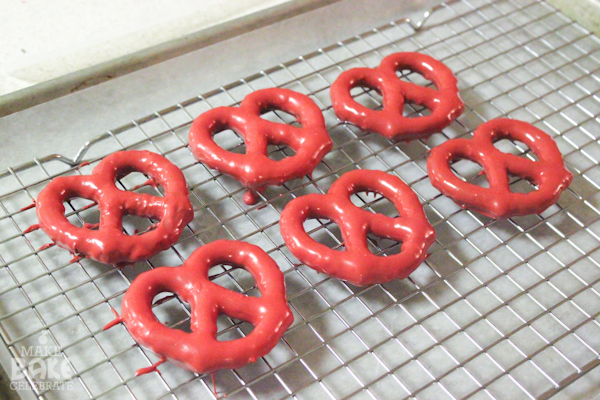
Step 6: After the chocolate coating has set (about and hour) move them onto a fresh piece of wax paper.
Step 7: To attach the leaf and stem. Place a small amount of chocolate in a ziplock and melt in microwave. Cut tip of ziplock then use to pipe chocolate onto the end of each stem then “glue” to pretzel. Once you have done your stems repeat process with leaves using icing on the back to attach.
And that’s it! Wasn’t that easy? These are super quick and easy to make. Even those who couldn’t frost a cake to save their life…could make some pretty cute apples. And no oven required. :)
Just a little tip for the chalkboard. Instead of using actual chalk (ew, I have major chalk issues) I used some white water color and painted the A+ on. Works like a charm. You could add their teachers name or another cute little message. It wipes off with a damp cloth but doesn’t rub off when touched. I plan on sticking the entire thing in a clear favor bag and adding some ribbon when transporting.











I just found these on Pinterest. They are the cutest thing I’ve seen in a long time! LOVE THEM! Pinning them :)
These are so adorable! You could also use a chalk marker to write on those chalky surfaces. Much less mess. Thank you for the idea and tutorial!
I loved this so much that I shared it in a roundup of Back-to-School projects on my blog today! You can see it here: http://justagirlandherblog.com/21-creative-back-to-school-projects/ Thanks so much for the inspiration!
~Abby =)
Just a Girl and Her Blog
I’m the Editorial Assistant for Fun Family Crafts and I wanted to let you know that we have featured your apple pretzels! You can see them here:
http://funfamilycrafts.com/apple-pretzels/
If you would like to display a featured button on your site, you can grab one from the right side bar of your post above. Thanks for a wonderful project idea!