


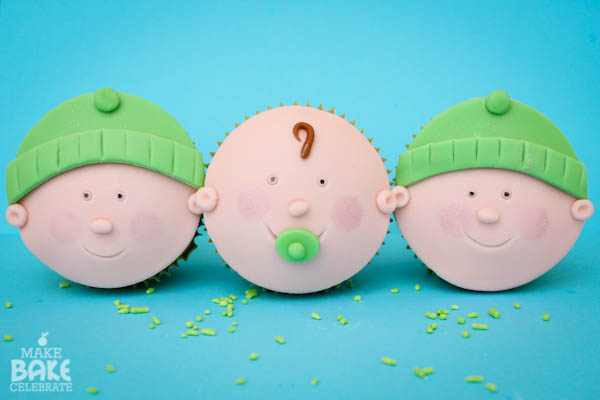
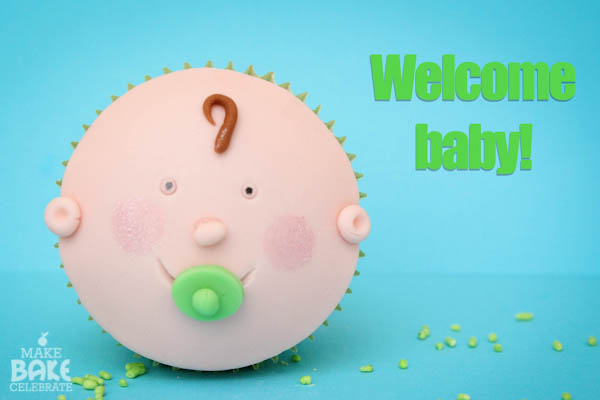
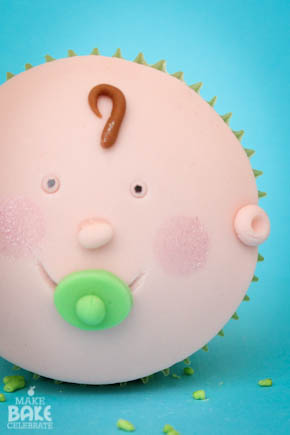
Happy Monday everybody! Today’s post is super special, so we’ll get right to it!! One of my absolute most favorite parts of blogging is the awesome friends I have been so blessed with making through this little journey. One of those friends is the incredibly sweet Shannon Harvey, of Sweets and Treats Boutique! Just incase you haven’t heard…this weekend her, her husband, and their princess welcomed a beautiful baby boy into the world!I thought it would be fun to do a little something special for our very favorite cupcake liner guru! So today, I’m sharing how to make these cute little baby fondant toppers to say…
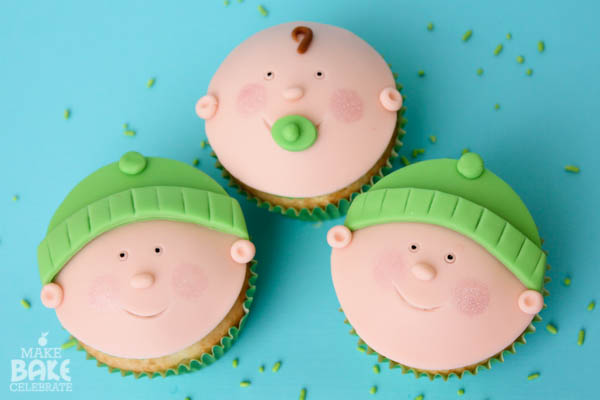
It didn’t take me long to figure out what I wanted to make, I’ve been making these baby cupcakes for several years now and each time they seem to be a huge hit. I can honestly say this is the only design that I don’t mind remaking, something about these sweet little baby faces just never gets old! I do mix the details here and there, but the concept is the same. However, for these toppers I decided to stray from the usual soft blue/pink I make and change it up with some fun colors that are more appropriate for Shannon’s bubbly happy nature and yet still baby appropriate!
These toppers are really simple and pretty fast to make! They are a great project for a beginner. One thing I wanted to really demonstrate today, is that often creating great designs is simply clever use of regular shapes and tools put together to make something great. Let’s get started!
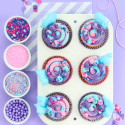
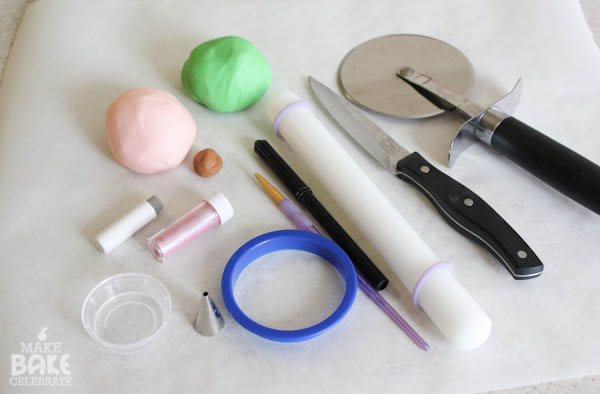
Gather all your tools and supplies. Here’s what I used, but don’t be afraid to look around for alternatives that work for YOU! Don’t have an edible black marker? Switch it out with a bit of black fondant, or a black sprinkle! You get the point…
I used: green fondant, skin color fondant, light brown fondant, circle brush, pink luster dust, 2.5 in circle cutter, Wilton icing tip #5, food brush, edible pen, fondant rolling pin with guides, knife, and pizza cutter.
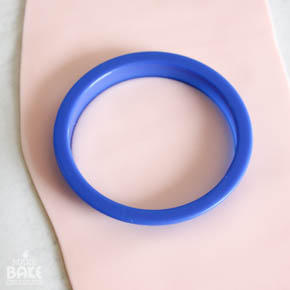
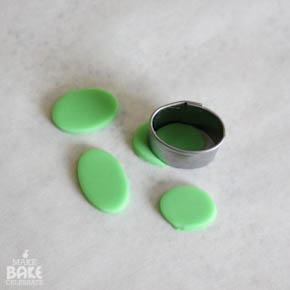
Step 1: Working on a piece of clean parchment paper roll out your skin colored fondant, and cut out as many baby faces as you will need. Set them aside. Then roll out the hat colored fondant and cute half as many circles. You may not need this many hats, but it will be good to have extra.
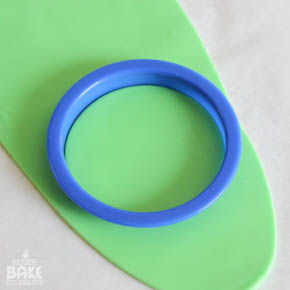
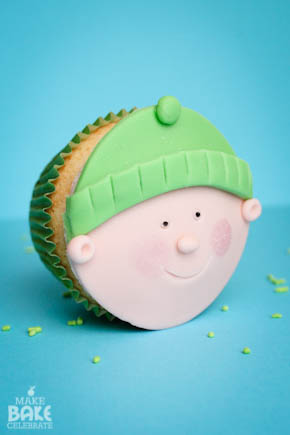
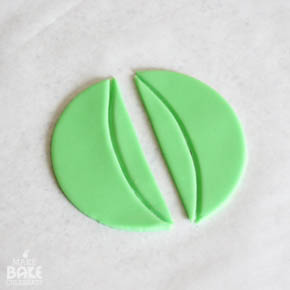
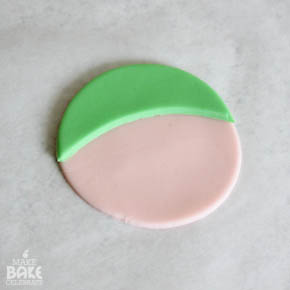
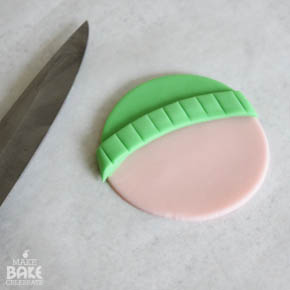
Step 2: Using your pizza cutter, cut green circles in half then “round” each half to make the little hats. Then using your food brush and a bit of water “glue” your hat on top of your babies. I placed hats on top of half my babies.
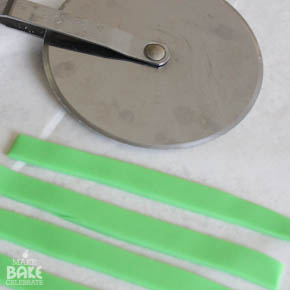
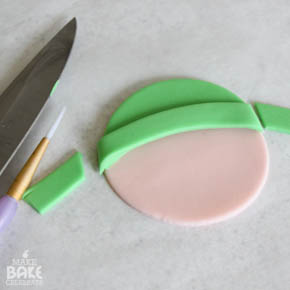
Step 3: Next roll out your hat colored fondant, and cut small strips on fondant for the hem of the hat. Apply a bit of water to the edge of the hat, and then place the fondant strip on it. Gently trim off the sides that hang over the baby face.
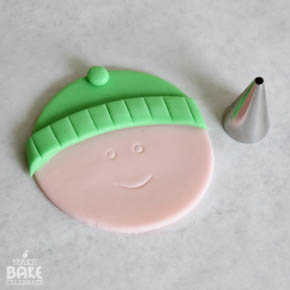
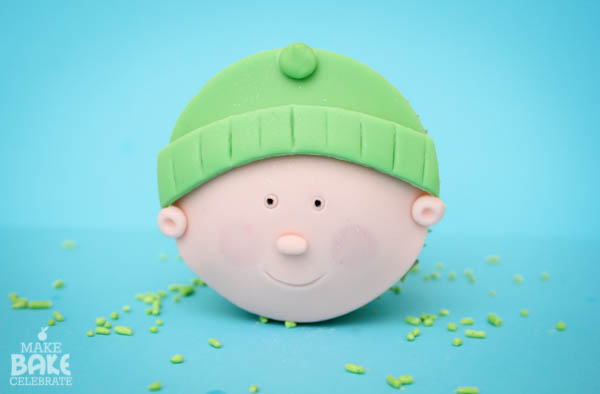
Step 4: Next use your knife to make little lines in the hat. Then roll out a little ball for the top of the hat and “glue” it on with water. Next take the small end of your icing tip and create little eyes, then create the mouth by pressing half of the big end into the fondant.
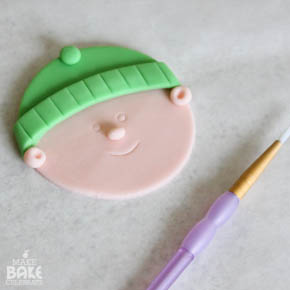
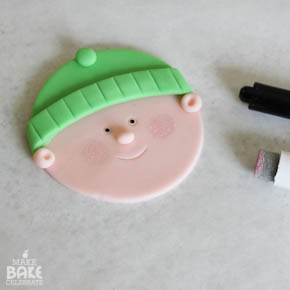
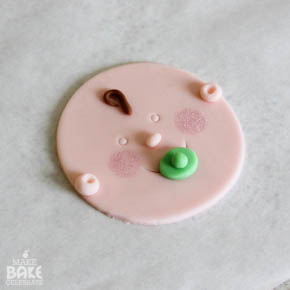
Step 5: Next roll out two little round balls for ears and a little nose for your baby, “glue” on with water, then use the round end of your food brush to make little indents in the baby ears. To finish it up simply add black dots for it’s eyes and a bit of luster dust for the cheeks.
For babies without a hat, skip steps 2 & 3 and instead cut out a little circle for a paci, and “glue” a fondant ball on top. Then roll out a tiny fondant coil for the babies hair.
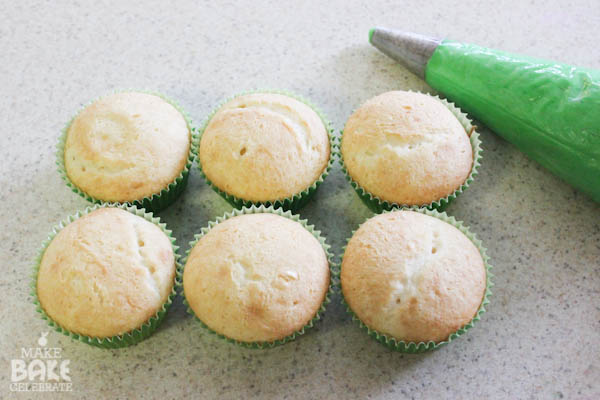
To ice the cupcakes I recommend icing them flat with a large round tip. I use Wilton tip #2A.
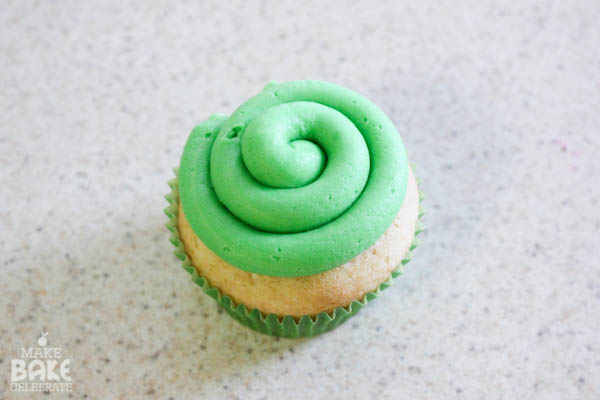
Then I ice them like a cinnamon roll starting in the center and gently coiling out. This allows my cupcake topper to sit so nicely on top. Once I place the baby face on top, I gently push the edges down to wrap around the icing just a bit. Generally I recommend making toppers at least a day ahead so they can have time to harden. For these however, I make the toppers and the cupcakes at the same time so the fondant is still soft enough to gently curve to the icing so it’s not just a flat circle baby face. Just remember, fondant can get stick when sitting out on icing, and should not be put in the fridge. So these cupcakes are best made the day that they will be served.
So simple, yet so sweet. These are perfect to take to new moms as a little gift or to serve at a baby shower. You can mix up your own babies by adding bows, pom poms to hats, different colors, different facial expressions and so much more. I kept all these little guys happy and smiling! I will be praying they will reflect sweet little baby Jackson in the weeks and months to come!
And of course…these matching green cupcakes liners came from Sweets and Treats Boutique. I know she is incredibly busy falling madly in love with her new little guy, not wanting to miss a moment. But if you get a chance stop by Sweet’s and Treats Boutique fan page and leave her a sweet little congratulations for her to read when she’s gets back to work!
Congrats on the beautiful baby boy Shannon! Praying for lots of rest, snuggle time, and moments of pure joy while you’re family adjusts to it’s newest member. :)
With sprinkles,
Toni


Your fondant work is so clean and perfect! I definitely need to give it a go! Great photography too, Toni!
Thanks Sue! So funny you mention the photography…I was stressing about these shots. Lighting was so awful that day I ended up out side freezing in the snow trying to shoot these! Crazy right?!