


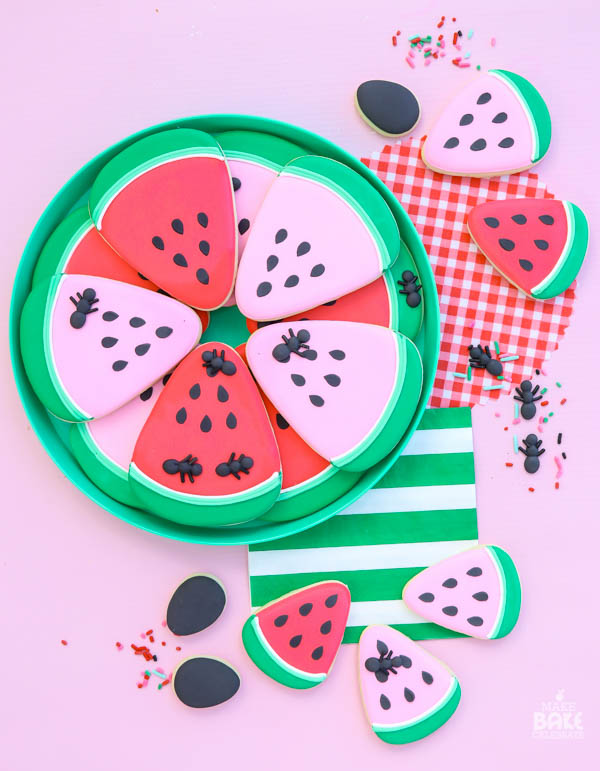
Man – we’ve got ants. But we’ve also got watermelon. And cookies. So really…I’m down with the ants!
Are you guys ready for another cookie tutorial? I know, I know…I’ve been on a cookie kick lately. Totally guilty. But it’s not my fault (it never really is, right?) it’s totally Sweet Sugarbelle’s fault. I’ve finally got my hands on oodles of her new cookie decorating cutters and tools and I can’t help but use them! Plus watermelons you guys, watermelons! The cutest summer fruit – tied with pineapples of course. Which don’t you worry…those are coming.
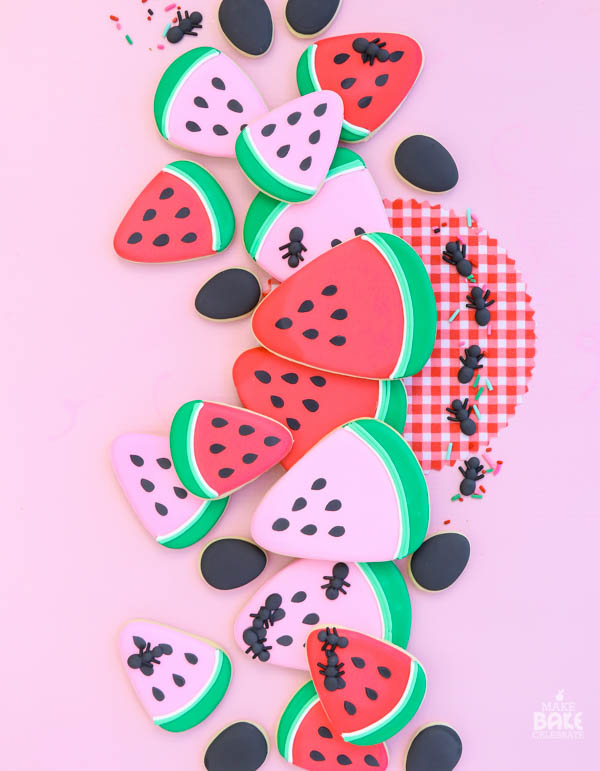
Let’s jump right in and talk watermelon cookies here. The truth is I kinda really dislike making watermelon cookies. The reason? Those darn seeds. There’s just not a perfect way to make the little seed shapes for this type A baker. A flooding icing is hard to drag and keep them consistent. And making a million seeds first and dropping them on it ok, but not my favorite as it requires lots of prep and then you have to drop them on just right. But after 2 rounds of watermelon cookies this summer, I’ve found a great way to make those pesky little seeds! The first round was for my daughters end of school party. She loves two things in life. Watermelon and bacon. And since I felt bacon end of school year cookies were a little strange even for me, we went with watermelons. But I just wasn’t happy with those darn seeds. But I was determined to try them one more time. And it just so happened as I was about to crank up the oven a box arrived with Sugarbelle’s new multi cutter in it! I was already using the triangle cutter in her original shape shifters set but now I could make little watermelons to go along with! And even better unbeknownst to me that’s exactly how she intended them to be used. Which meant just like the rest of her cutters, it came with a template that allowed me to make the seeds even easier! Score all around. On the first set I made little bite marks but I totally forgot on this set. So sad too because I had just got these in the mail as well! But my favorite part? I used little egg cutters to make seeds! They were the perfect way to finish off these cookies.
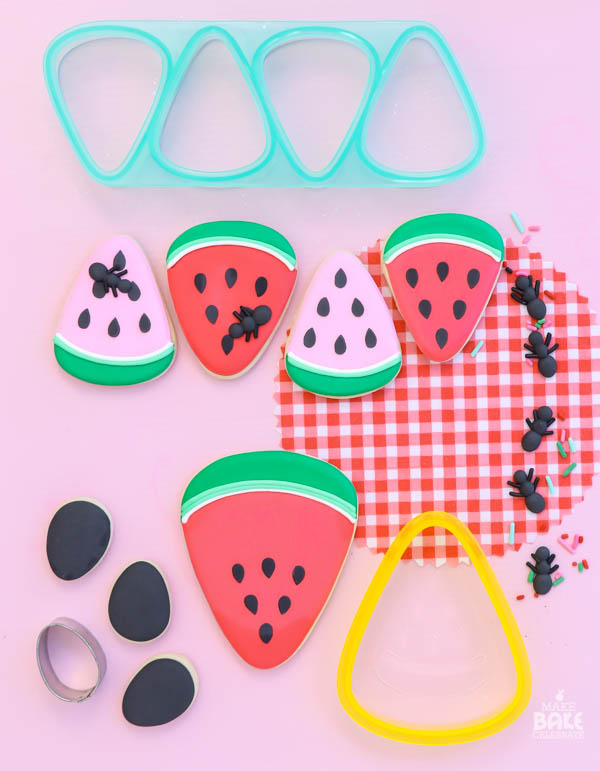
You can see here the cutters I used. The new muti-tool is SOOO great! It allowed me to cut lots of little cookies all at once. Anything that saves me time get a LOVE from me. Oh and the ants!
 i.e.
i.e.
Let’s make some cookies!
If your new to cookies be sure to you can always check out Rolled Cookies 101 here, Royal Icing 101 here, and Decorating Cookies 101 here. This will give you all the basic info to get you started decorating cookies from baking to flooding.
Your going to need:
small and large triangle cookies
red outline icing
red flood icing
pink outline icing
pink flood icing
dark green outline icing
dark green flood icing
white piping icing
mint green piping icing
black piping icing
black 20 second icing (a very small amount for any bodies)
black sprinkles
small angled spatula
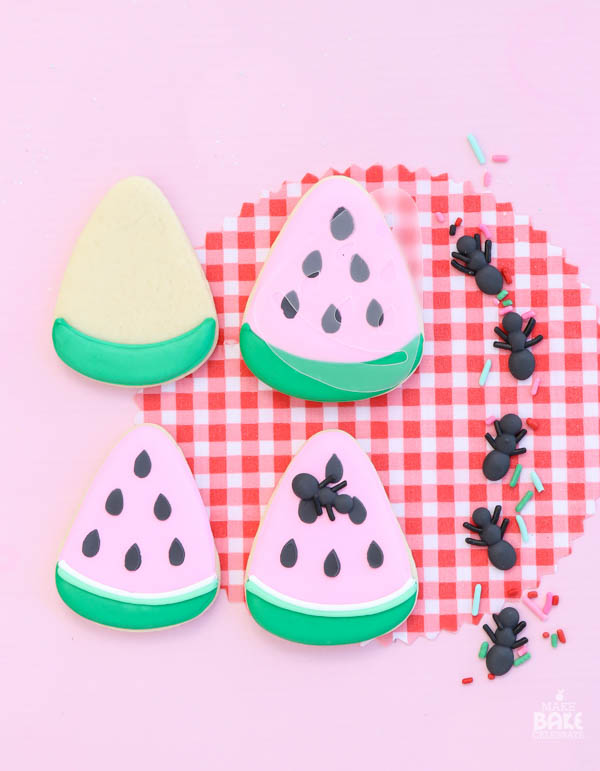
Step 1: Pipe and flood the green portion of watermelon.
Step 2: Pipe and flood pink and red watermelon parts. Let dry for several hours or even overnight.
Step 3: Once the green and pink or red icing is dry you can now use the stencil to make the watermelon seeds. In order to do this pipe black piping icing onto angled spatula. Then gently hold the template in place with your finger tips, very carefully holding it at the top and bottom. Then gently smooth the piping icing over the stencil with the piping icing on the spatula. Pull the stencil up and tada! Seeds! A little tip that may help is to add a layer of packing tape around the small stencil to make it easier to handle. Also, I recommend trying this on parchment paper first before you try it on cookies. It took me a few tries then I had it down.
Step 4: Next you can pipe on the mint green and white stripe detail.
Step 5: Now it’s time to add those ants! You will need to pipe the ant bodies on using 20 second icing one little dot at a time. Go around and place one dot of icing on each of the cookies, let them all sit for 10-15 minutes and being piping the second dot. After piping the second dot you can add the sprinkle “legs”. Then repeat with the third body dot. The reason you need to wait a little in between each dot is they need to harden just a tad so they don’t run together.
Now if your wondering how I got the additional little sprinkle ants, I simply piped them on parchment paper the same way, let them dry, then peeled them odd!
Are you guys ready to try out your own watermelon cookies? Don’t forget you can also make your some Build Your Own Burger cookies to finish up the meal!