


In case you’ve totally missed all the fun this far, Cupcakery (my book) is officially here! This last week has been a whirlwind of emotions as I was able to watch you guys share your excitement while receiving your books over social media. From the bottom of my heart, I can not thank you enough. While I have many many many more sobbing thank you’s I’m going to save those for another post later next week. But for now, thank you, and I truly hope you guys are enjoying your books! If you haven’t ordered your book, you can do so now here or here.
However, no launch should go without a celebration and we’re going to do it up big! Starting next week we’re going to be touring the blog world with Cupcakery, stopping at all your favorite sweet stops. Your fav bloggers will be dishing their thoughts on the book and hosting a little giveaway that you can get in on! I can hardly wait!! As for me, I’m going to be popping in to share some special posts from inside the book. Today, I am going to start off by giving you guys a full tutorial on how to make and shape those crazy cute Blue Rasberry Snow Cone Cupcakes found on page 78 of Cupcakery. Annndddddddd I am SO excited to show you the snow cone stand Cake Pop Stand Co. whipped up just for me and these sweet summer treats!
Ready to make some adorably cute cupcakes to kick off summer break? Let’s get started!
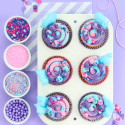
Here’s what you’re going to need:
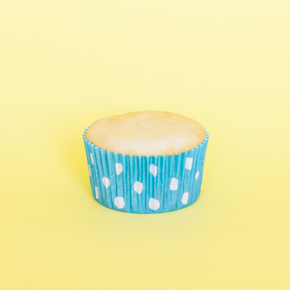
Cupcakes
Blue Raspberry Buttercream (Recipe on page 78 of Cupcakery)
Blue Sanding Sugar
Snow Cone Wrappers
Scissors
Tape
Paper Towel
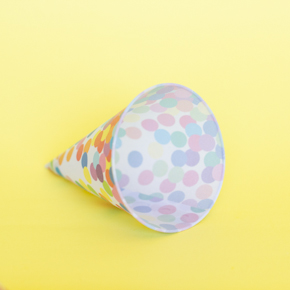
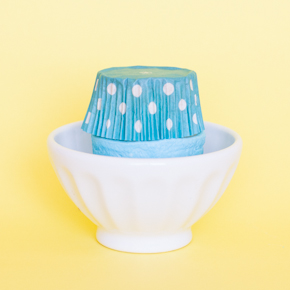
Step 1: Cut a slit from top to bottom of the snow cone paper along the seam in the back of the snow cone paper.
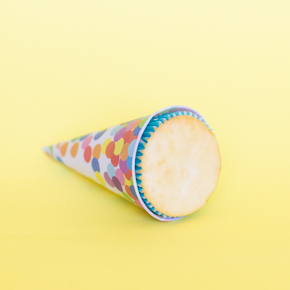
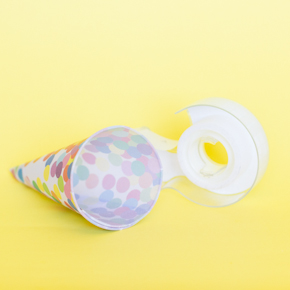
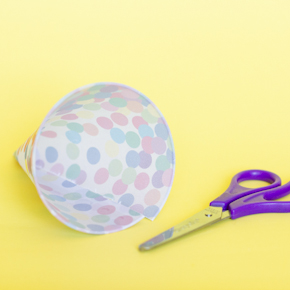
Step 2: Make the snow cone paper smaller by overlapping the snow cone paper around itself a bit, keeping the top even. Once you’ve adjusted the top hole to about the size of a cupcake place the cupcake in adjust and a little more, then apply a 2 in piece of tape to the seam. Once you’re done pop the cupcake back out, it should easily be able to go in and out.
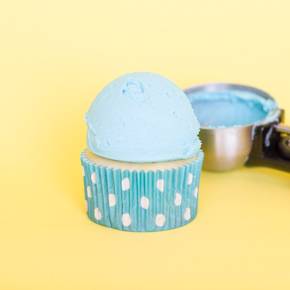
Step 3: Using a large ice cream or cookie dough scoop, scoop the blue raspberry buttercream on top of your cupcake. The scoops with the lever help SO much when it comes to buttercream. Place frosted cupcakes in the freezer to firm for about 5 minutes.

Step 4: After chilling your frosting should not be hard but just firm enough to be molded. If your cupcake frosting sticks in the next few steps place it in the freezer to chill longer. If it is too hard, leave it out for a few minutes to soften. Once your frosting is ready use a clean paper towel to shape it up a bit. Don’t worry about getting it perfect just yet.
Step 5: Immediately after shaping, dip your cupcake frosting into a bowl of blue sanding sugar. You may need to roll it around a bit to get it completely covered, be gentle!
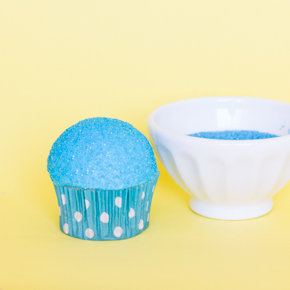
Step 6: Use another clean paper towel to do any touch up shaping of your snow cone.
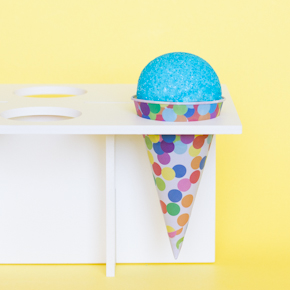
Step 7: Gently slip your cupcakes back into the snow cone wrapper (wrapper can be adjusted be removing and replacing the tape) then place in a stand and serve!
BAKER’S TIP: Because these cupcakes need to be chilled to make decorating easy, I frost all of my cupcakes at once but then only chill and decorate 4-6 cupcakes at a time. If I let my second batch chill while I work on my first batch and so on, the process goes super smooth and fast.
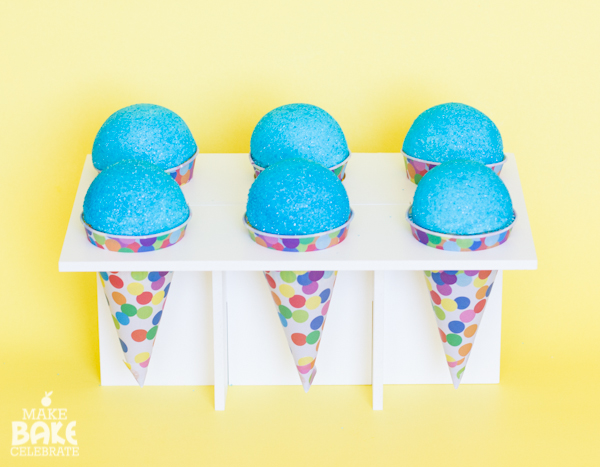
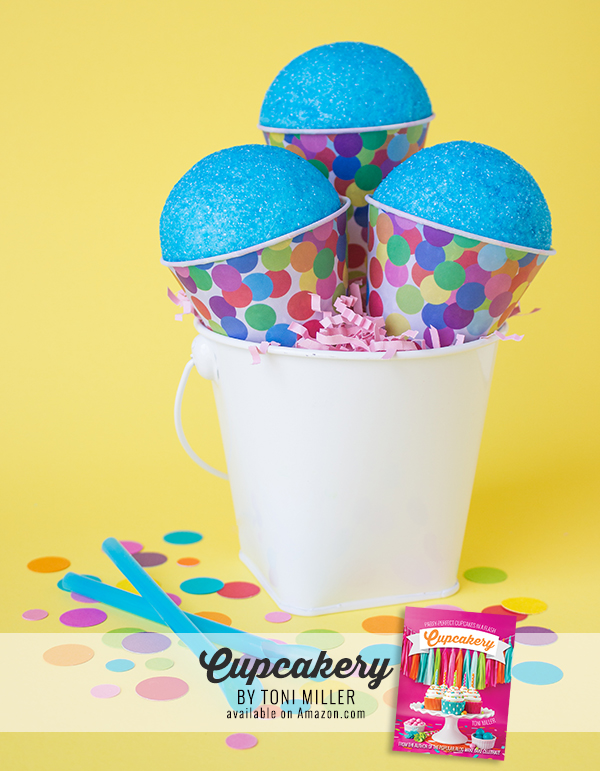
Now, let’s talk about this stand! While I was planning M & B’s carnival party (not yet blogged) I KNEW we had to have these snow cone cupcakes. The girls LOVE them, but how to display them? Now I’m sure you could think up a couple different ways display these (small buckets, stryrofoam, push pop stands) but I REALLY wanted something to show these guys off. Once again I contacted Cake Pop Stand Co.and once again, she came through for me! She created this simple snow cone stand that would hold a perfect six of my snow cone cupcakes each having their own little spot! Seriously I love it! I WISH I had this stand for the book! If you guys remember right she also created the now popular stadium style cupcake stand for Cupcakery as well! That lady is a stand making genius! Make sure to stop by and say hello when you get a chance.
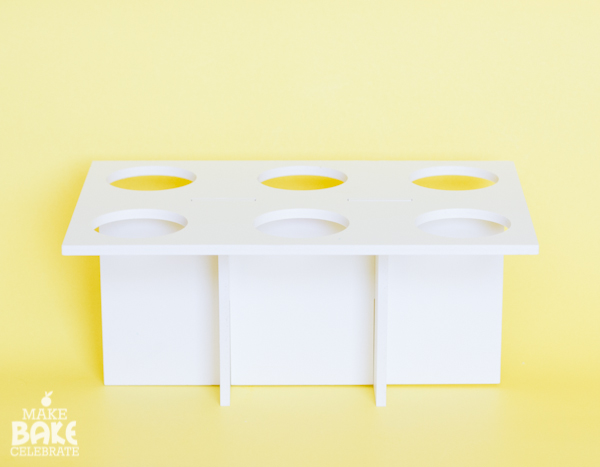
Here’s a little shot of the stand all by it’s self! Isn’t it awesome? And like all her other stands, it comes apart in seconds and stores totally flat. Yay!


These cupcakes are amazing, Toni! I cannot believe how much they look like actual snow cones.
I’m pretty much stalking my mailman at this point, checking for Cupcakery everydayz I don’t know how I’m going to decide which cupcake to make first!
I’m so glad to hear that you are enjoying your snow cone stand. Thank you for thinking of me when you need a unique way to display your beautiful desserts!