


When my first daughter turned 1 we bought her a wooden play kitchen, table, and lots of wooden food. I’m kinda of a stickler about toys, and I wanted her to steer clear of the chintzy plastic pieces. Since then we have grown quiet the collection of wooden and felt foods, some bought and some handmade. Now we have three girls, and they still play with that same kitchen, table, and food everyday and it’s still in great shape! This year we decided they were really outgrowing their one little kitchen and needed an upgrade, so we decided to build them a little market to house all their food. But then I thought how cute would a bakery be, or what about an ice cream shop, or cafe? So…now they are getting their very own town :) I’ll share more on that after Christmas! To go along with their new bakery I’ve been on the hunt for fun new sweet wooden and felt treats. Although they are so adorable, wooden toy food is no cheap. So I plan on making as many items as I can. While I was looking at the wooden section at the craft store I realized I could make them cake pops! Some round wooden balls and some sticks…how simple! Bakerella would be proud :)
With the help of the hubs and his drill, I was able to make this set for under 5 dollars, because I already had the craft paint, glue, and dowel rods but even if you don’t it’s still pretty cheap to make! I used a half off coupon to get the wooden platter on the cheap.
To make these you will need:
wooden balls (about 1.25in across)
1/4in thick dowel rods
wood glue
8in wooden craft platter
non toxic craft paint
Step 1: Using a 1/4in drill bit drill about 1/2in into the wooden craft balls.
Step 2: Cut dowel into 5in pieces (the hubs used a saw)
Step 3: Put a small drop of wood glue on the end of the cut dowel and push into drilled hole, let dry for a bit. If your dowel are snug even better! Just use a mallet or something to gently push them in.
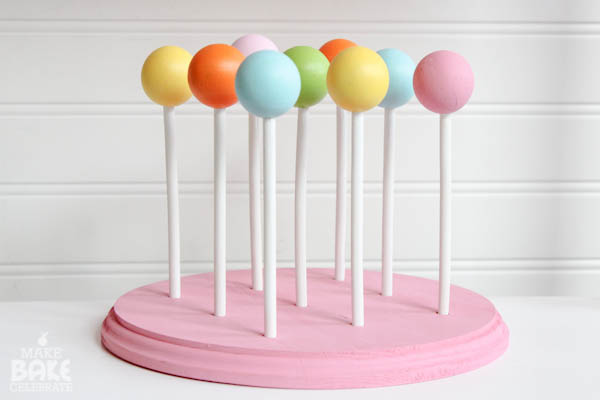
Step 4: Mark your wooden platter where you would like your cake pop holes to be. I marked the center first then moved each cake pop spot 2in apart.
Step 5: Drill each cake pop stick spot about half way though the thickness of your wooden platter, mine was just under half and inch.
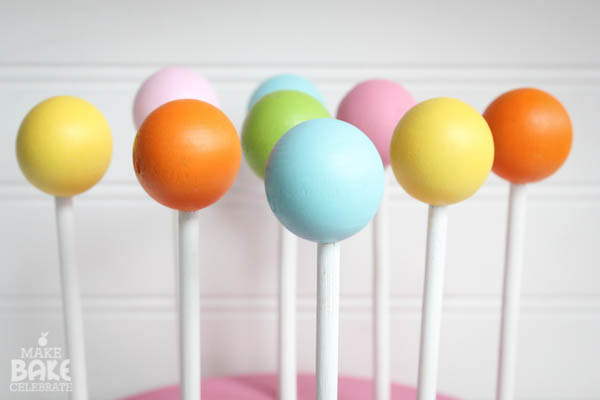
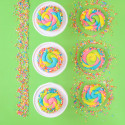
Step 6: Paint them pretty colors!

Easy peasy, cheap, and super cute! I really wanted to add sprinkles or something to make these even cuter. I thought about glitter, or painting them on, or even tiny beads…but I couldn’t help but think they would just eventually be picked off by the littles leaving paint chip spots, so I left them pretty and plain for now! Although how cute would they be with painted stripey straws on the sticks :)
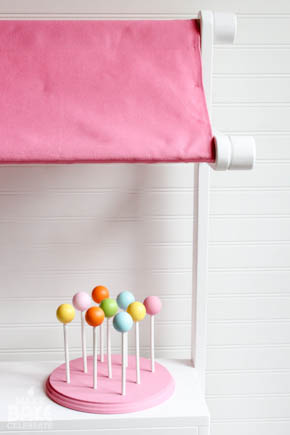
I placed them in a cake box, bought at the craft store, and they are wrapped and under are tree! Hope you have fun making your own play cake pops!
(I recommend not giving these to smaller toddlers who might be able to pull off the ball and choke on it, safety first!)


Oh my goodness! I love this idea. I don’t have small children anymore, but what a super cute idea!