Frosting cupcakes 101 – are you guys as pumped as I am to be talking cupcakes?! I’m so excited to be finally talking about frosting cupcakes today, but not just because cupcakes are my fav to bake/decorate. Also because the topic has been at the top of my most asked questions list for like ever. I haven’t covered this yet because I really struggled on how to share this information with you guys. It’s kind of a thing you have to see to understand. Once I came up with a game plan I needed a day that the hubs was home to help out on a little photography but having him home during the day with occupied kiddos proved completely impossible. So this week I finally just decided to tackle the project by myself…

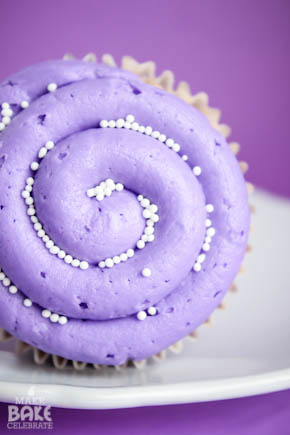
… Since piping and photographing at the same time is just about impossible without a third arm, I went with plan B, videoing, *gulp* the process. I’m so not a fan of being videoed. Something about hearing your own voice… creepy! Then I found out I am not very good at explaining while piping. They aren’t perfect…but I think they will do!
Just to clarify, there are lots of different way to accomplish a beautiful frosted cupcake. This is just my way, which works for me! :)
As for the icing… I use lots of different icings to frost cupcakes depending on what I need exactly, but today I’m using my regular decorators buttercream. You can read all about decorators buttercream in my post here. I can flavor it to almost any flavor I want, and it’s perfect when I need it to look a certain way too. But before we get to piping… let’s talk about the tools used to get there!
Most of my piping tools are Wilton brand. As I’ve said many times before, I love using Wilton tools because they work so well, they’re easy to obtain, and friendly on my always stretching baking funds. You can find them at most of your local craft stores and baking sections. Here are some of the tools I use:

Piping bags: I really love using the heavy decorating bags but because I decorate SO often and need so many I always have a pack of the disposable bags hanging around. I’ve even learned to wash and reuse them! But if I need to, i can just toss them out.
Icing bag ties: These guys aren’t always a must have, but they are really helpful when learning to pipe. Especially when working with a very thin consistency like royal icing.
Couplers – Couplers are tips to put in your piping bag that allow you to switch out the tips. When your working with the same color but different techniques these are so helpful less bags to clean = happy me. They come in large and small, since I used large tips to decorate cupcakes I’m using me large coupler here.
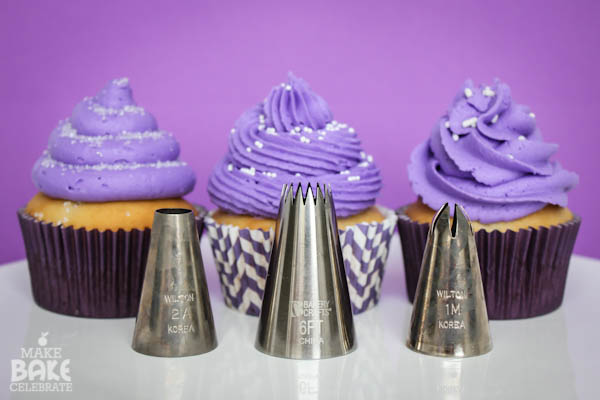
Now for the most important part… the tip! There are so many different tips available, then countless ways of using each tip. However, these are just about the only tips I ever use when frosting a cupcake. The first four I would consider large tips and the last two are jumbo tips. I don’t use these Jumbo tips often, but they are always fun to use, and offer a lot more options! You can pick up tips at your local craft store, the larger ones I tend to pick up at baking stores.
Wilton Tip 1M, Wilton tip 2A, Bakery Crafts 6FT, Ateco 809, Ateco 868.
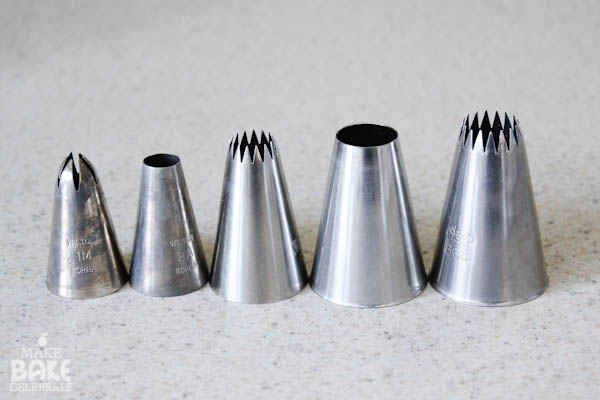
(random bit: my girls love to sit at the counter and arrange my tips while I work, the littles often pretend the big tips are the “mommy & daddy” and the small ones the “kids”. The joys and total weirdness of growing up with a baking blogger mommy!)
Now to get started!
First I get my bag, coupler, and tip ready. Just to clarify…I don’t ALWAYS use a coupler! If I know for sure what tip I need to use I just skip the coupler. Especially with these big couplers because they take up so much space. But they are really handy when needed so I wanted to make sure to include that step! :)
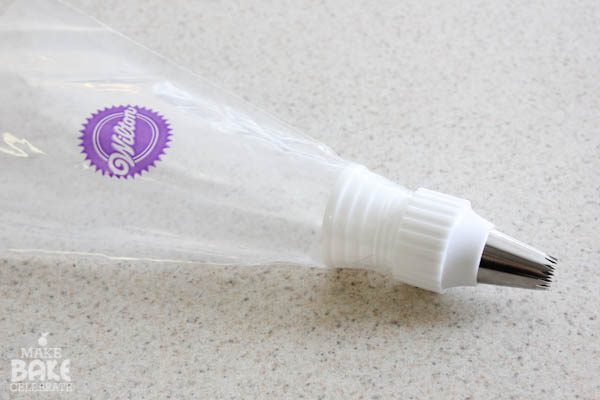
Then I stick my bag inside a cup and turn the top out so I can easily fill my bag with icing. You can also use your hand and fill it the same way, I find that I make a lot less mess this way :).
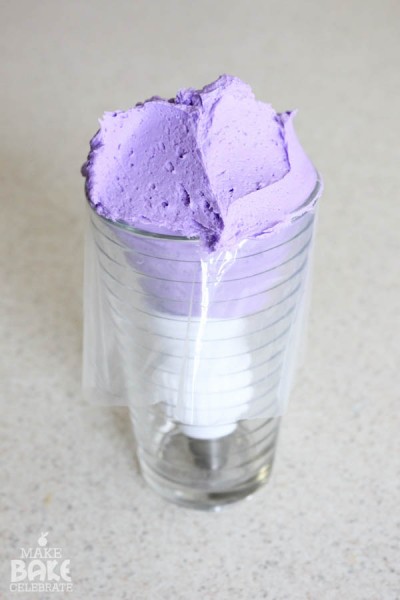
Once you’ve got your bag ready and twisted shut (here I used the ties) you need to squeeze out a bit of icing and make sure there are no air bubbles in the piping bag. I simply keep my bowl of icing beside me so that way I can push out as much as I need and reuse it once empty. (it’s also good to cover your bowl of icing in a wet paper towel to keep it from crusting) If you leave big air bubbles in your piping bag then eventually they will come through and break the stream of icing, totally wrecking your cute little swirl :(.
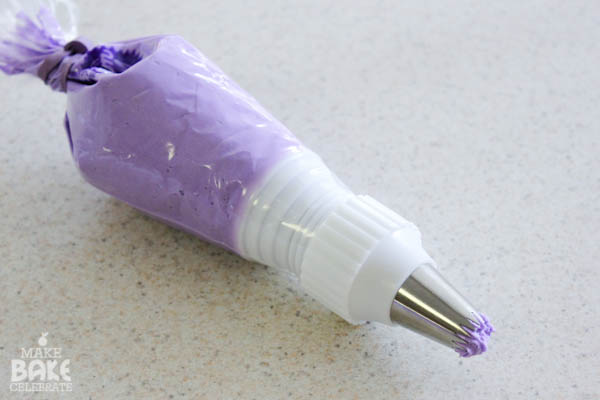
A few things to know before piping. Piping is about 90% pressure and 10% guidance. (let’s pretend I came to those number scientifically ok?) The amount of pressure you put on the bag will determine just how well, and evenly, if flows from the tip. You want to keep your pressure as steady as possible. You also want to guide the tip/icing while in front of where you are wanting the icing to fall. As you move you hand your icing needs to be following along right behind it, gently falling into place. Let’s see this in action…
For the first video I’ll cover how I pipe a traditional swirl using two different tips,Wilton Tip 1M, Wilton tip 2A. Same technique, very different outcome. You’ll just have to excuse my lack of talking while working skill and trying to stay in front of the camera lol. I should also add that when I’m normally working, I work a lot faster (and at better angle) so the icing falls so much better. Once you get the hang of it, it’s a quick and easy process.
And here’s a couple ways to mix it up a bit. Using the same tips.
The best way to learn how to do this is to practice of course. And if your type A like me, whip up some buttercream and practice piping on some parchment/wax paper. That way you don’t have to sacrifice some innocent cupcakes. ;) You can always scrape it right off and put it right back in your piping bag to keep trying. Oh! I should also tell you that if you DO mess up a cupcake pretty bad most often you can hold the cupcake over your icing bowl and let it fall right back in. There will be a small trace still on the cupcake, but you should be able to pipe right over it and get another shot at making it look good and still reuse the icing!
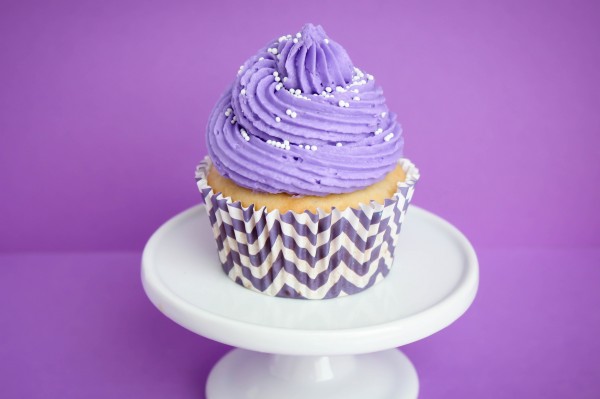
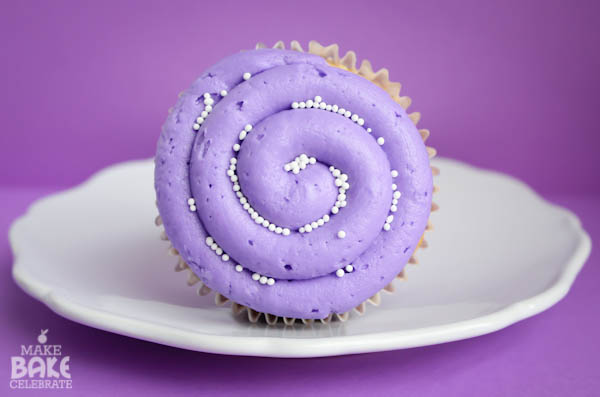
With a few different tips and some trial and error there is no limit to the different ways to frost a cupcake. I often alter mine by how I need it to look/function. Wait icing…function? Yep, for instance when I am using flat fondant topper I prefer to pipe a flat or low swirl of icing on my cupcakes, so the topper sits well. Other times I don’t plan on putting much more then a few sprinkles on and I want my icing piled nice and high. (just not like sugar coma high).
Another super important thing, you should also keep icing consistency in mind when picking out a tip and piping style. For example, when I use soft cream cheese icings I often use a round tip and pipe on a low swirl, because that icing just doesn’t hold up as well to designs or stacking.
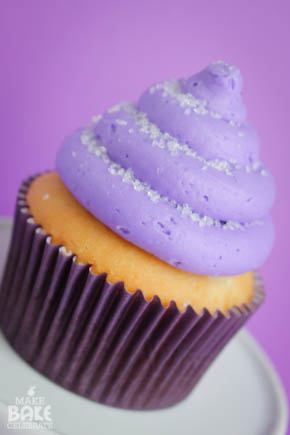
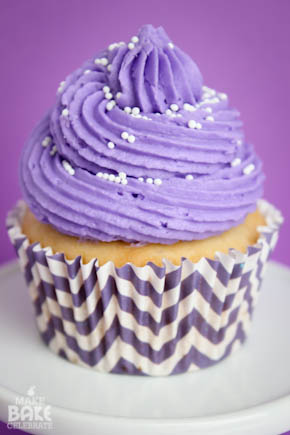
I think that just about covers it! Once you’ve got piping down all you need is to throw some sprinkles on top and some cute cupcakes liners like these, and soon people will be ohhing and ahhing over your almost too pretty to eat cupcakes (but don’t worry they always eat them, yummy trumps pretty).

















Very nicely done. Thank you for sharing your how-to’s with us!
I’m always interested in seeing how other bloggers frost their cupcakes, yours always look so professional! by the way, LOVE the chevron cupcake liners! So cutteeee
Toni thank you for the nice instructions…but I have another question, how do you not get your American buttercream to not have a gritty texture, I have tried everything, only using brand name 10X, sifting, using enough liquid, and I still get some grit…what causes that?…m
Great job on the videos! You make it look so easy! I love the “cinnamon roll” technique:)
Thanks Sue…I kind just made that one up! lol. That’s allowed right?!
Thank you for this! I’m a novice, figuring cake decorating out on my own and this was very helpful.
Hi Toni. Your cupcakes are SOOO Pretty! I can’t seem to find the Frosting Cupcakes 101 videos. Did you take them down?
They are located right in the middle of the post…should be two frames with a play arrow/button at the bottom. If they are not showing up maybe try refreshing your page once or twice. Let me know if you are able to view them! :)
Hi there!! Love your blog and website!! When using the Adeco tips (I have an 808) how do you keep such a large tip stable??? There isn’t a system I’ve found that clamps it into place! Also, is the 808 tip larger than the 808?? Your tip pipes perfectly…just wondering if I picked up the wrong one in error because this look is exactly what I’m looking for! Thanks for all the info you provide! Fabulous! XOXO
Hey! I actually don’t use anything to keep it in place, I simply place it tight into the piping bag. The pressure/icing should pretty much keep it in place. :)
Hi Toni, I’m a beginner in the baking arena and I love messing around with buttercream frostings so this tutorial was great, especially the videos. I’m a visual learner so videos are actually perfect when I’m trying to learn something. I have some Wilton tips and bags I’ve been trying to think of how to get some practice in with but I don’t have enough people that want to eat cake so the cupcake thing is where it’s at! :) Thanks for posting this!
I’d love to swap links with you if you ever get a wild hair :)
You’re very welcome! I’m glad it is being put to use! :)
Love your site! Have the videos been removed or is it just my web browser messing up?
Thanks!
They have not, although I’ve heard that before..may I ask what browser your using?
Hi just wondering if you can help me I’m using fresh egg whites when doing royal frosting and powdered sugar but it won’t hold it keeps flooding, when piped for my cup cakes using no water at all. What am I doing wrong. Thank you
Hi! I am a bit confused as to what you are using…you are using royal icing to pipe on cupcakes?
I am using Apple mini iPad. Video is not working.