


What better way to say I love you then with cookies?! Especially cookies dipped in white chocolate, then covered in sprinkles! I don’t know about you guys, but I would totally take a bouquet of cookies over flowers any day. Every girl loves flowers every once in awhile…but to me, they are so over rated and over priced! Not to mention they die. Now cookies, well you just can’t go wrong with cookies or sprinkles ;).
Honestly, I wasn’t thinking much about flowers or cookies bouquets when I set out to make these. I’ve actually been battling a pretty nasty cold, and haven’t felt like doing much at all. I really needed to bake something to try and get me back in the swing of things. I had planned on making something totally different, but I just didn’t feel up to it yet I couldn’t let some adorable pink and red cookie dough go to waste! So I made some simple cookie pops…then I thought hey why not just dip them in chocolate instead of busting out the royal icing. So I did. And they turned out great! If you’re not having fun in the kitchen…why be in there at all? :)
After making big cookie pops I played around with a few small ones. These were so incredibly fast…and allowed for lots of wiggle room. Some I fully coated, some I covered in sanding sugar, some were half dipped, and others I left naked! The possibilities are endless….

Seriously guys. These are good. Who says you need complicated royal icing? Just cover, sprinkle, and let dry. I think I might even like these better then with royal icing. Yep, they were that good.

Making these were pretty simple. You will need some sugar cookie dough, red and pink, heart cutter, gel coloring, cookie pop sticks, white melting chocolate, and sprinkles.
First you’ll need some cookie dough. I used my favorite recipe which you can find here. The amount of cookies this will make will vary on your thickness and cutter. I was able to make about 18 cookies, some very large and thick and some small.
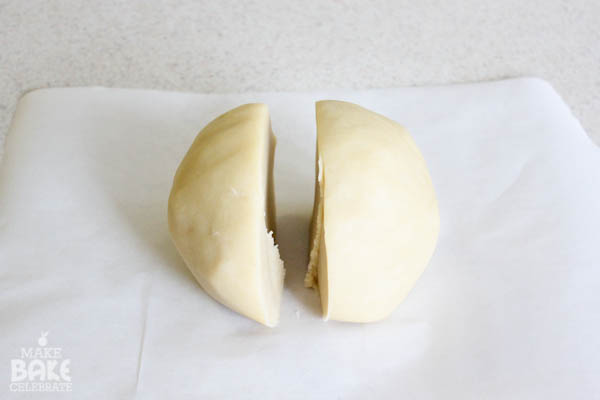
Once you have your dough and it’s ready to go split it in two. (let’s pretend my halves are semi even here ok:) )
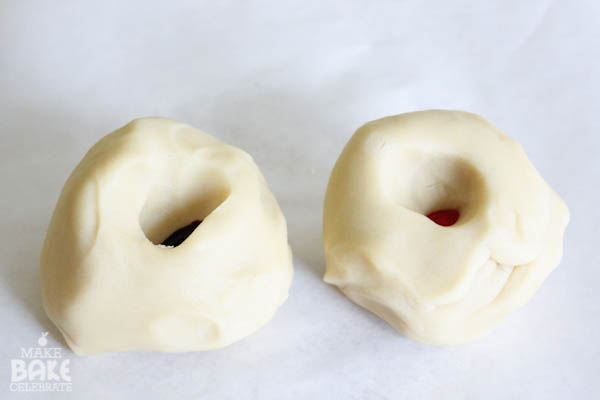
Roll the dough into balls and press in a dent with you thumb. Place a bit of coloring into the dent. Work the coloring into the dough.
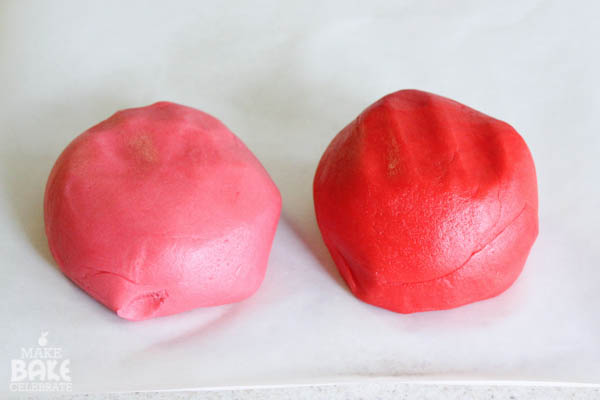
Until you’ve got some really pretty pink and fabulous red :)
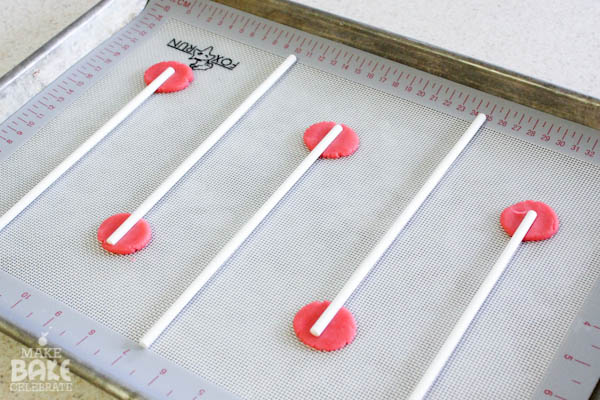
This is how I like to support my cookie pops. Before I roll out my dough, I place a ball or cookie dough on the pan and then press my stick into it, and press it flat a little bit. The cookie above it will bake together to form a nice sturdy cookie pop. Just don’t forget to arrange them with enough space to bake the cookies!
Now roll out your dough. I like to my cookie pops on the thick side, so I rolled my dough at 1/2 in. I roll out my dough between a piece of parchment paper and wax paper with just a little bit of flour, using my guided rolling pin. If you’d like to read a little bit more about that process check out this post here.

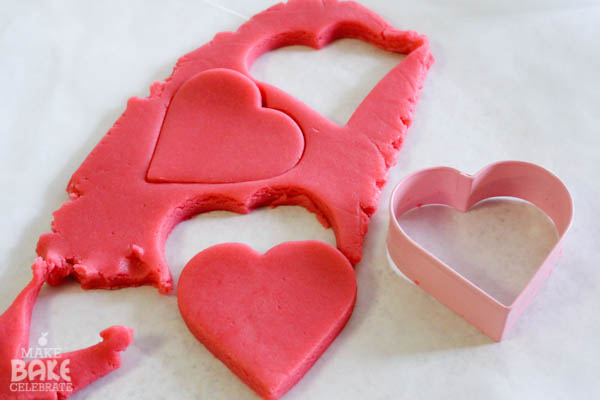
Next cut out your hearts. You can make small or large ones, but remember your cookies will grow a bit. You don’t want them too big.
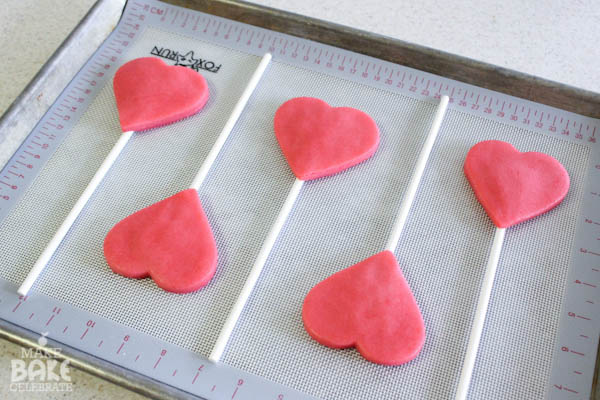
Gently lay your heart cookie dough over the stick. I lay mine so the top is just about on the end of the stick. Then push gently down on the dough especially around the stick. Once your cookies are ready to go, stick them in the freezer for two minutes. This will help them keep their shape.
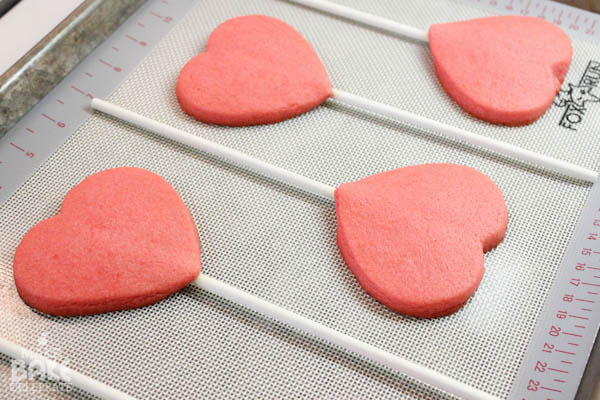
Once they have spent their two minutes chilling, bake at 350 degrees until the bottoms begin to golden. To make sure these aren’t too soft and crack, I bake these just a little bit longer then I normally bake sugar cookies. Mine were perfect at 11 minutes. Your time WILL VARY depending on your oven, cookie size and thickness.
Once you pull them out of the oven, let them sit!!! Normally, I slide mine right off into a cooling rack. But cookies are so soft right out of the oven you risk breaking the pops if you move them too soon. So let them sit!! This is a hard one for me, I’m totally impatient…so I make myself wait until the pan is cool enough to touch. Then I move them to a cooling rack :).
Once they are totally cooled and ready to go, it’s time to get the chocolate ready! If you need any help with melting chocolate, check this post out here.
You will want to line up your work station to make the process smooth. Melting chocolate with spoon, sprinkles, and wax paper to lay your cookies on to dry.
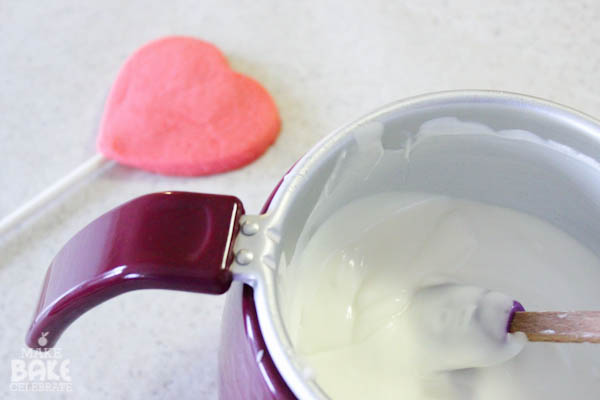
You don’t actually have to dip your cookies at all, as a matter of fact I recommend you don’t :). Instead holding the cookie pop and a downward angle take a spoon and spoon chocolate across the cookie.
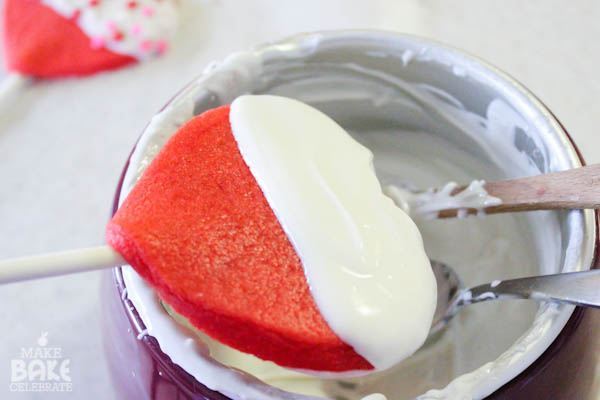
While still holding it downward, gently tap the cookie to let the chocolate drip off. Then simply lay them on your wax paper, and give them some sprinkles!
I sliced up one cookie for the kiddos to enjoy now. They were SO not happy about that. Mean mommy I know…the rest are going straight to the freezer for an easy treat to hand out at dance class in a few weeks. Slide them in a clear treat bag, add some bakers twine, and *POOF* perfectly cute kid friendly treat. But don’t worry if you’re Valentine isn’t under 3 feet…I’m pretty sure the grown ups will enjoy these too.


I made these for Valentines with my Grand daughter, they were a big hit and delicious
Thankyou