

I’ve got this feeling inside my bones….it’s SPRINKLES! Does that really surprise you though? I mean if I have anything in my bones it’s gonna be sprinkles. I mean I practically eat breath and sleep sprinkles so it only makes sense. You don’t even want to know about the frosting content in my blood…so we’ll just move on to the Bone Shaker Cookies! Yes, cookies that you can play with! Well I mean I pretty much encourage all cookie interaction…but these dispense sprinkles!
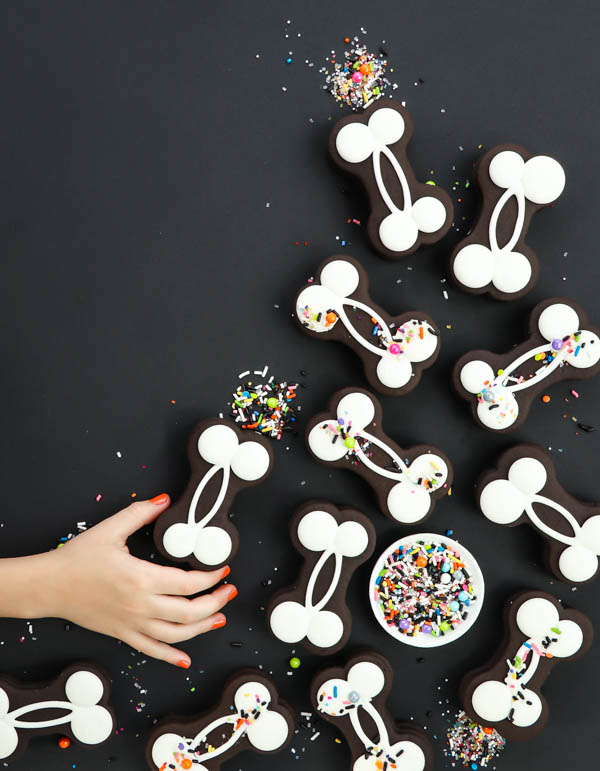
SHAKE SHAKE SHAKE! Shake those bones!
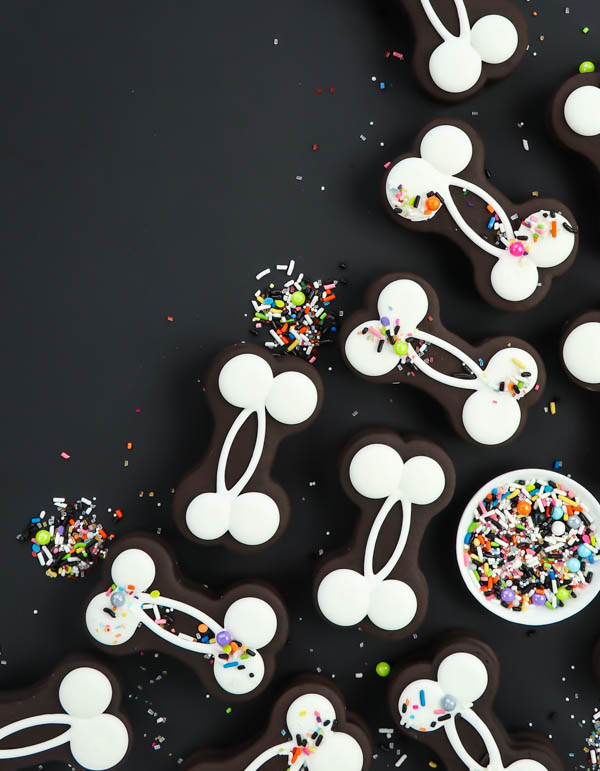
A few years ago I made some cookie bones just like this that never made it to the blog. BOO. And even though this design is crazy simple it’s one I just really love. So I wanted to finally bring them to the blog this year, but because I love to complicate things like I do, why not fill those bad boys with sprinkles? Uh yes, yes please. Disclaimer, I may have had this to die for Sugar Skull sprinkle mix laying around for like months waiting on me to use it. So there’s a possibility these cookies were all a scheme to use more sprinkles. I’ll never tell.
Ready to make some simple shaker cookies, let’s shake those bones!
Recipe
black Chocolate Rolled Cookies
Icing
white 20 second icing
Tools & Other
bone cutter
edge cutter
Sugar Skull Sprinkles
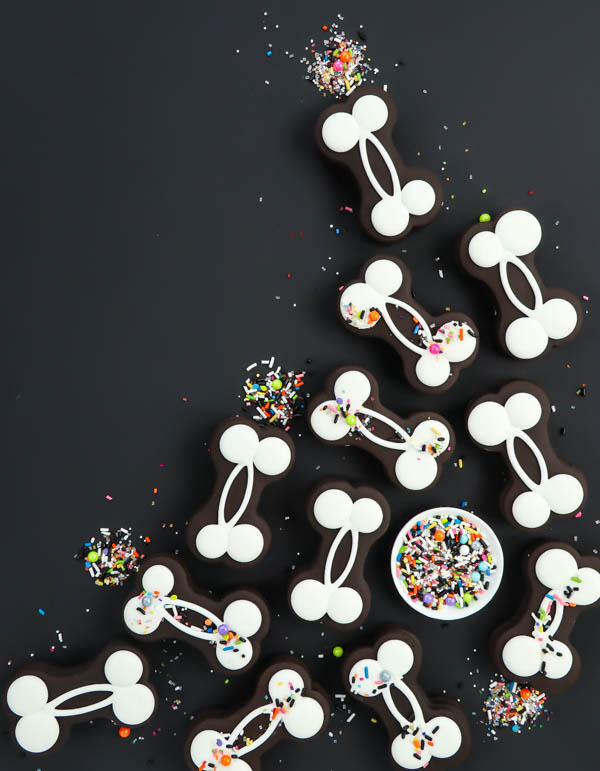
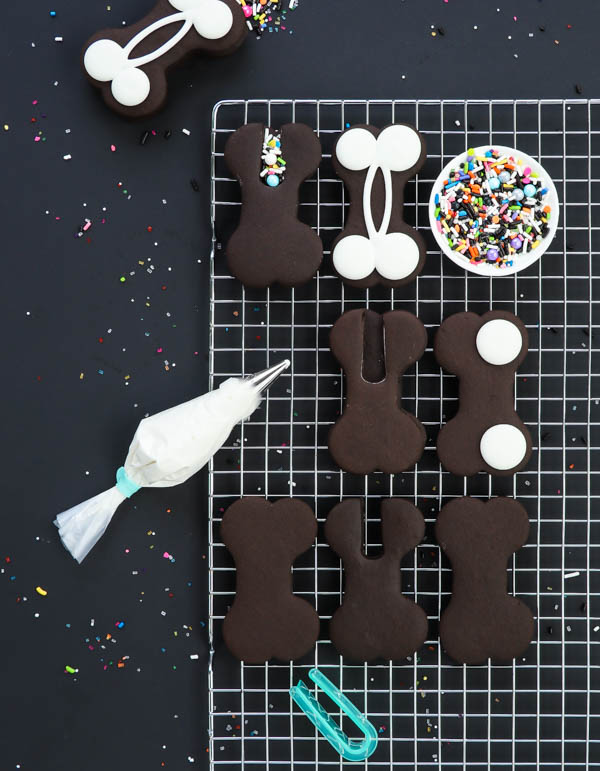
Step 1: Bake rolled cookies cutting out 2/3 regular bones and 1/3 bones with cut outs. In order to do this the easy way simple place your cut out bone on the parchment paper exactly where you want to bake it and then use the edge tool to cut out a spot for your sprinkles to store. If you don’t have an edge cutter this could be done pretty easy with a knife or another cutter, get creative!
Step 2: After the cookies are cool whip up a batch of royal icing thinned to a 20 second consistency. “Glue” the bottom cookie and the cutout middle cookie together with icing. Decorate the top cookie with the easy bone design. You will want to pipe two dots first and let set until they crust over a little (about 15minutes) then pipe the other two dots and the bone lines.
Step 3: Once your icing has dried (several hours-overnight), fill the cutout with sprinkles and then glue on the top of the cookie. Store the cookies nice and flat until ready to play, I mean eat!
Note: Some of the above links are affiliate links, meaning if you so chose to purchase some of the items I have used and recommended in this post I will receive a small compensation. This helps me bring you even more sweets!